After the collaboration with Filippo Berrio’s Olive Oils, I fortunately had plenty of product left over to experiment and play with! Per usual, one thing lead to another, and another thing lead to another other, and before I knew it, I had another favorite recipe to add to my collection! Whether you shape the buns […]
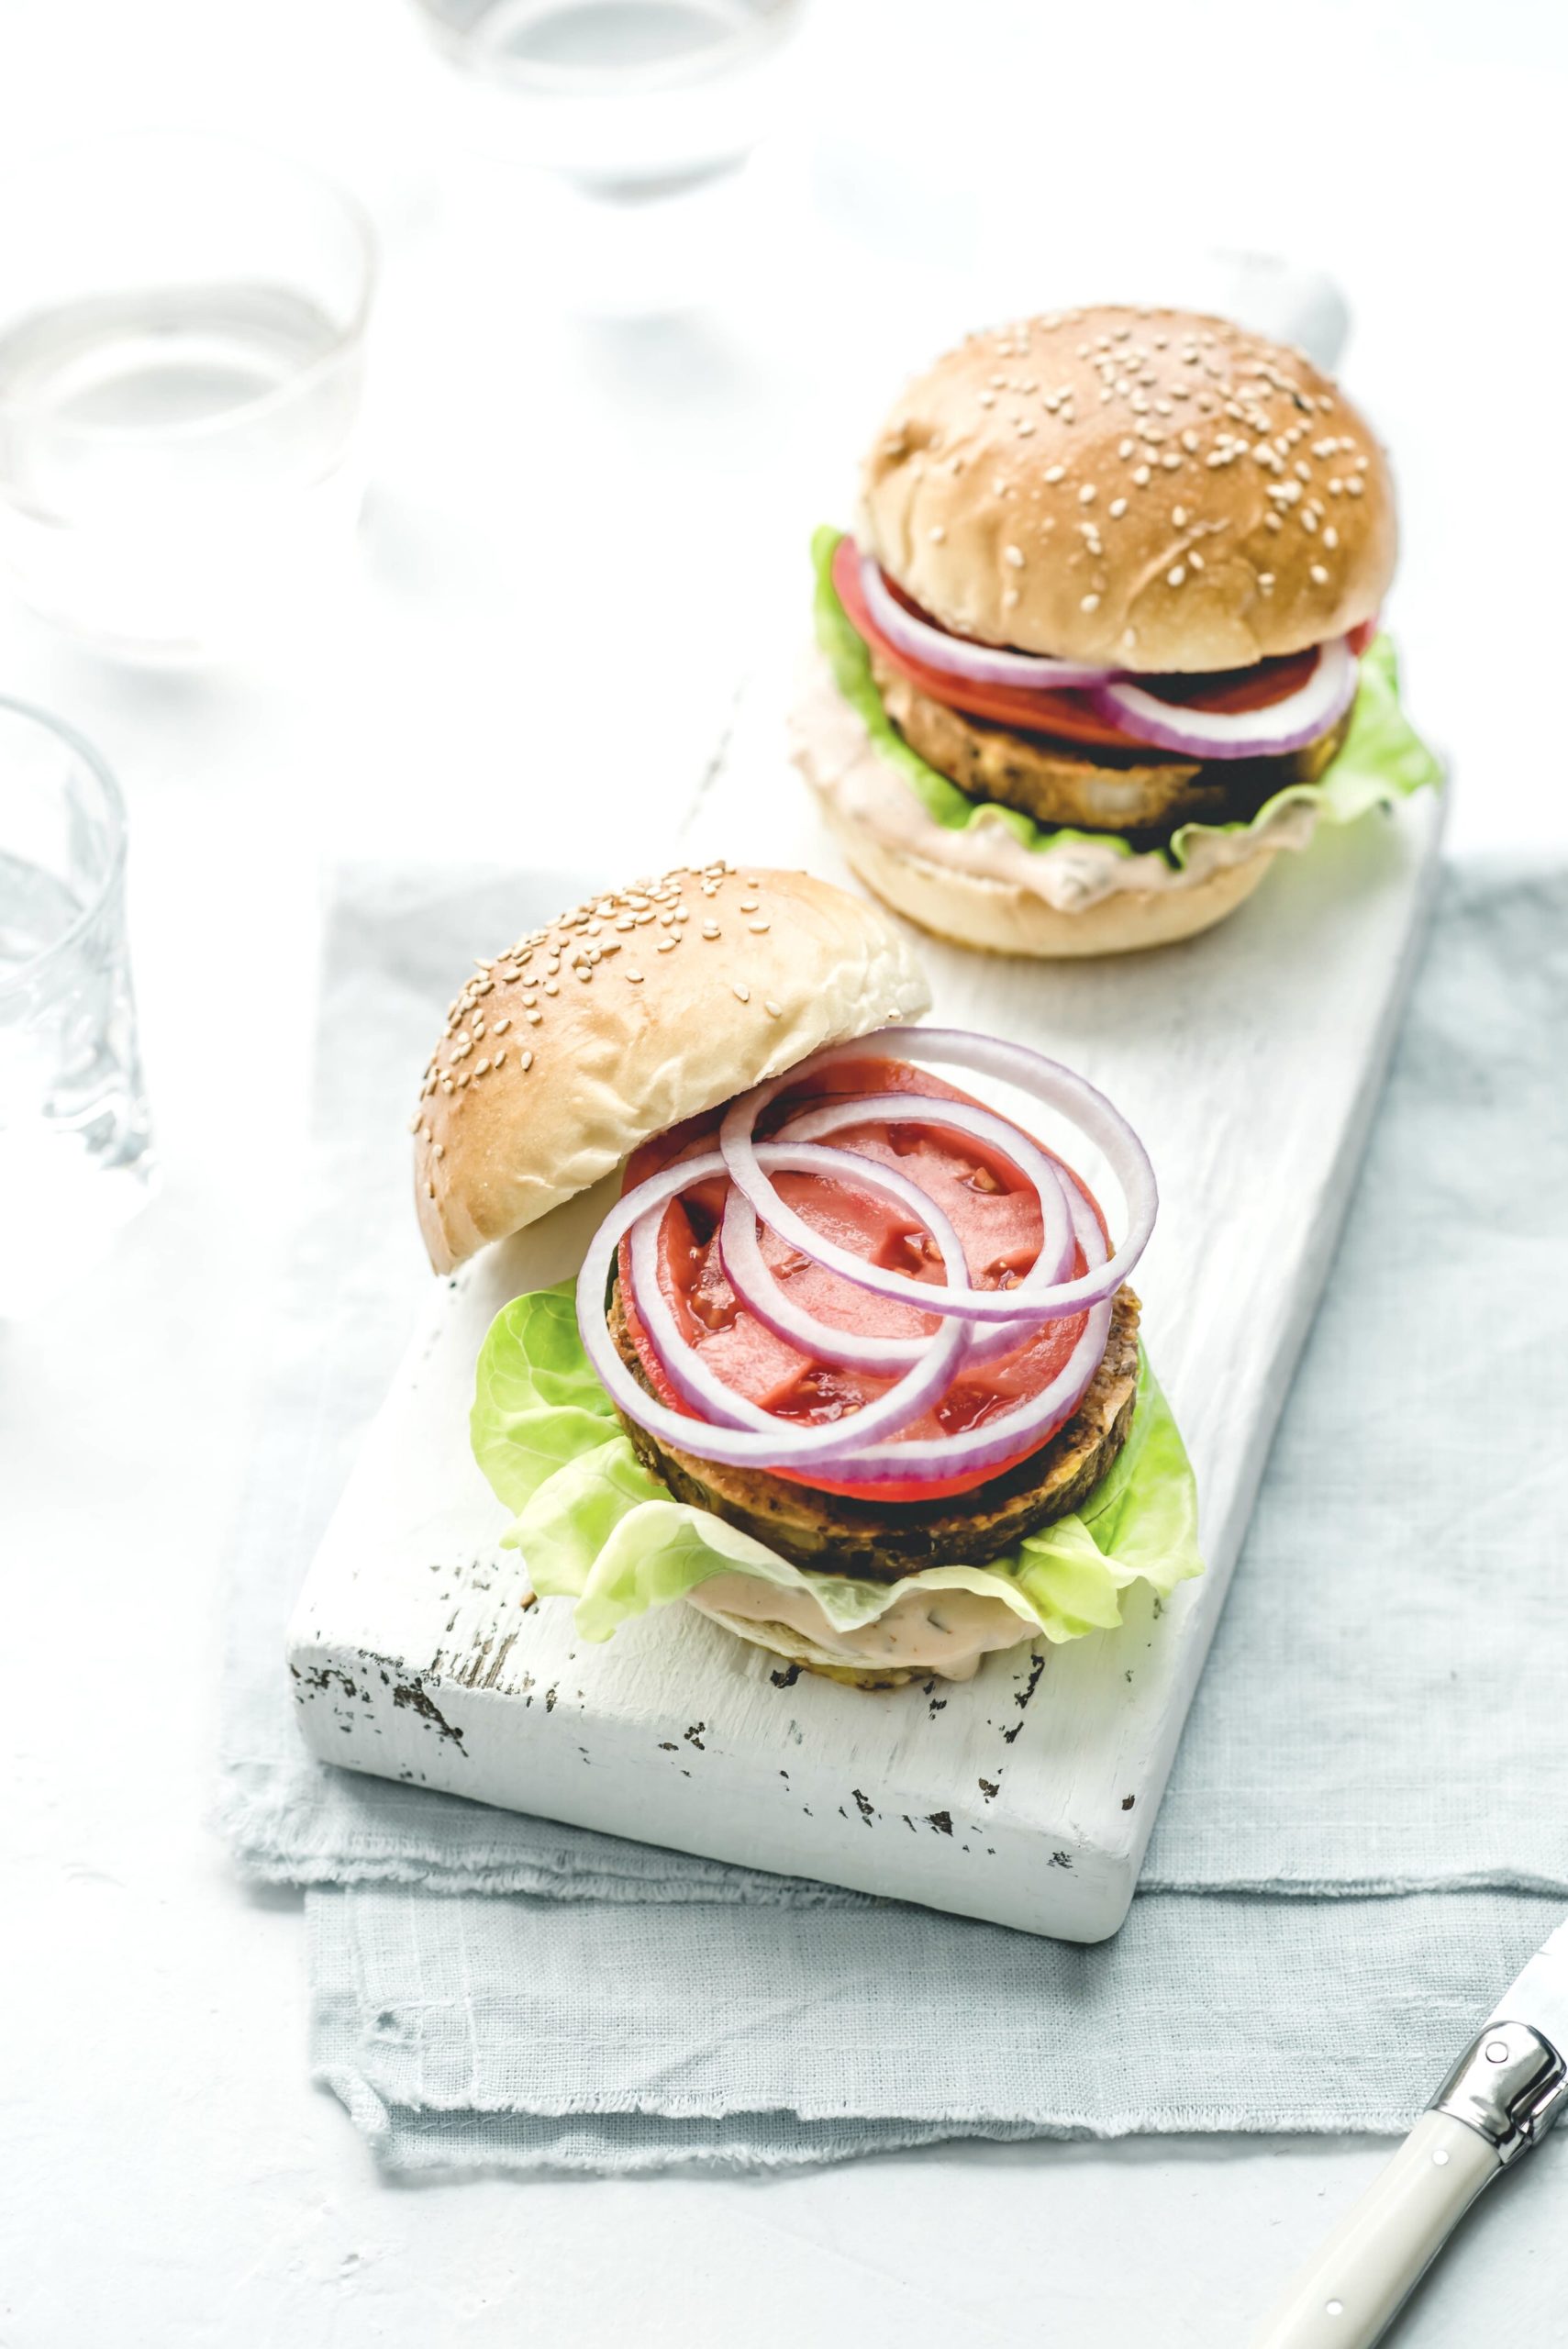
After the collaboration with Filippo Berrio’s Olive Oils, I fortunately had plenty of product left over to experiment and play with! Per usual, one thing lead to another, and another thing lead to another other, and before I knew it, I had another favorite recipe to add to my collection! Whether you shape the buns for dinner rolls or make it into a burger bun, this recipe is simple, yet versatile!
“Good bread is the most fundamentally satisfying of all foods; and good bread with fresh butter, the greatest of feasts.”— James Beard
Olive Oil Burger Buns (Vegan)
1 tablespoon active dry yeast
1/3 cup maple syrup
2 cups warm, filtered water
4.5-6 cups bread flour (give or take, depending on temperature and humidity of your environment)
1/3 cup extra virgin olive oil (plus extra for greasing the bowl, baking sheets)
2 teaspoons sea salt
In a small bowl, combine the active dry yeast, salt, maple syrup and water. Mix and allow to sit for at least 5 minutes or until it begins to froth and become cloudy (AKA blooming).
In a separate, large mixing bowl, add the extra virgin olive oil. When the yeast blooms, give another stir and pour into the bowl. Add 3 cups of the bread flour and stir until it dampens the flour, then add another cup or two to form a shaggy dough. (It will feel sticky at first but trust the process!)
Transfer the dough to a large, floured surface, and use extra flour if needed to bring the dough together. Knead for about 9-12 minutes or until the dough becomes smooth and elastic and does not break as easily when stretching and working it. It should be able to stick to itself while still being a little tacky. (This is how you strengthen the gluten development. You will feel the difference and transformation as you go. Alternatively, you can use a stand mixer with a dough hook.)
Afterwards, grease a large mixing bowl. (The bowl should be large enough to account for the dough tripling in size.)
After brushing, place the dough into the bowl and cover with cling wrap. Allow to rise for 2 hours, or until it doubles, even triples in size.
Next, punch down the dough to redistribute the gluten and us a scale to portion into 3oz. pieces.
With each piece, flatten to gently knead, then fold the edges inwards to the center to make a ball, and pinch. Place the pinched side back down to the surface and place your hand on top to gently press and roll until it tightens into a sphere. Repeat with all and place onto greased baking sheets, spacing at least 2” apart from each other (so they do not stick together when they proof again).
Cover loosely with plastic wrap and allow to rise for another 1.5 hours.
When it is ready, preheat the oven to 450°F.
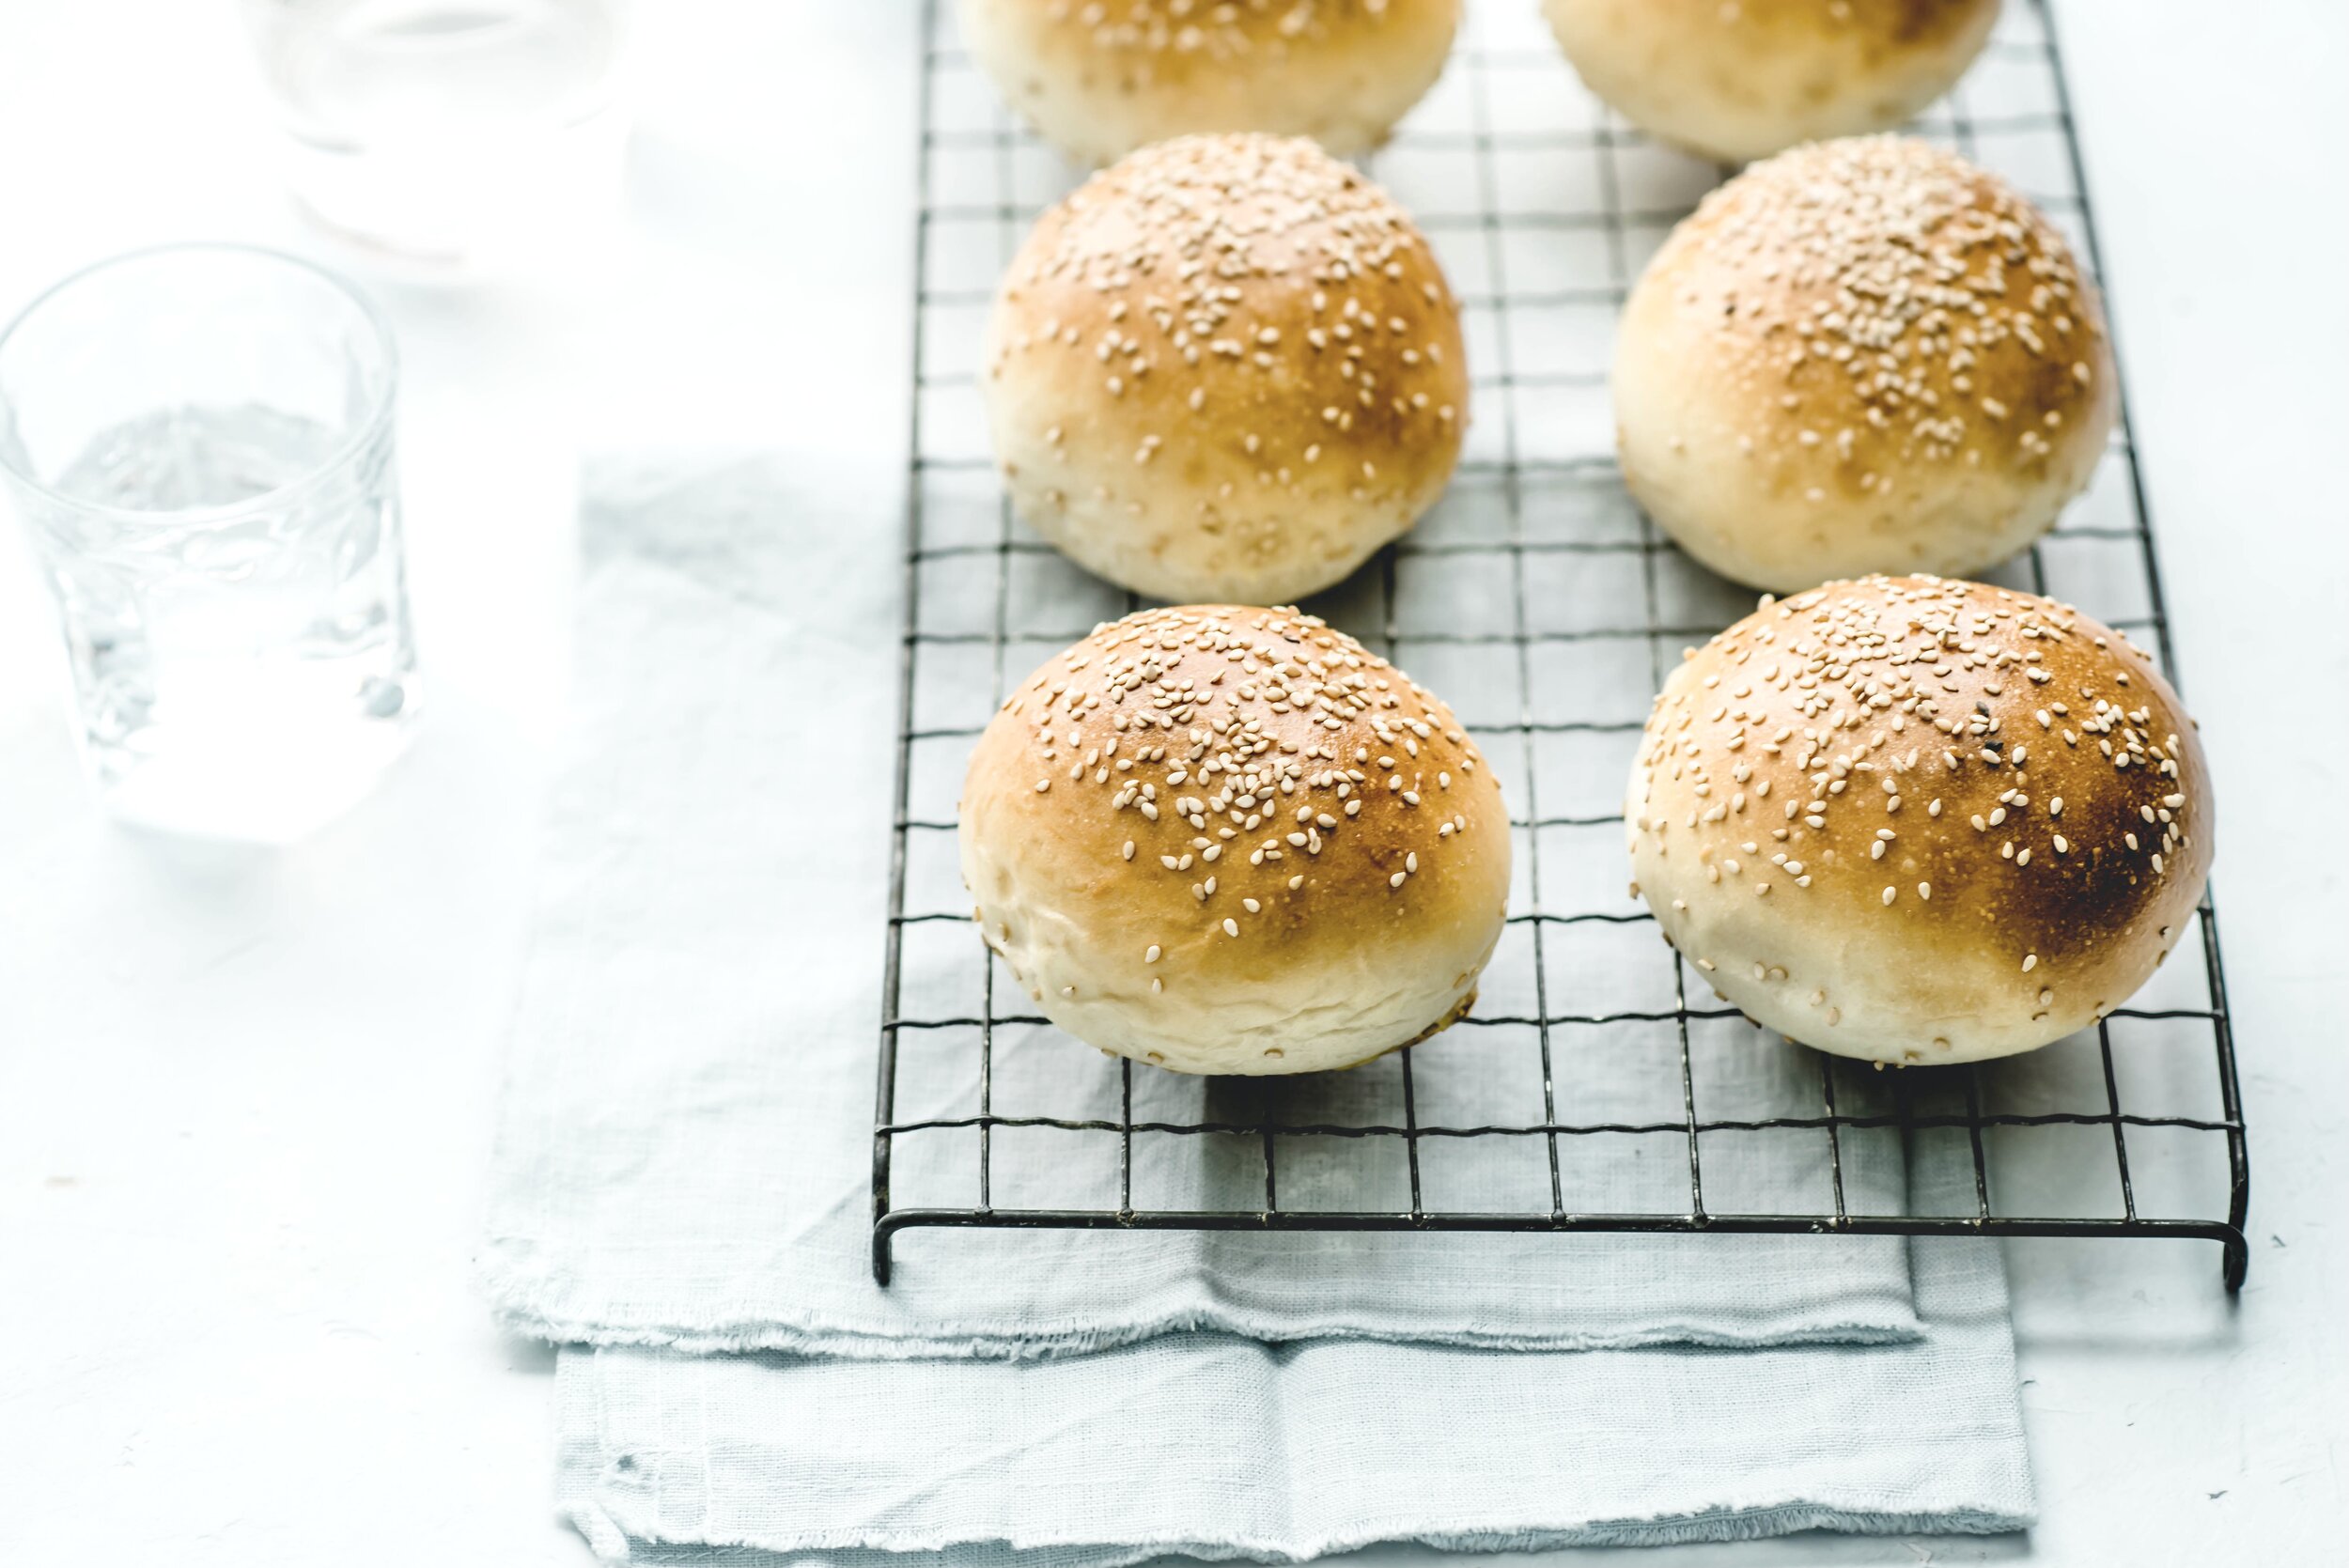
Next, uncover (optional, brush with an egg wash, then sprinkle with sesame seeds or poppyseeds) and transfer to the oven to bake for 10-12 minutes or until golden brown.
Afterwards, remove the trays from the oven and allow to cool for a few minutes. The steam will continue the baking process as it help soften the insides while it rests and the steam releases, giving you wonderfully fluffy buns!
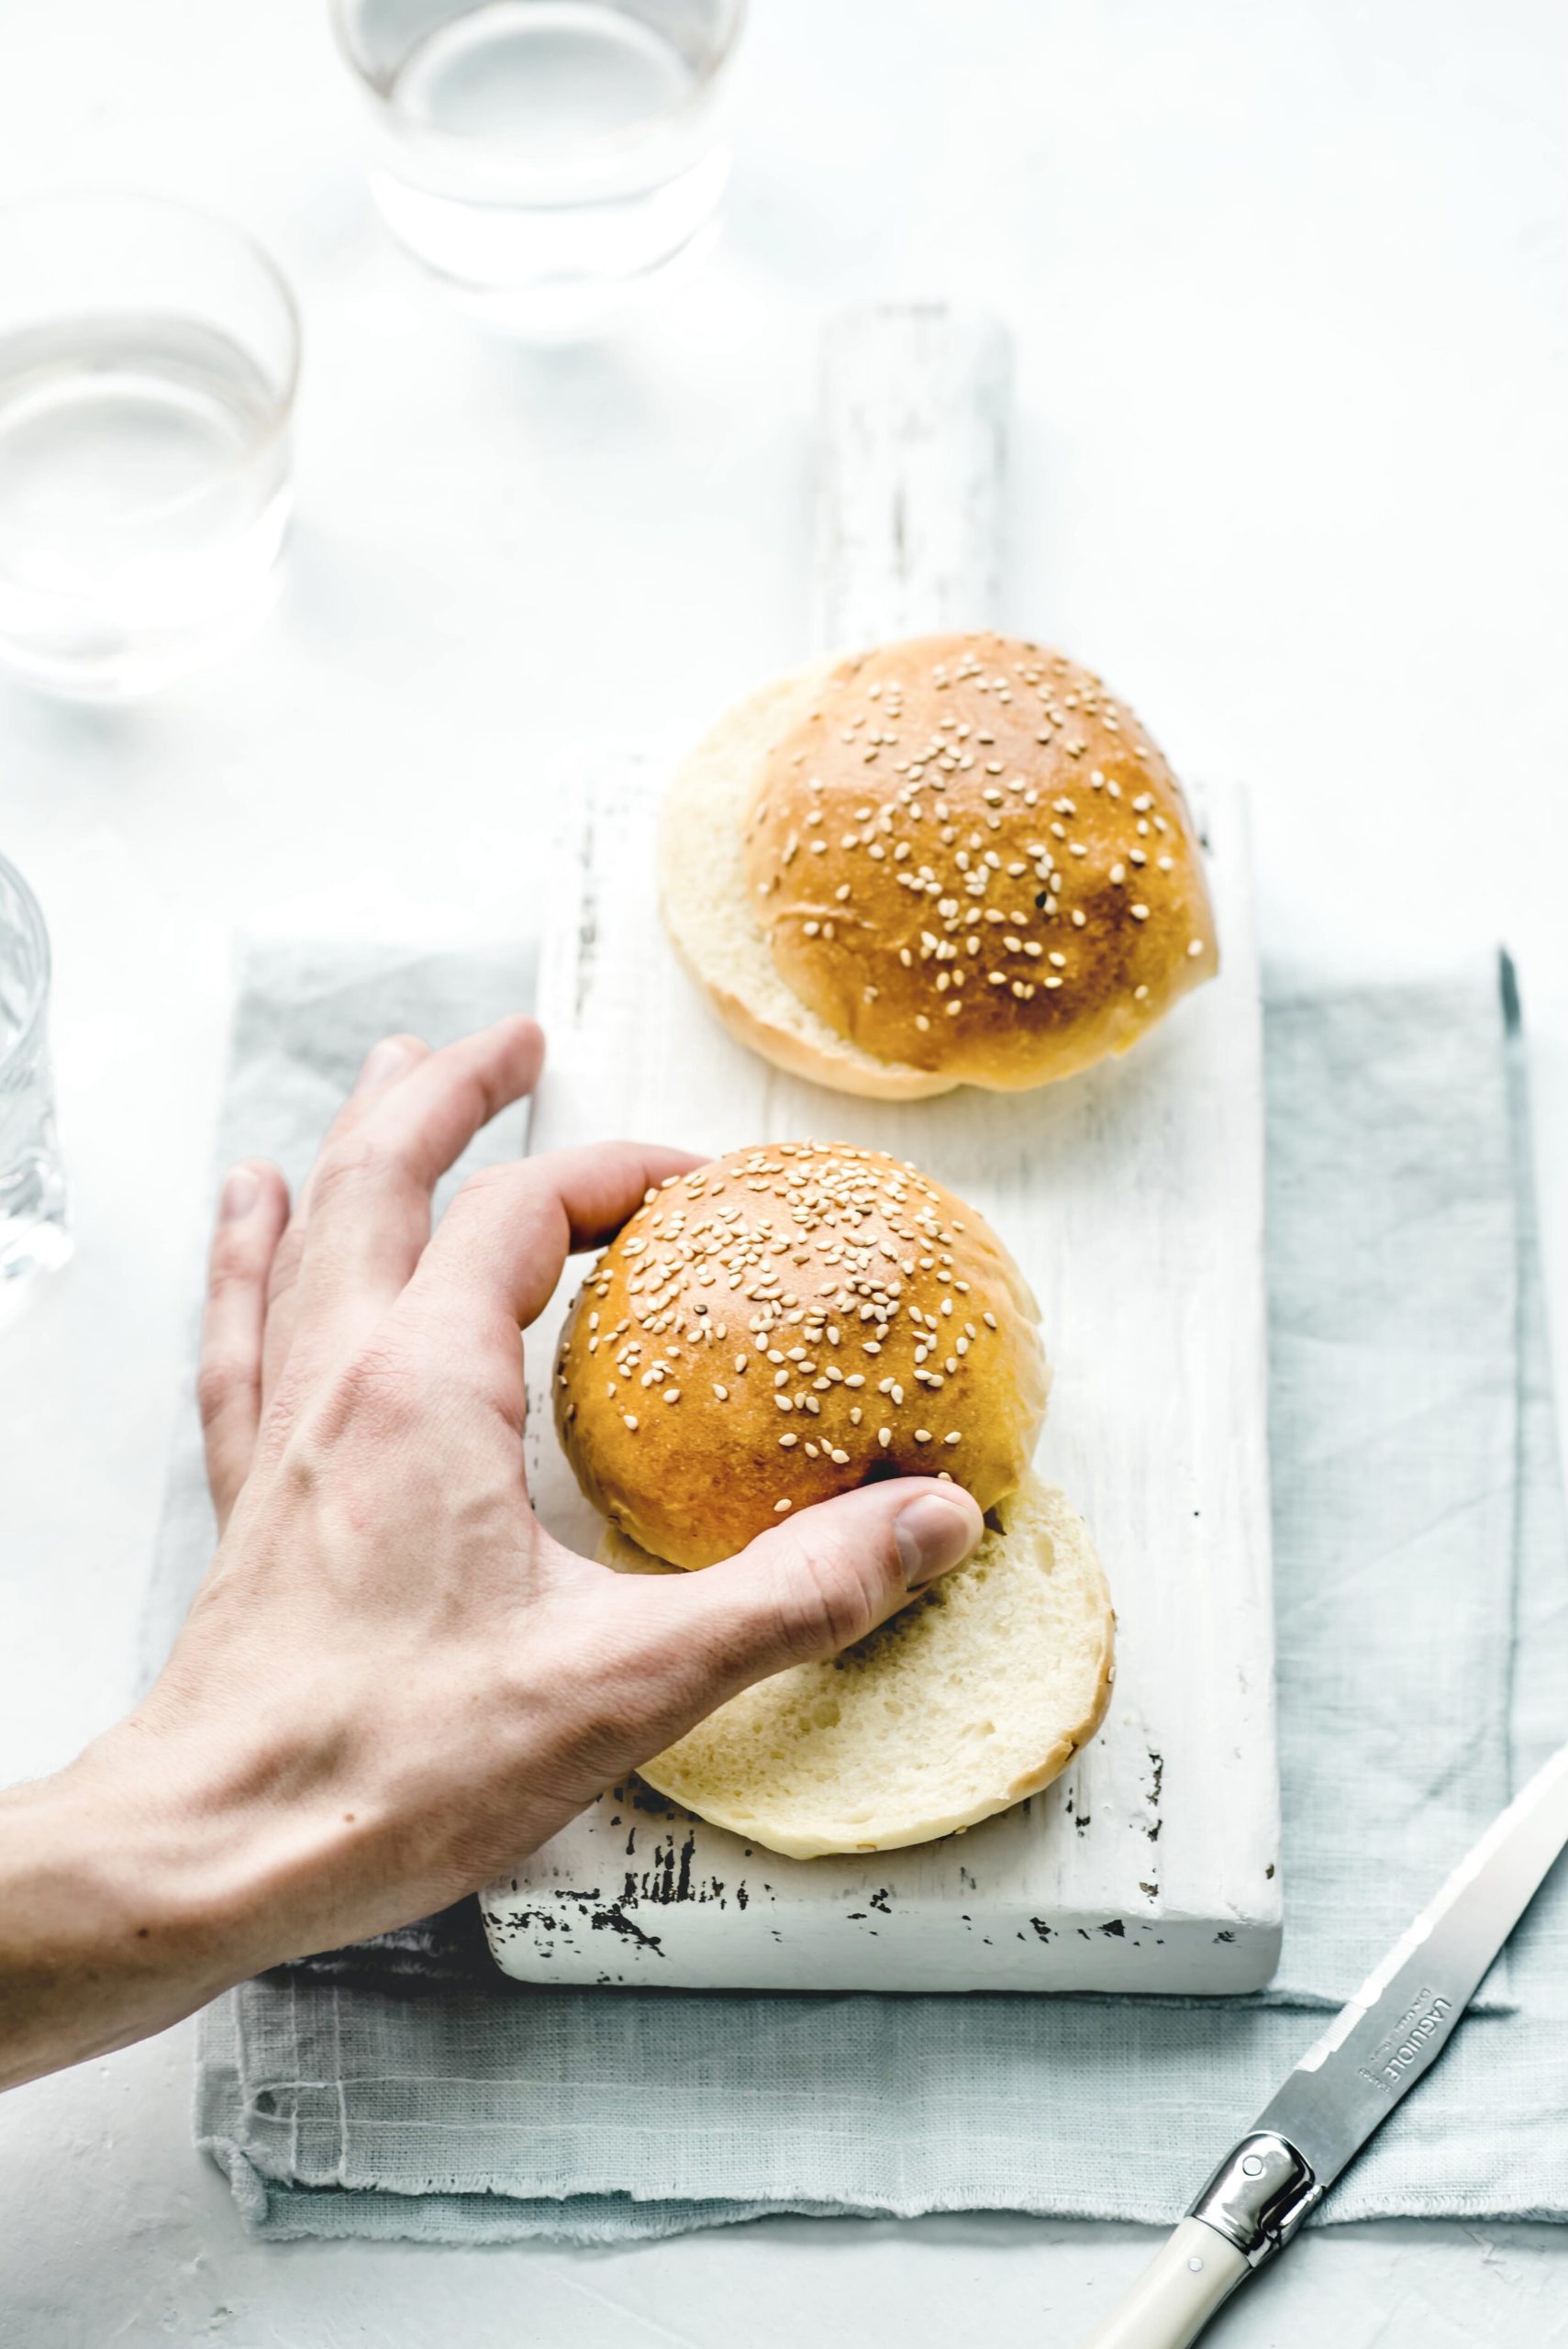
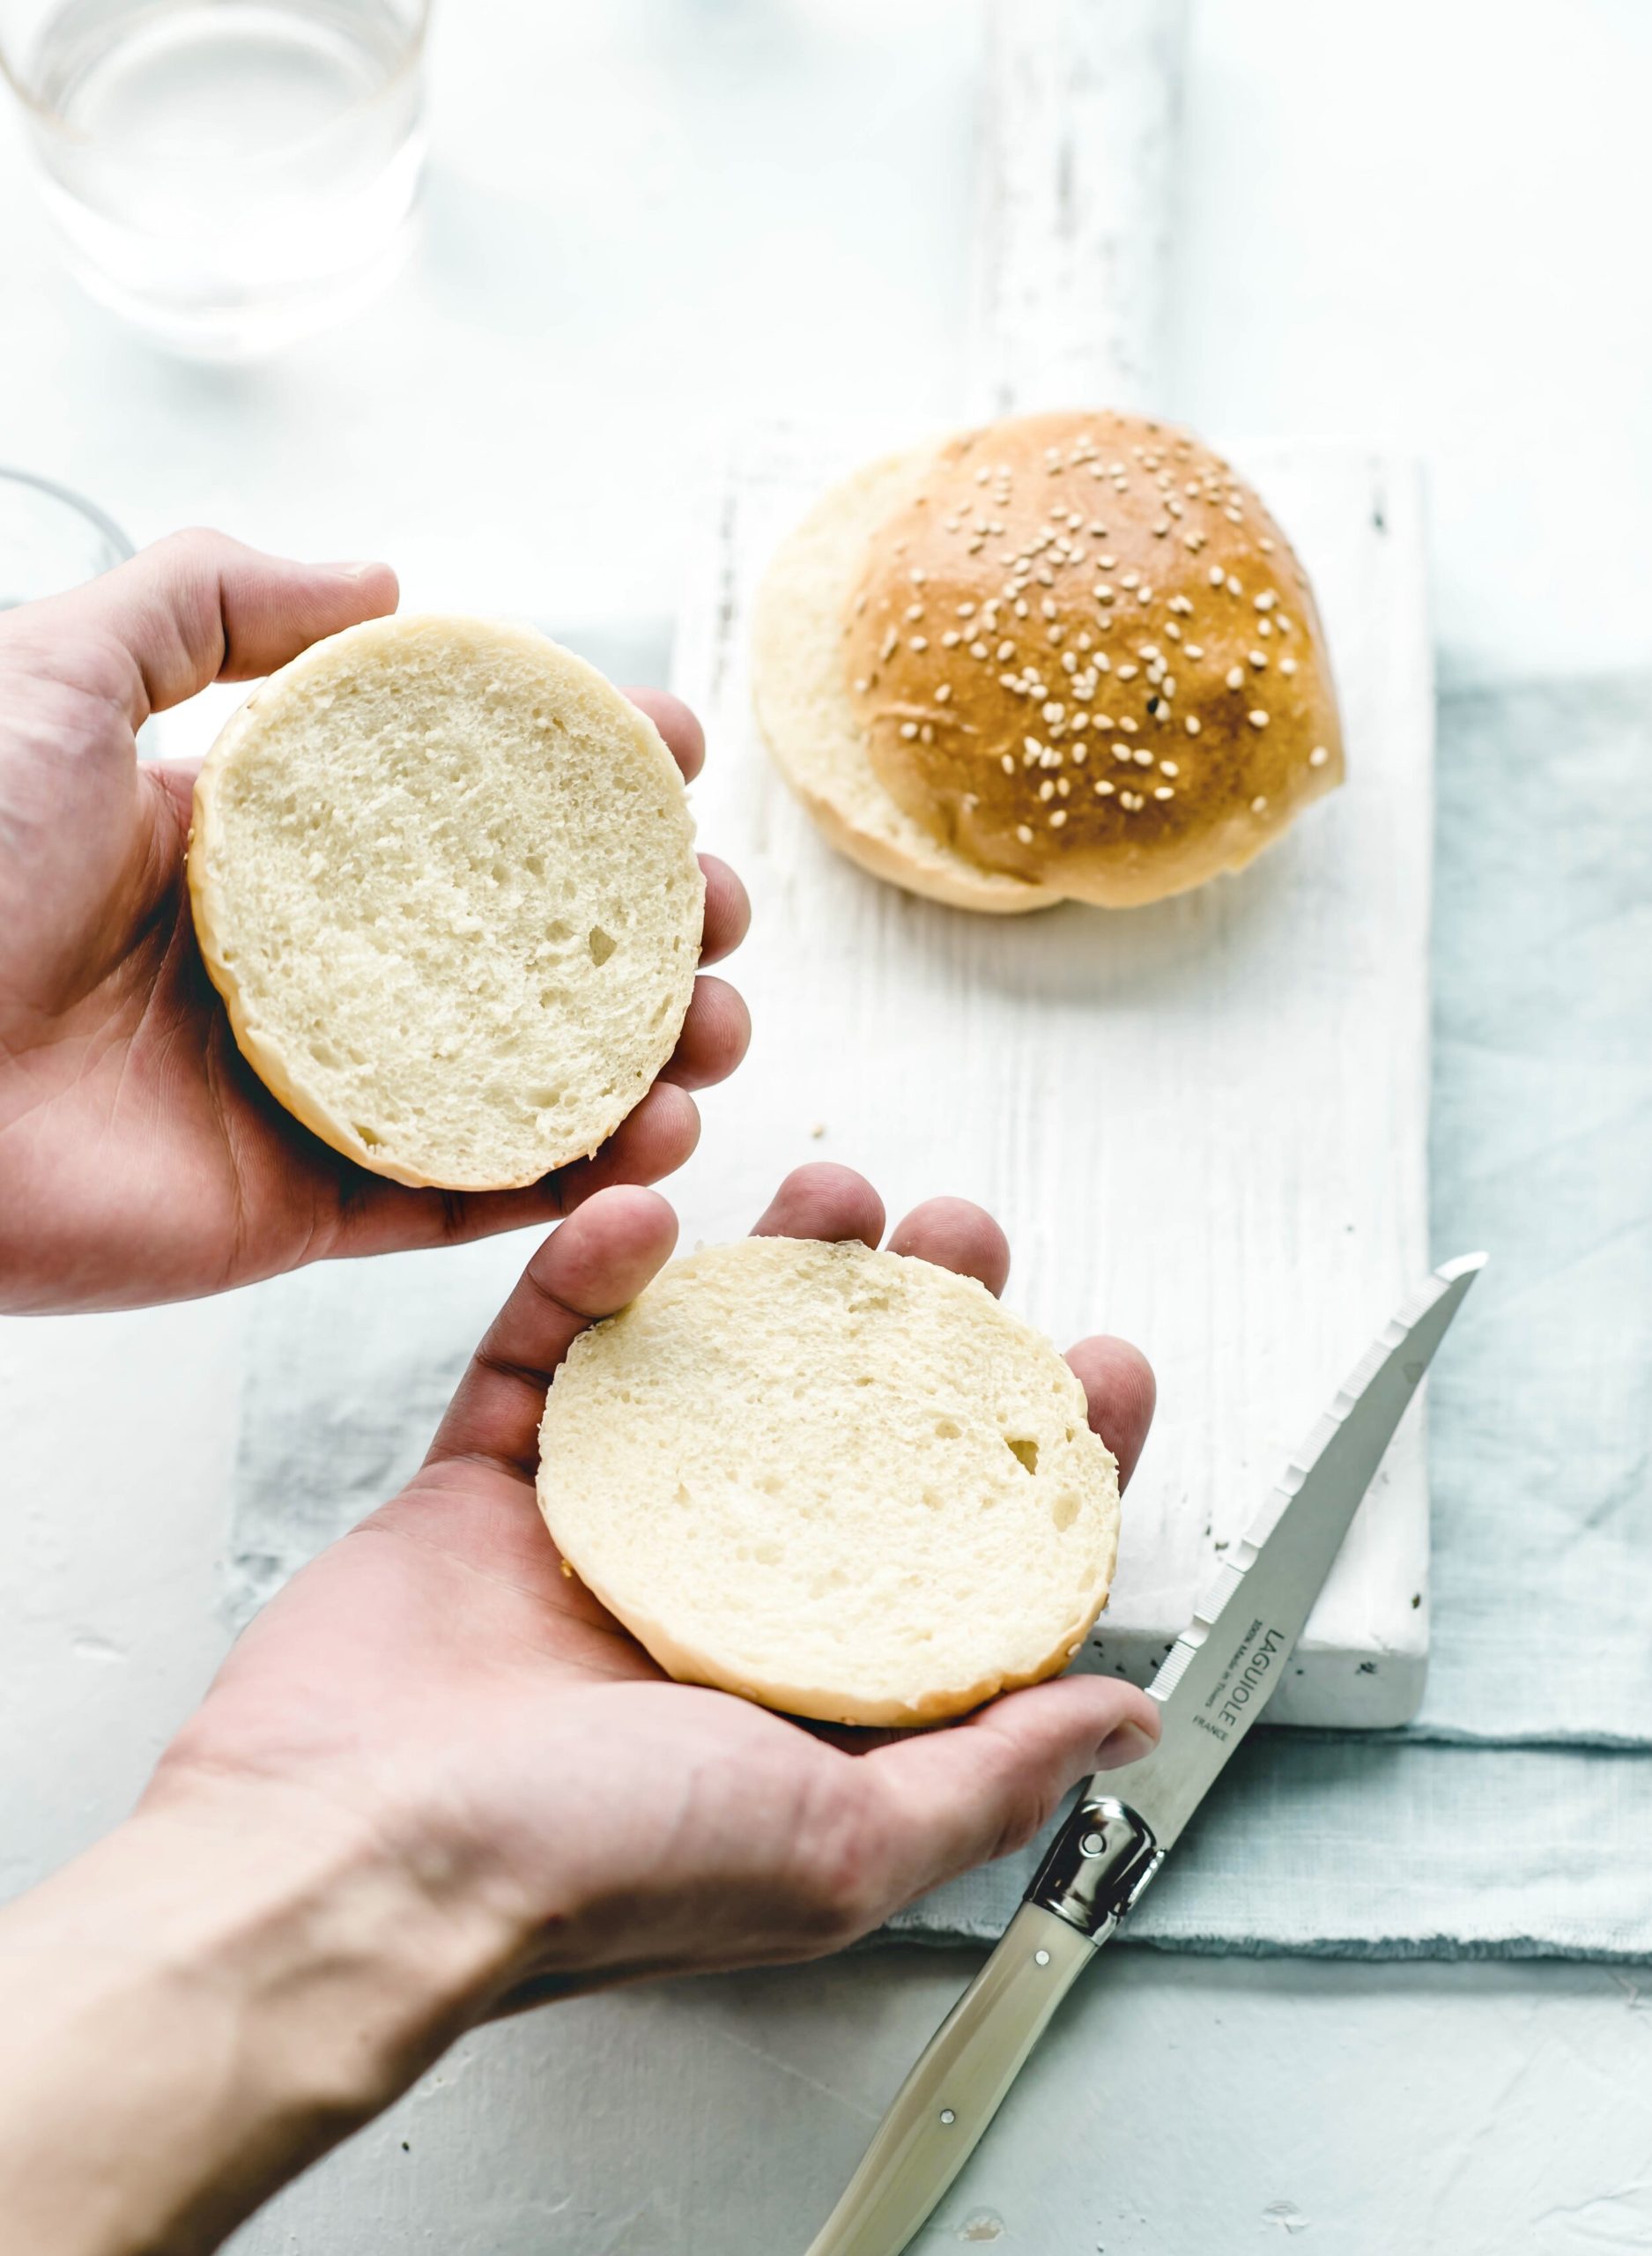
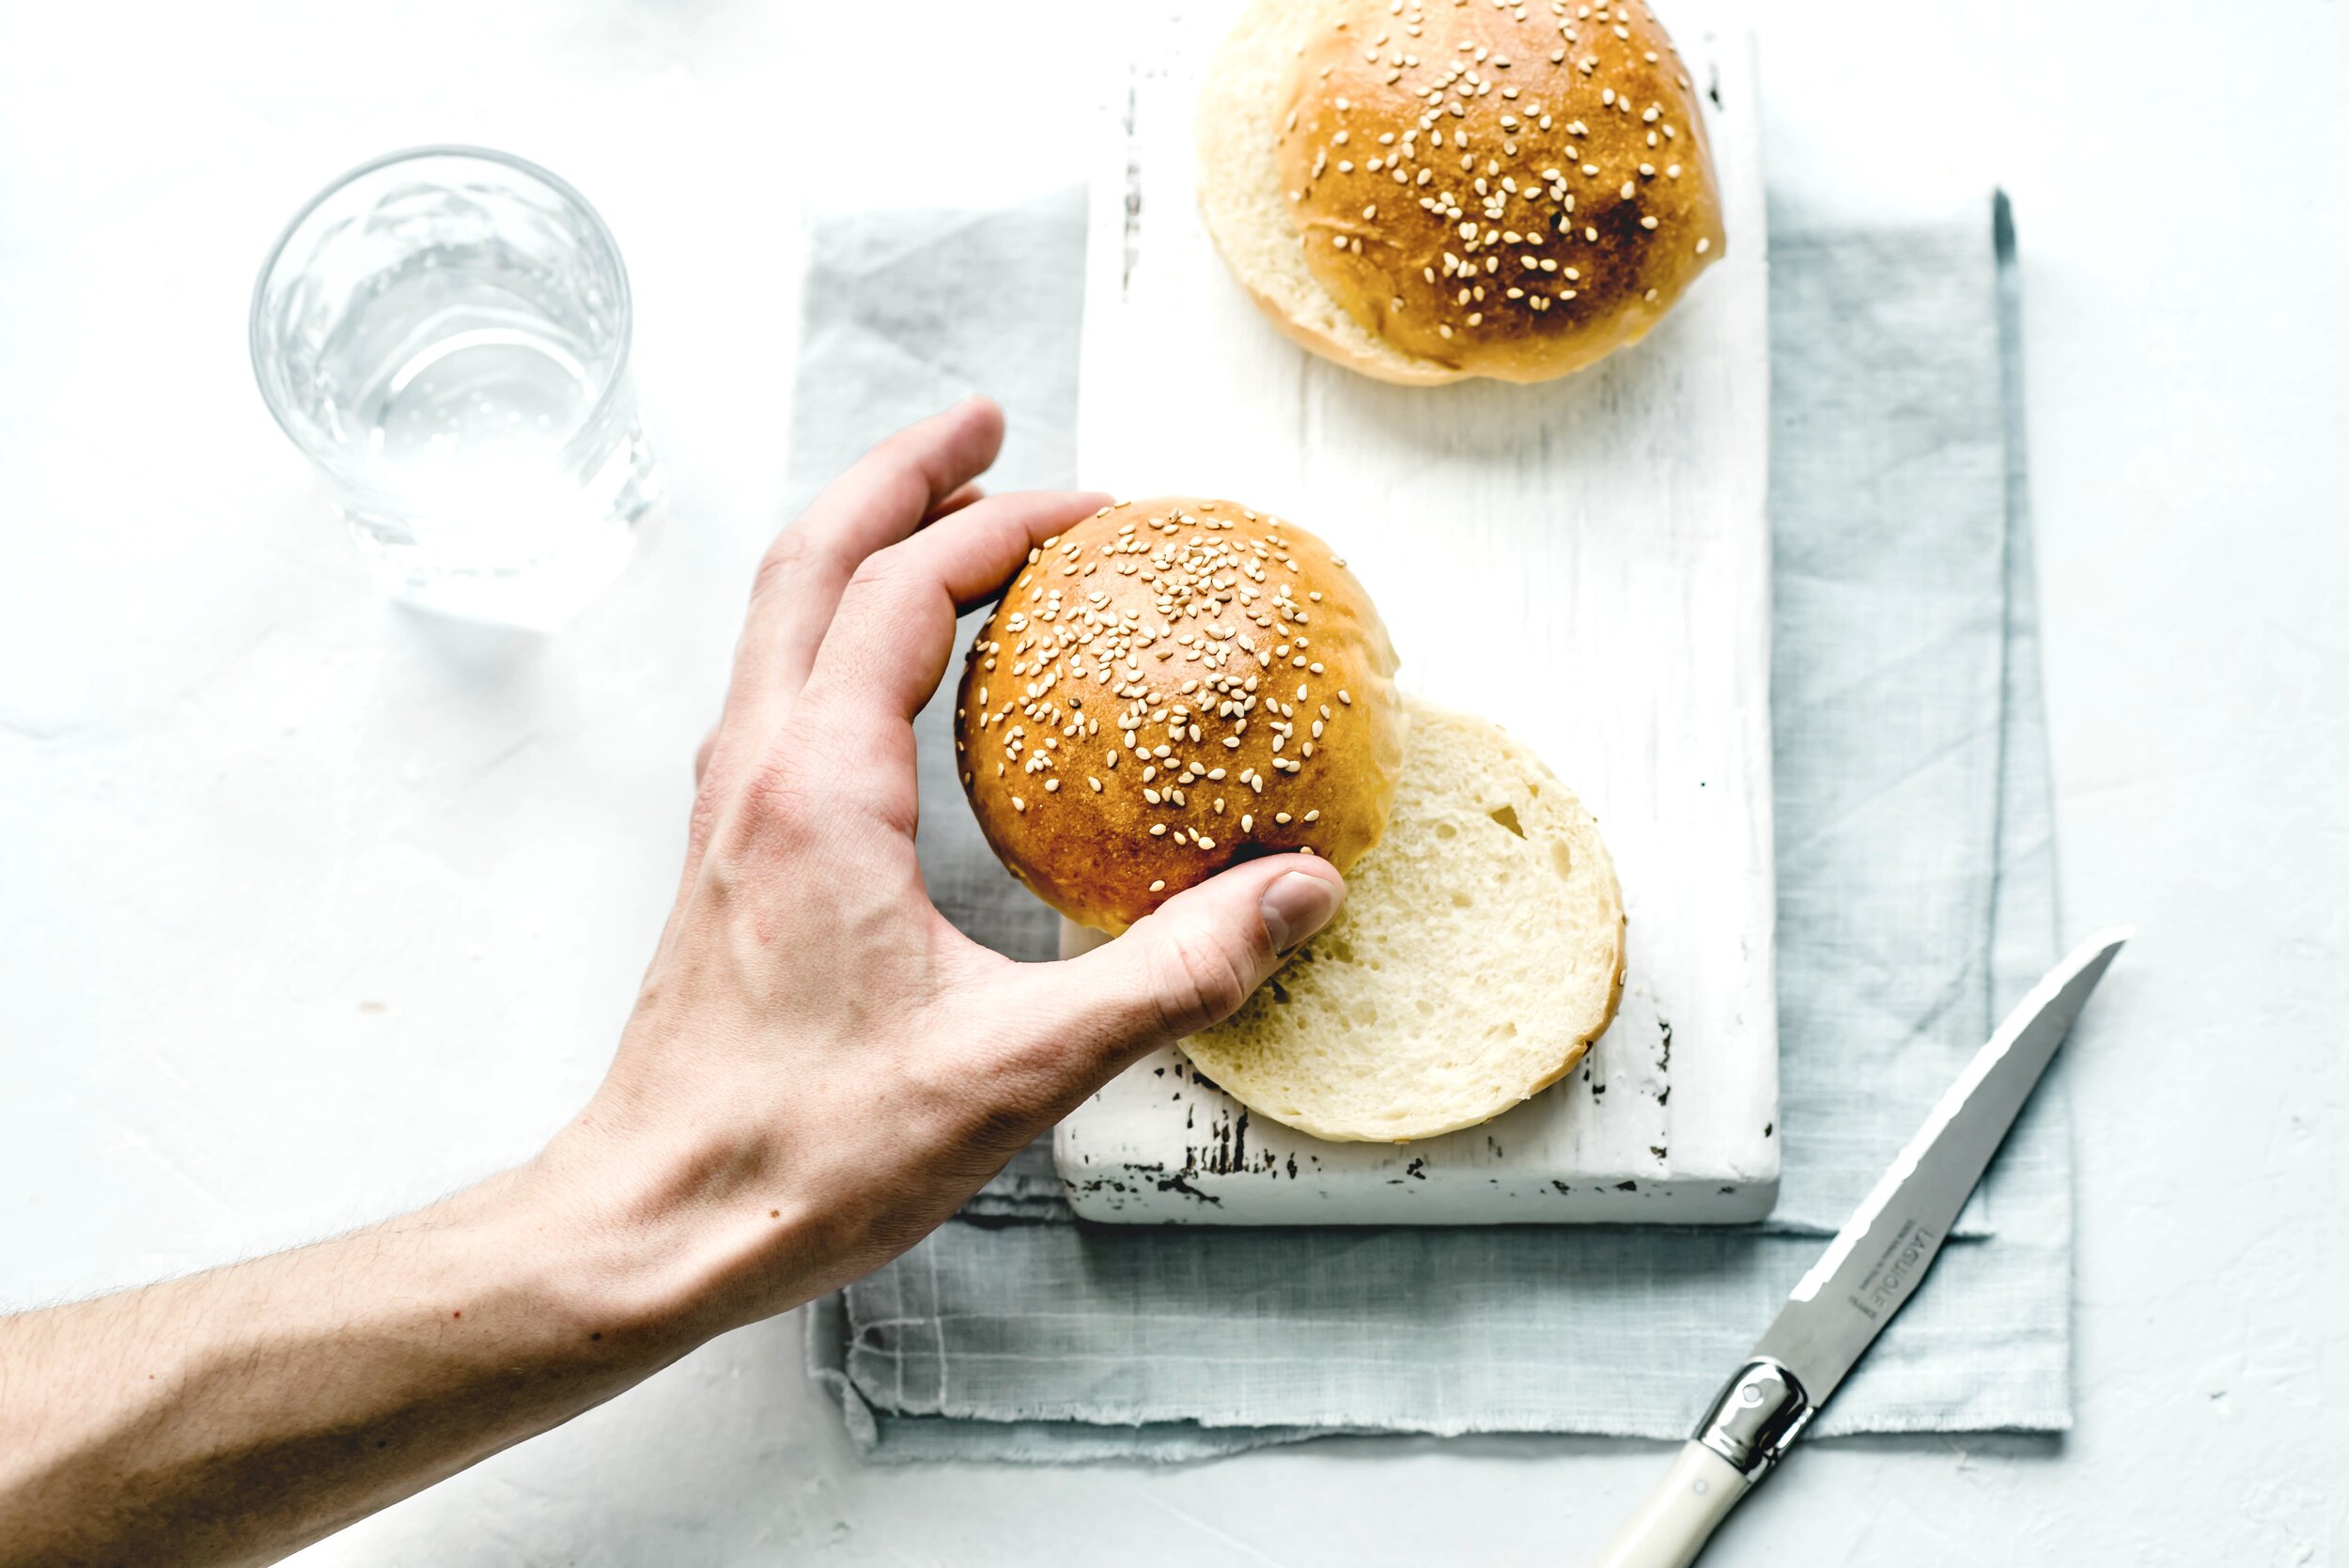
When ready, cut each bun in half, assemble to preference, and most importantly, enjoy!


")

")


")

