

")
23 Must-Have Essentials For Commercial Food Styling
Whether you’re aspiring to be a commercial food stylist or you simply want to learn how to take better photos of your food, the first thing you’ll need to do before you even pull out your camera is brush up on your basic kitchen skills for commercial food styling.
I bet you didn’t come here for Abraham Lincoln quotes, but I’m going to share one with you anyway:
“If I only had an hour to chop down a tree, I would spend the first 45 minutes sharpening my axe.” – Abraham Lincoln
And while an axe isn’t exactly on my list of commercial food styling essentials, I wholeheartedly agree with old histatement. That said, when you have great tools and you know how to use them, you will be a lot more efficient with any task.
So, without further ado—let’s get into it: 23 of my must-have tools for styled food photoshoots!
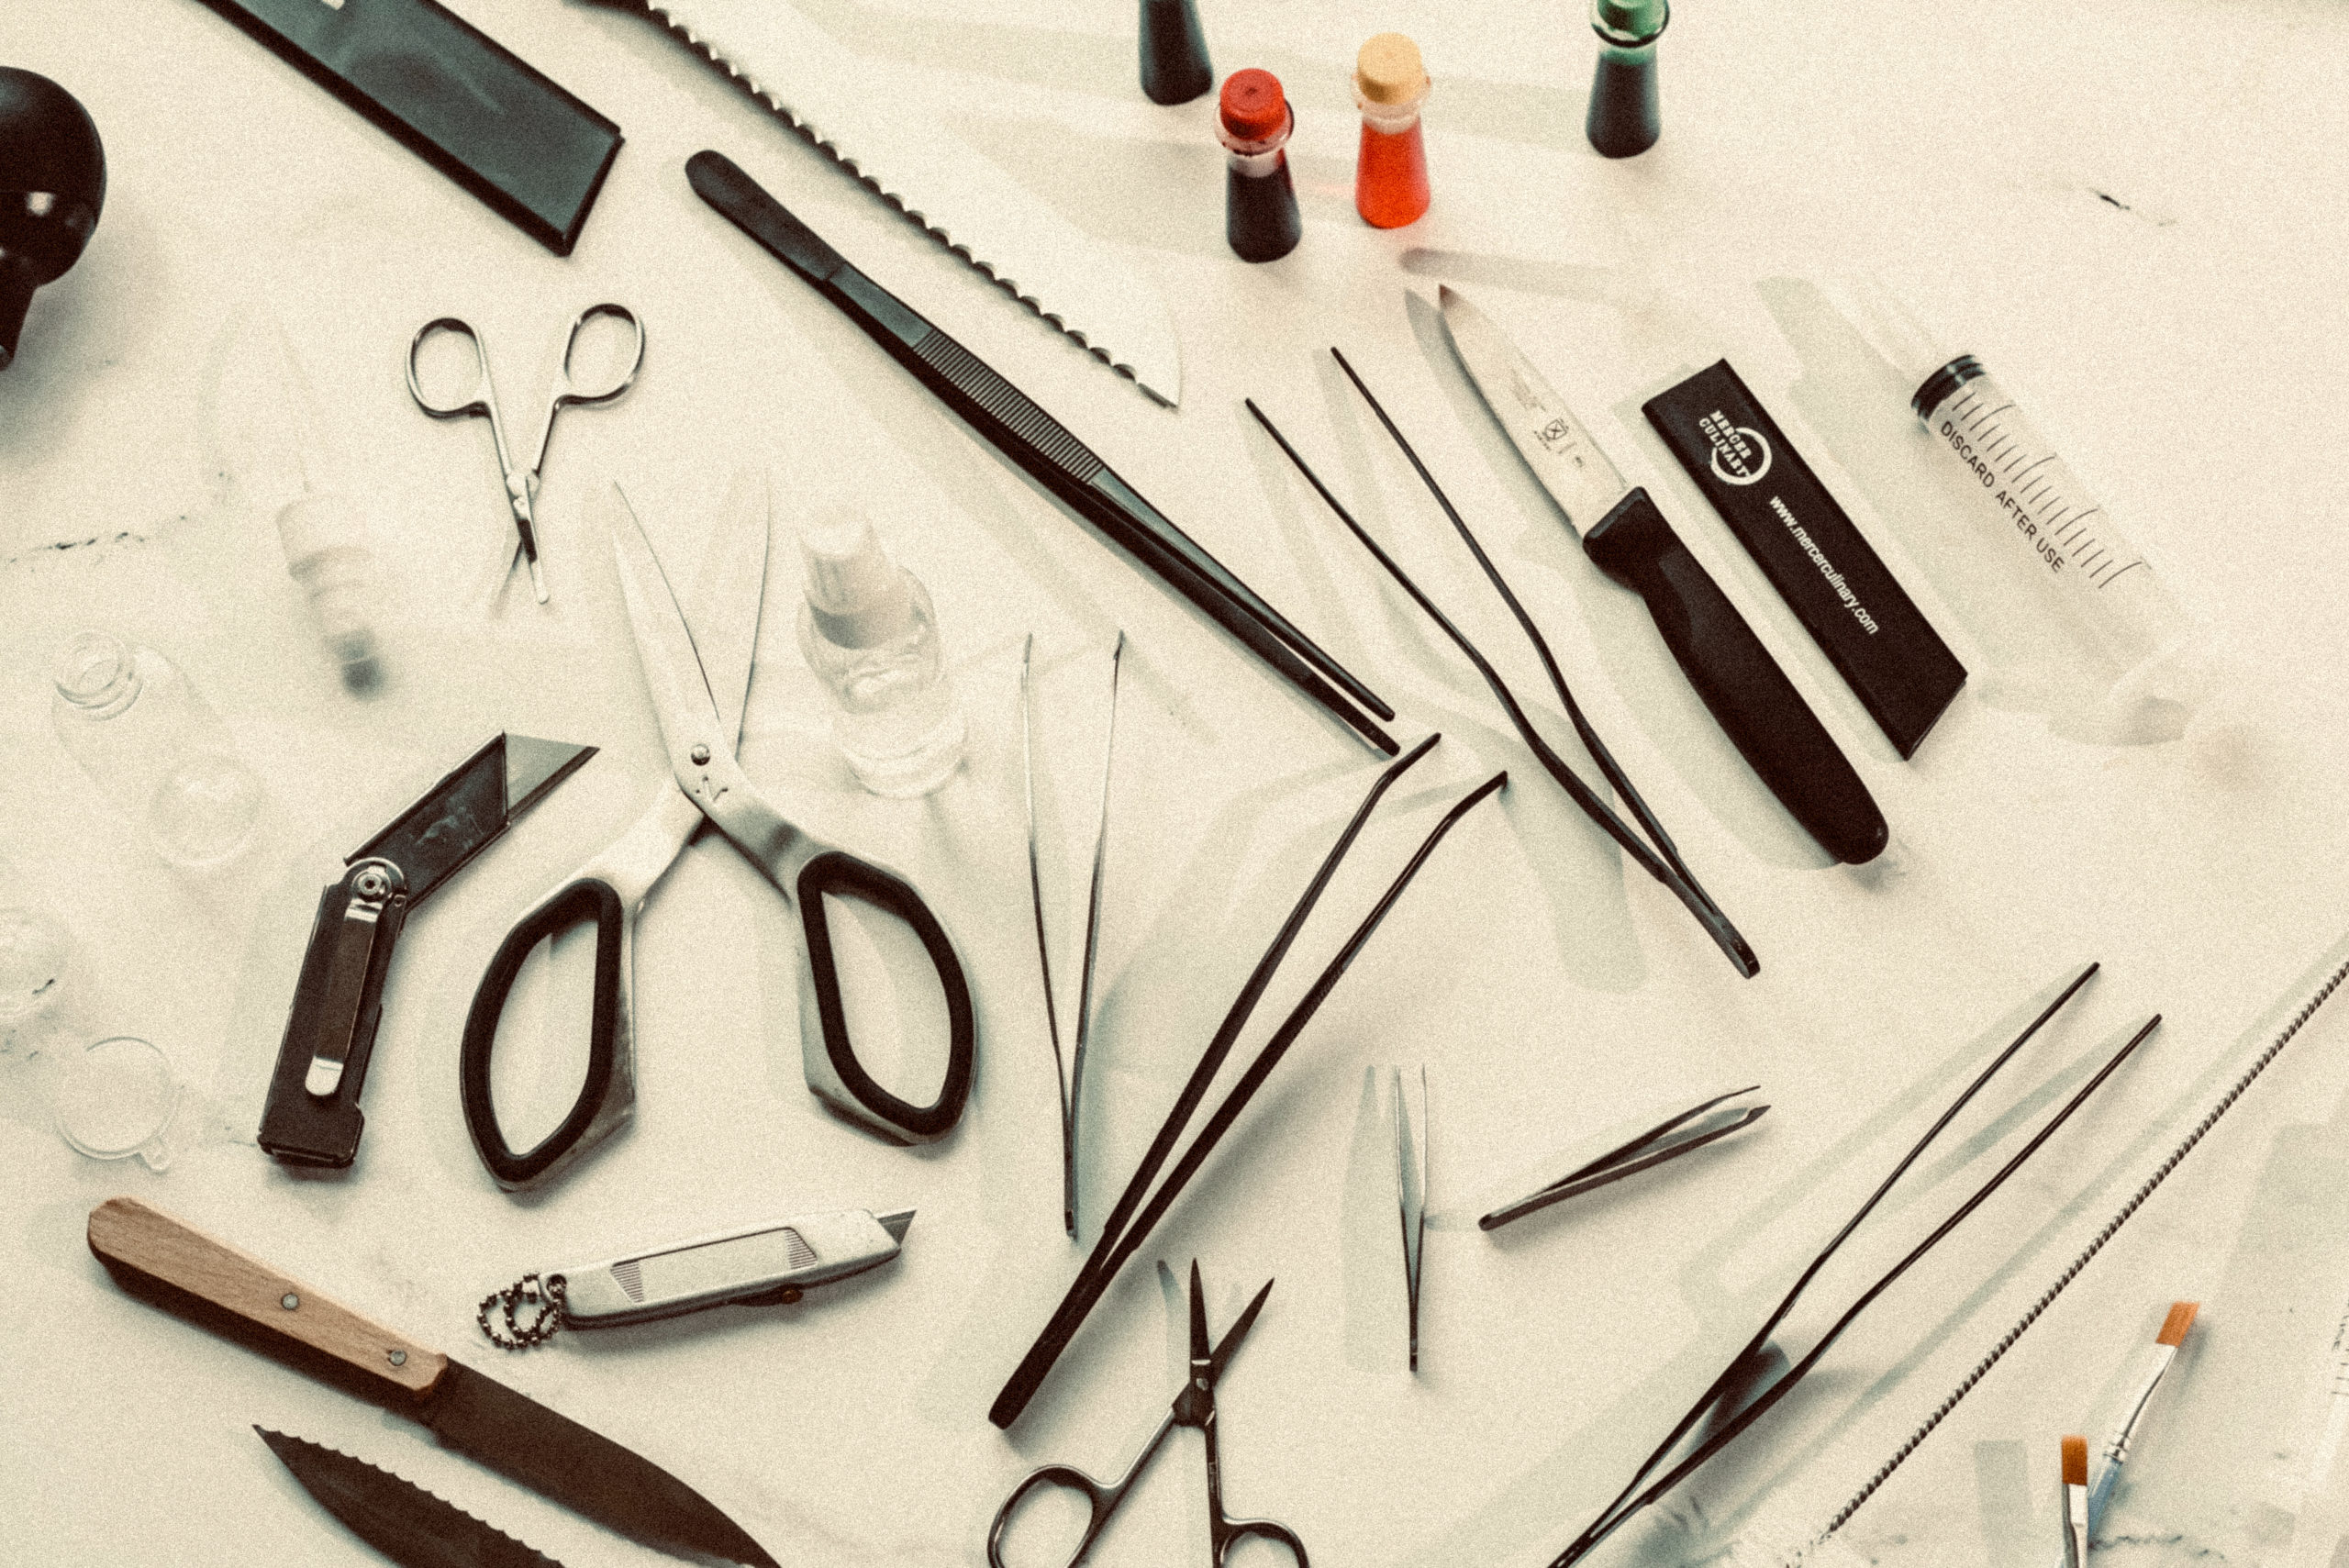
23 Must-Have Essentials For Commercial Food Styling:
- Cooler and reusable cooler bags, to keep everything chilled and preserved.
- Gloves, to avoid getting fingerprints, oils, sauces, and other unwanted substances onto your surfaces.
- Microfiber cloths and paper towels, to wipe up your messes and keep your surfaces clean. (Think of sustainability, though, and only use paper towels as a last resort.)
- Dish soap and sponges, to keep clean as you go and to clean up at the very end. Some clients and/or locations may have these items, but some may not, so I recommend bringing them either way. Plus, you don’t want to use up all their soap!
- Cooking spray (without baking soda), to keep things looking fresh and giving them the ‘freshly baked’ or ‘just grilled’ effect. Cooking sprays with baking soda are great for baking, but in terms of food styling, it leaves a white residue.
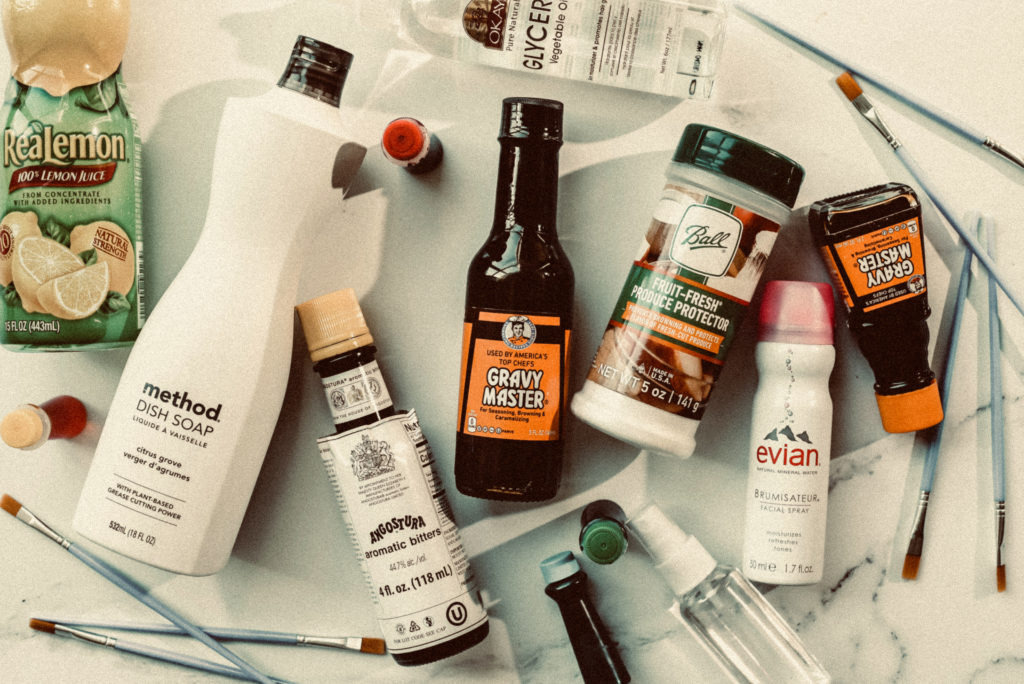
- Vegetable glycerin, for a more controlled and concentrated method of adding shine to foods. You can use a paint brush to gently layer on sheen to things like chocolate on a chocolate chip cookie. It also helps to help prevent meat from drying too much before the right photo has been captured. For drinks, mix equal parts glycerin and water into a tiny spray bottle. This will give the appearance of “condensation” and will stick to the surface better than water alone.
- Gravy master and food coloring, for helping to ‘brown’ protein, or to brighten up the color or details of something like dull, out-of-season fruit. You can mix these with a light olive oil or vegetable glycerine!
- Disinfectant spray or wipes, to clear any trace of your mess away at the end of your shoot. (You should always leave the place better than you found it!)
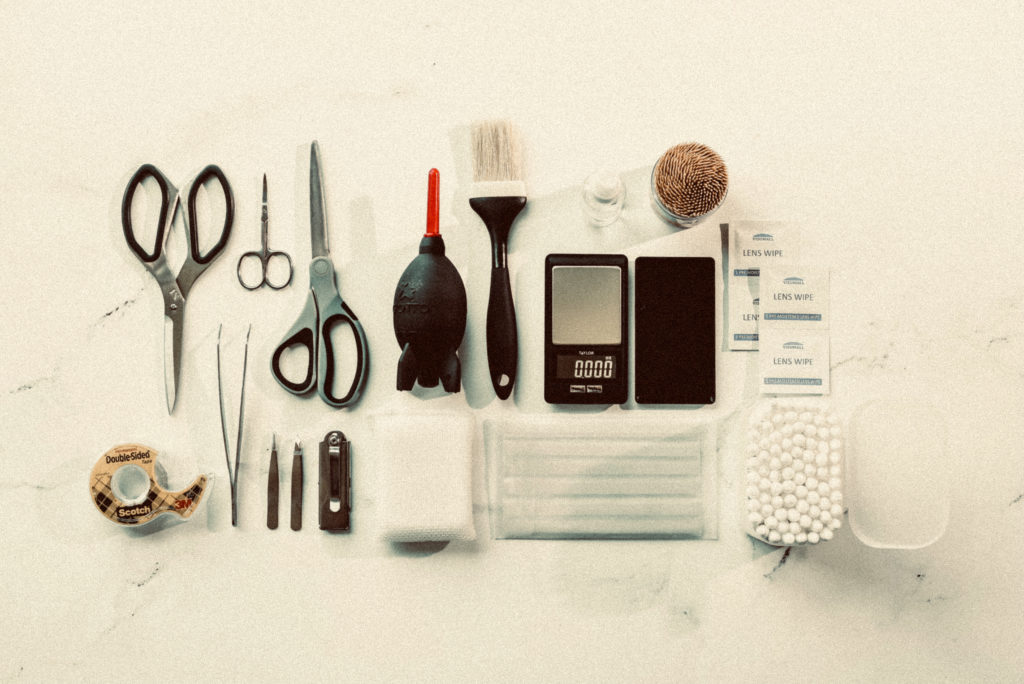
- Cotton pads and makeup sponges, because you never know when you’ll need to prop up a layer in a sandwich or burger.
- Q-tips, for tiny clean-ups or applications.
- Paint brushes, which will be convenient for gently dusting away tiny bits like crumbs, because they kind of stick to the bristles, making it easier to clean hard-to-reach areas.
- Scissors, preferably with a blade guard. The last thing anyone wants at a photoshoot is to have someone accidentally slice their hand due to lack of proper safety precautions!
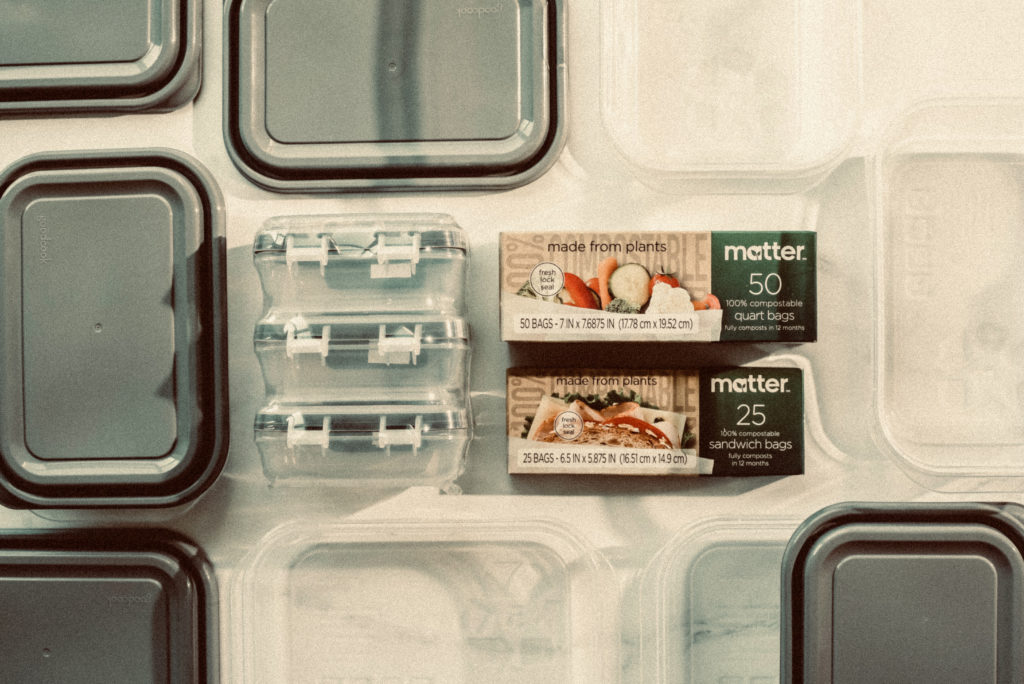
- Plastic baggies, to help keep things organized and fresh. I like to find compostable ones, or even invest in reusable ones, to ensure that I’m not being wasteful.
- Lightweight cutting boards, preferably with tiny grips on the bottom. Tip: If your cutting boards don’t have grips you can avoid slipping by dampening a dish towel and laying it flat between the surface and the cutting board.
- Knives, for obvious reasons. I recommend a very sharp chef’s knife with a blade stopper, as well as a paring knife for smaller things like limes, or halving smaller produce. I also recommend a bread knife or serrated knife!
- Pastry brush, to help brush on shiny liquids such as glycerine to make things look *juicier* (and because they are designed to be used again and again).
- Trash bags, to make sure things stay tidy and to help you ensure that you’re not all over the place. (Opt for the medium ones to encourage less waste and to make it easier to haul when the photoshoot is over!)
- Lemon juice, to help preserve the surfaces of certain fruits like apples, avocadoes or pears. Your goal will always be to keep the food looking fresh, even if it’s been sitting out for hours (or sometimes even all day).
- Rocket blower or air duster, to help blow away tiny crumbs or dust, or even to help speed up drying on certain reactive materials like concrete.
- Squeeze bottles or syringes, for piping on sauces and icing with the utmost control.
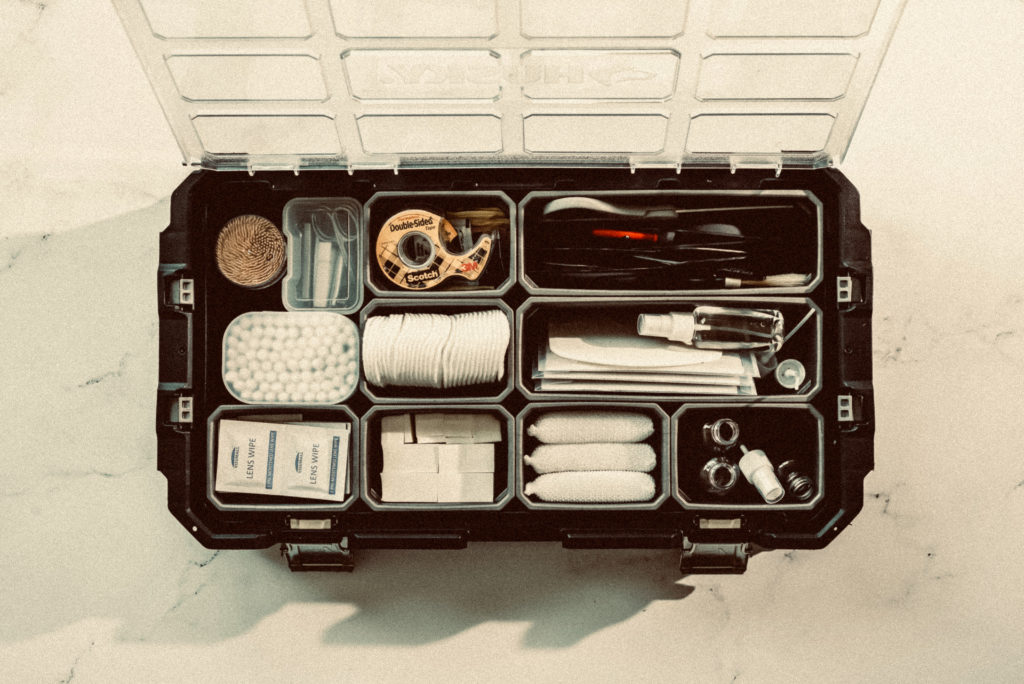
- Reusable Containers, to keep your operation tidy and organized, and to be able to place things in the fridge as needed to keep ingredients as fresh as possible.
- Plastic wrap, as a last resort to help keep certain larger food items fresh like melon wedges. Beeswax wraps are fabulous but they are an investment for a greener tomorrow!
- Toothpicks, to keep everything in its place for a stacked sandwich or produce still life. I recommend various sizes and ones that are pointed on both ends.
—
When it comes to styling on set, your biggest assets will be your knowledge, adaptability, and the speed and efficiency of your execution.
You know that old saying… “if you give a man a fish, you’ll feed him for a day, but if you teach a man to fish, you’ll feed him for a lifetime? “Yeah, that’s where I’m going with this.
I’ve happily given you all of my tried-and-true essentials, however, these tools won’t get you very far if you don’t master the basics first.
So, before you start taking photos, make sure you:
- Learn to prioritize and manage your time efficiently
- Mise en place!
- Master your knife skills and basic cooking skills
- Learn how to cut fruit and veggies
- Learn about how sugar, salt, and acidity help to preserve food

(And, to be clear—even though I’ve been doing this for a while, I’m always learning and further developing my skills—so don’t get discouraged if you feel like there’s a lot you have left to learn!)
Side note:
It is beneficial to familiarize yourself with common commercial photoshoot terms, such as “DP” for Director of Photography. Another term is: “hero” for the stylized, approved subject to focus on. You will pick these things up as you go. However, to make sure you stay in the loop subscribe for updates whenever posts go live!
Now, here’s your homework: head over to YouTube and spend time watching videos to brush up on skills. The more you learn the more you grow, the more your practice the more you progress.
Like what you see? I hope you found this post helpful! Make sure to save for later on Pinterest to refer back to and prepare for your next photoshoot!
For more tips like this, follow me on Instagram or subscribe to my email list (below!) for blog post updates!
For delicious recipes to create or pair alongside, visit the Kitchen Journal.
")


")

