6 Key Steps To A Drool-Worthy Vegan Cheese Board
Want to learn how to make the perfect plant-based platter for your summer gathering? A vegan cheese board, loaded with bountiful produce, is a surefire crowd pleaser for *any* occasion!
And, as a bonus: it is much healthier than a cheese and charcuterie platter. It’s also a great way to ease into heavier meals. Not only are vegan cheese boards simple to make, they are a blast to share and show off.
And, I kid you not, I still get a kick out of family and friends saying things like:
“Flavorful and vegan? I can’t believe I said those two words in the same sentence. You know I’m a meat eater!”
“The spread is filling yet light. It’s beautiful and delicious!”
“This tastes exactly like ‘regular’ cheese!”
“Wait, where did you buy this?! I’m not even vegan, and I’m obsessed.”
…and that’s coming from some of the biggest meat eaters I know—making the above responses huge compliments.
That said, if you’d like to learn how the magic happens, keep scrolling!
1. Go with the flow
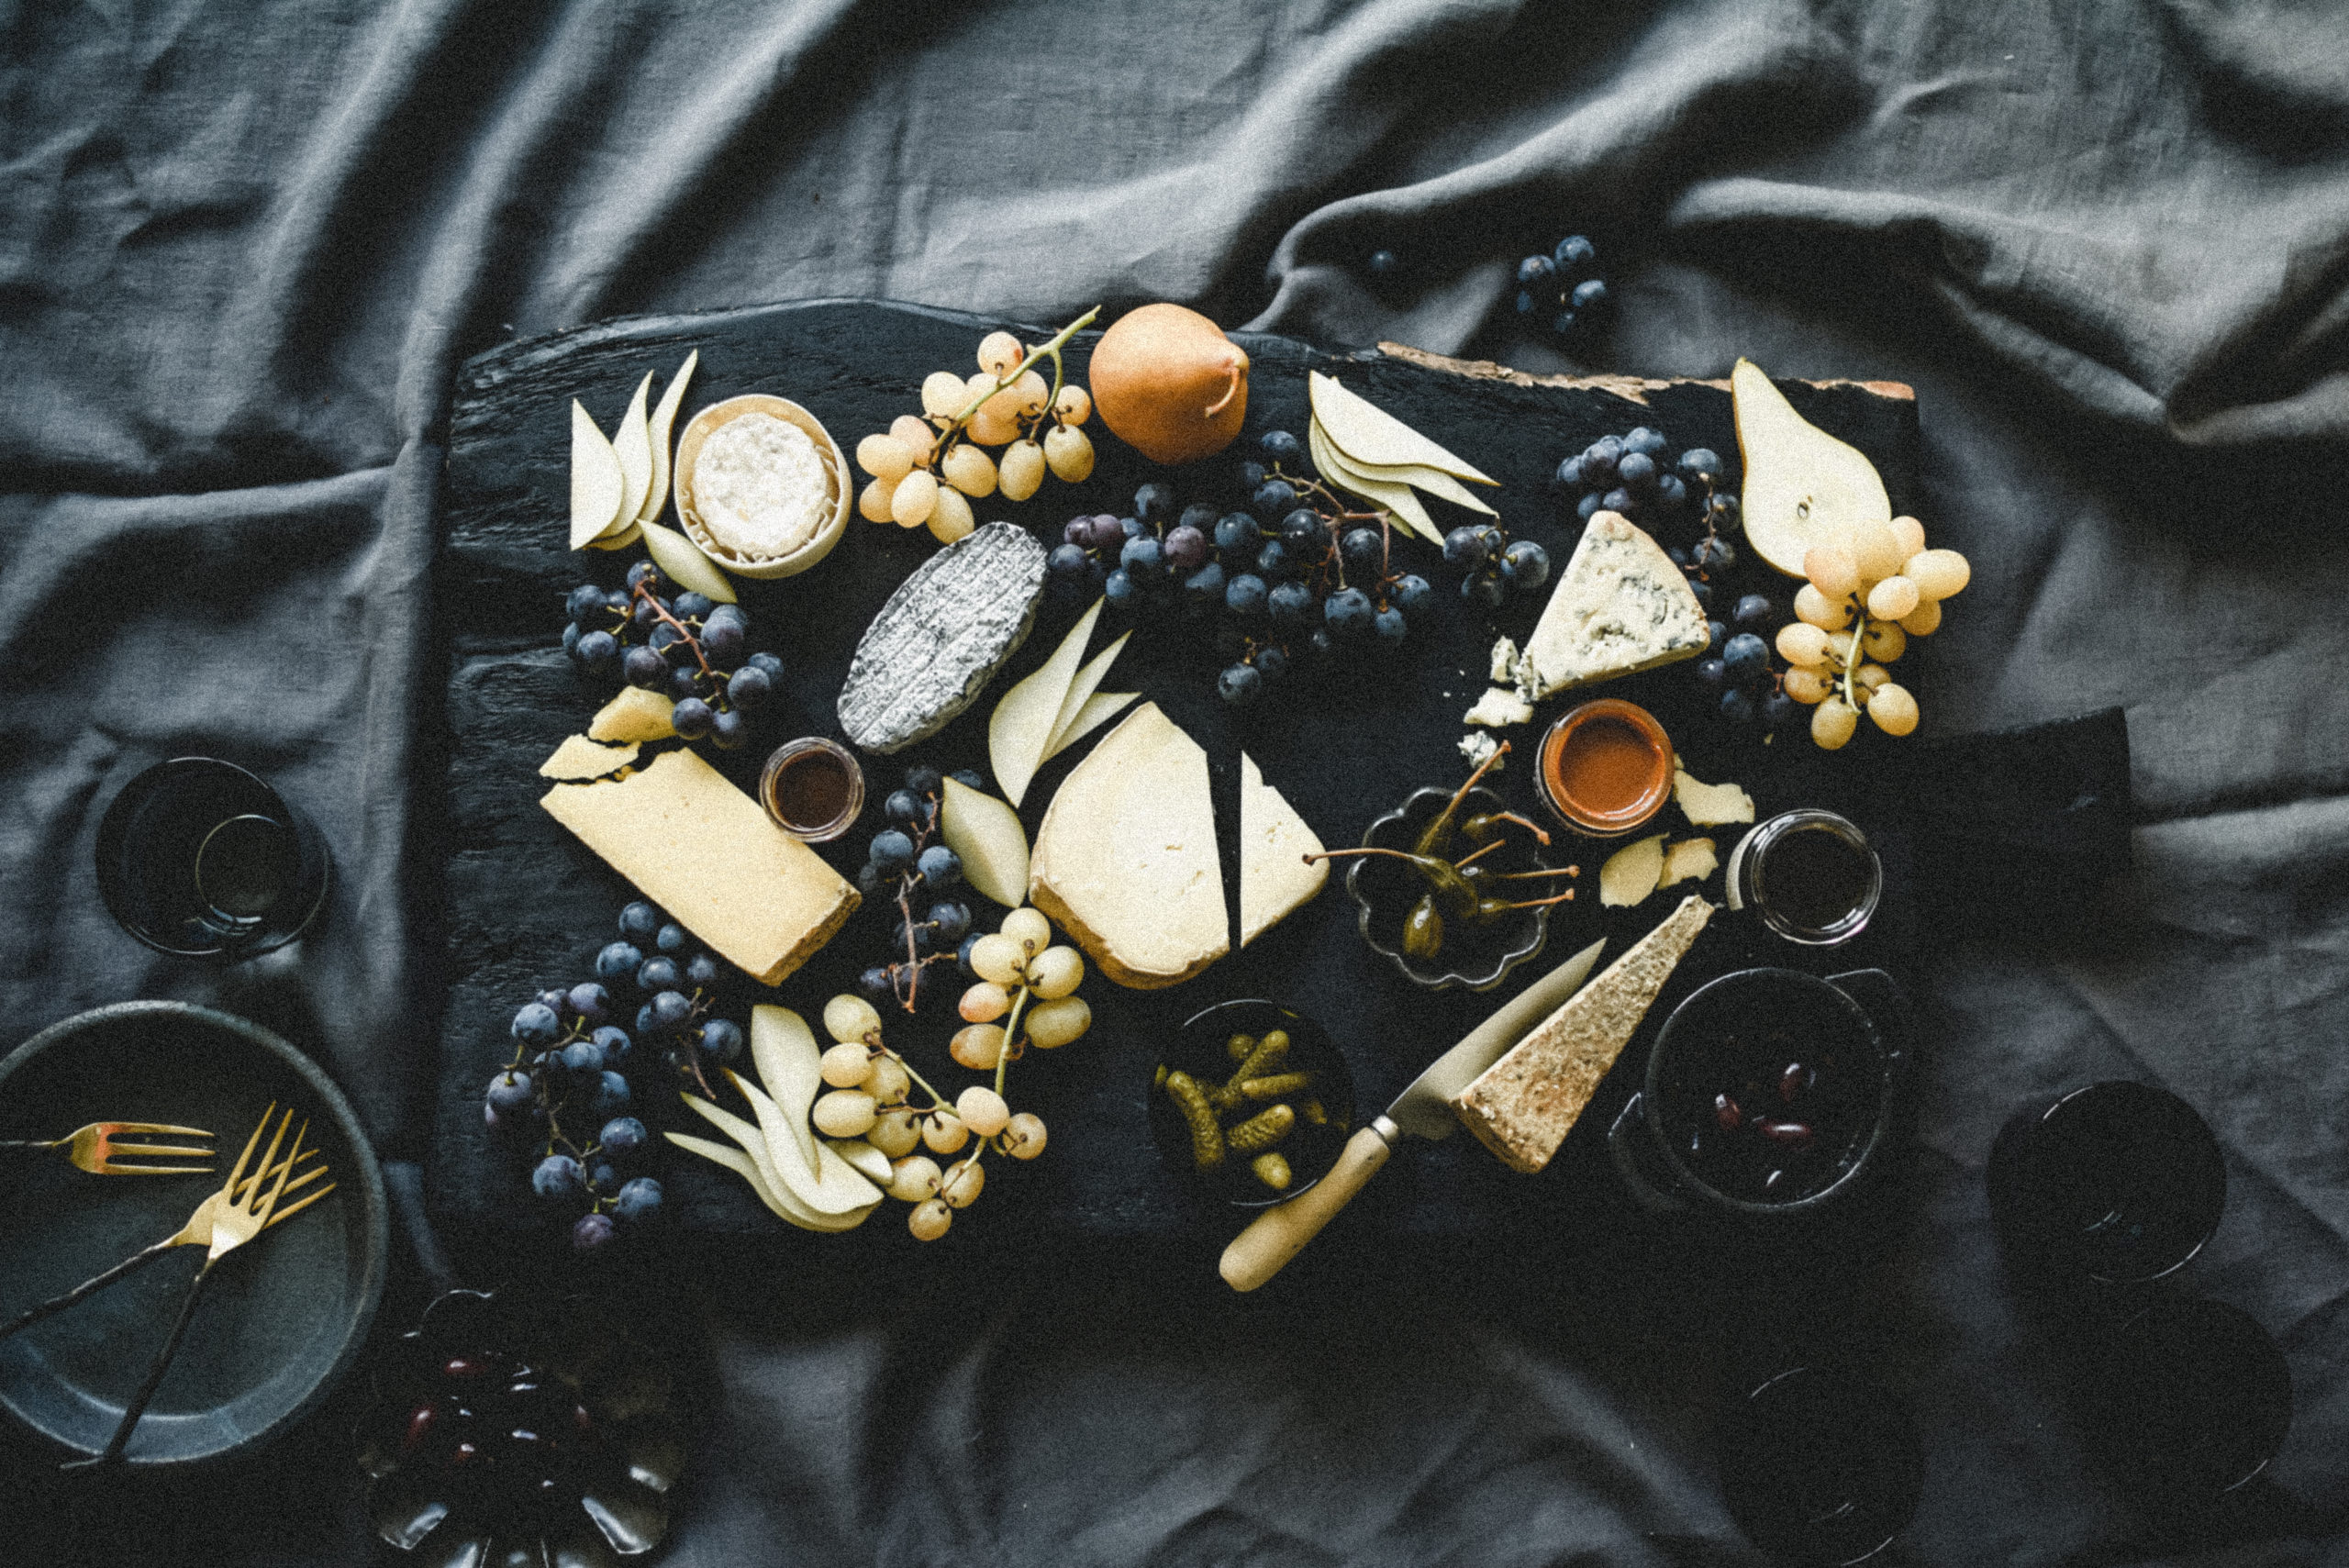
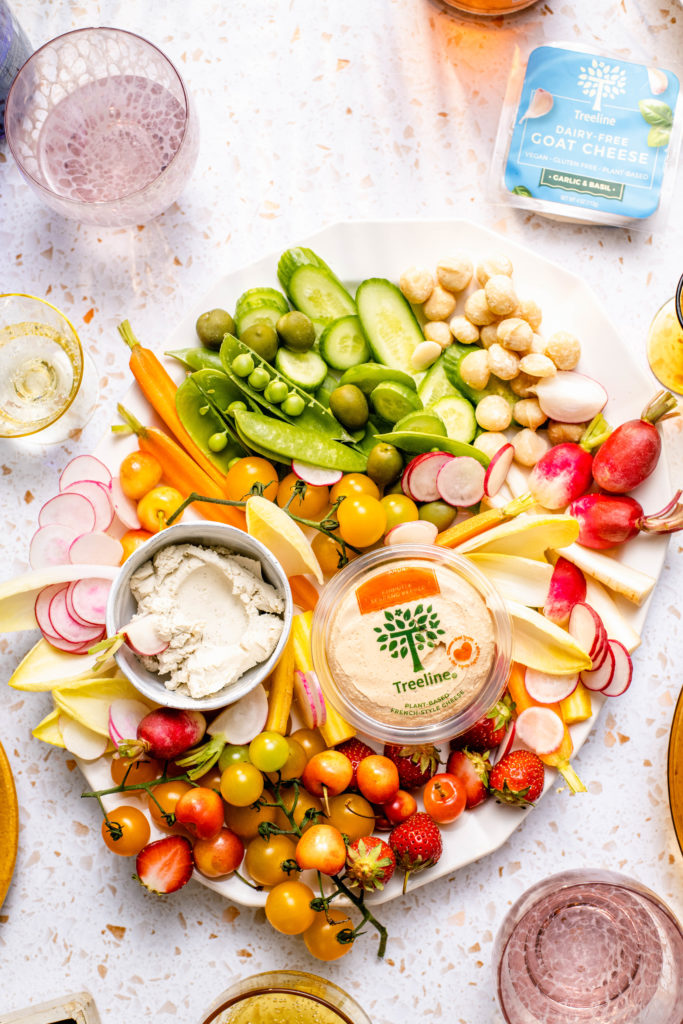
Crafting a vegan cheese board requires a stellar surface. I recommend starting with a large wooden board, ceramic platter, or even marble. The possibilities for surfaces are endless, though, so choose whichever makes you happiest!
As long as your surface is a vessel for all the delicious things, it’s already perfect. Feel it out and decide what vibes with you. And then when you’re ready, decide on a general pattern.
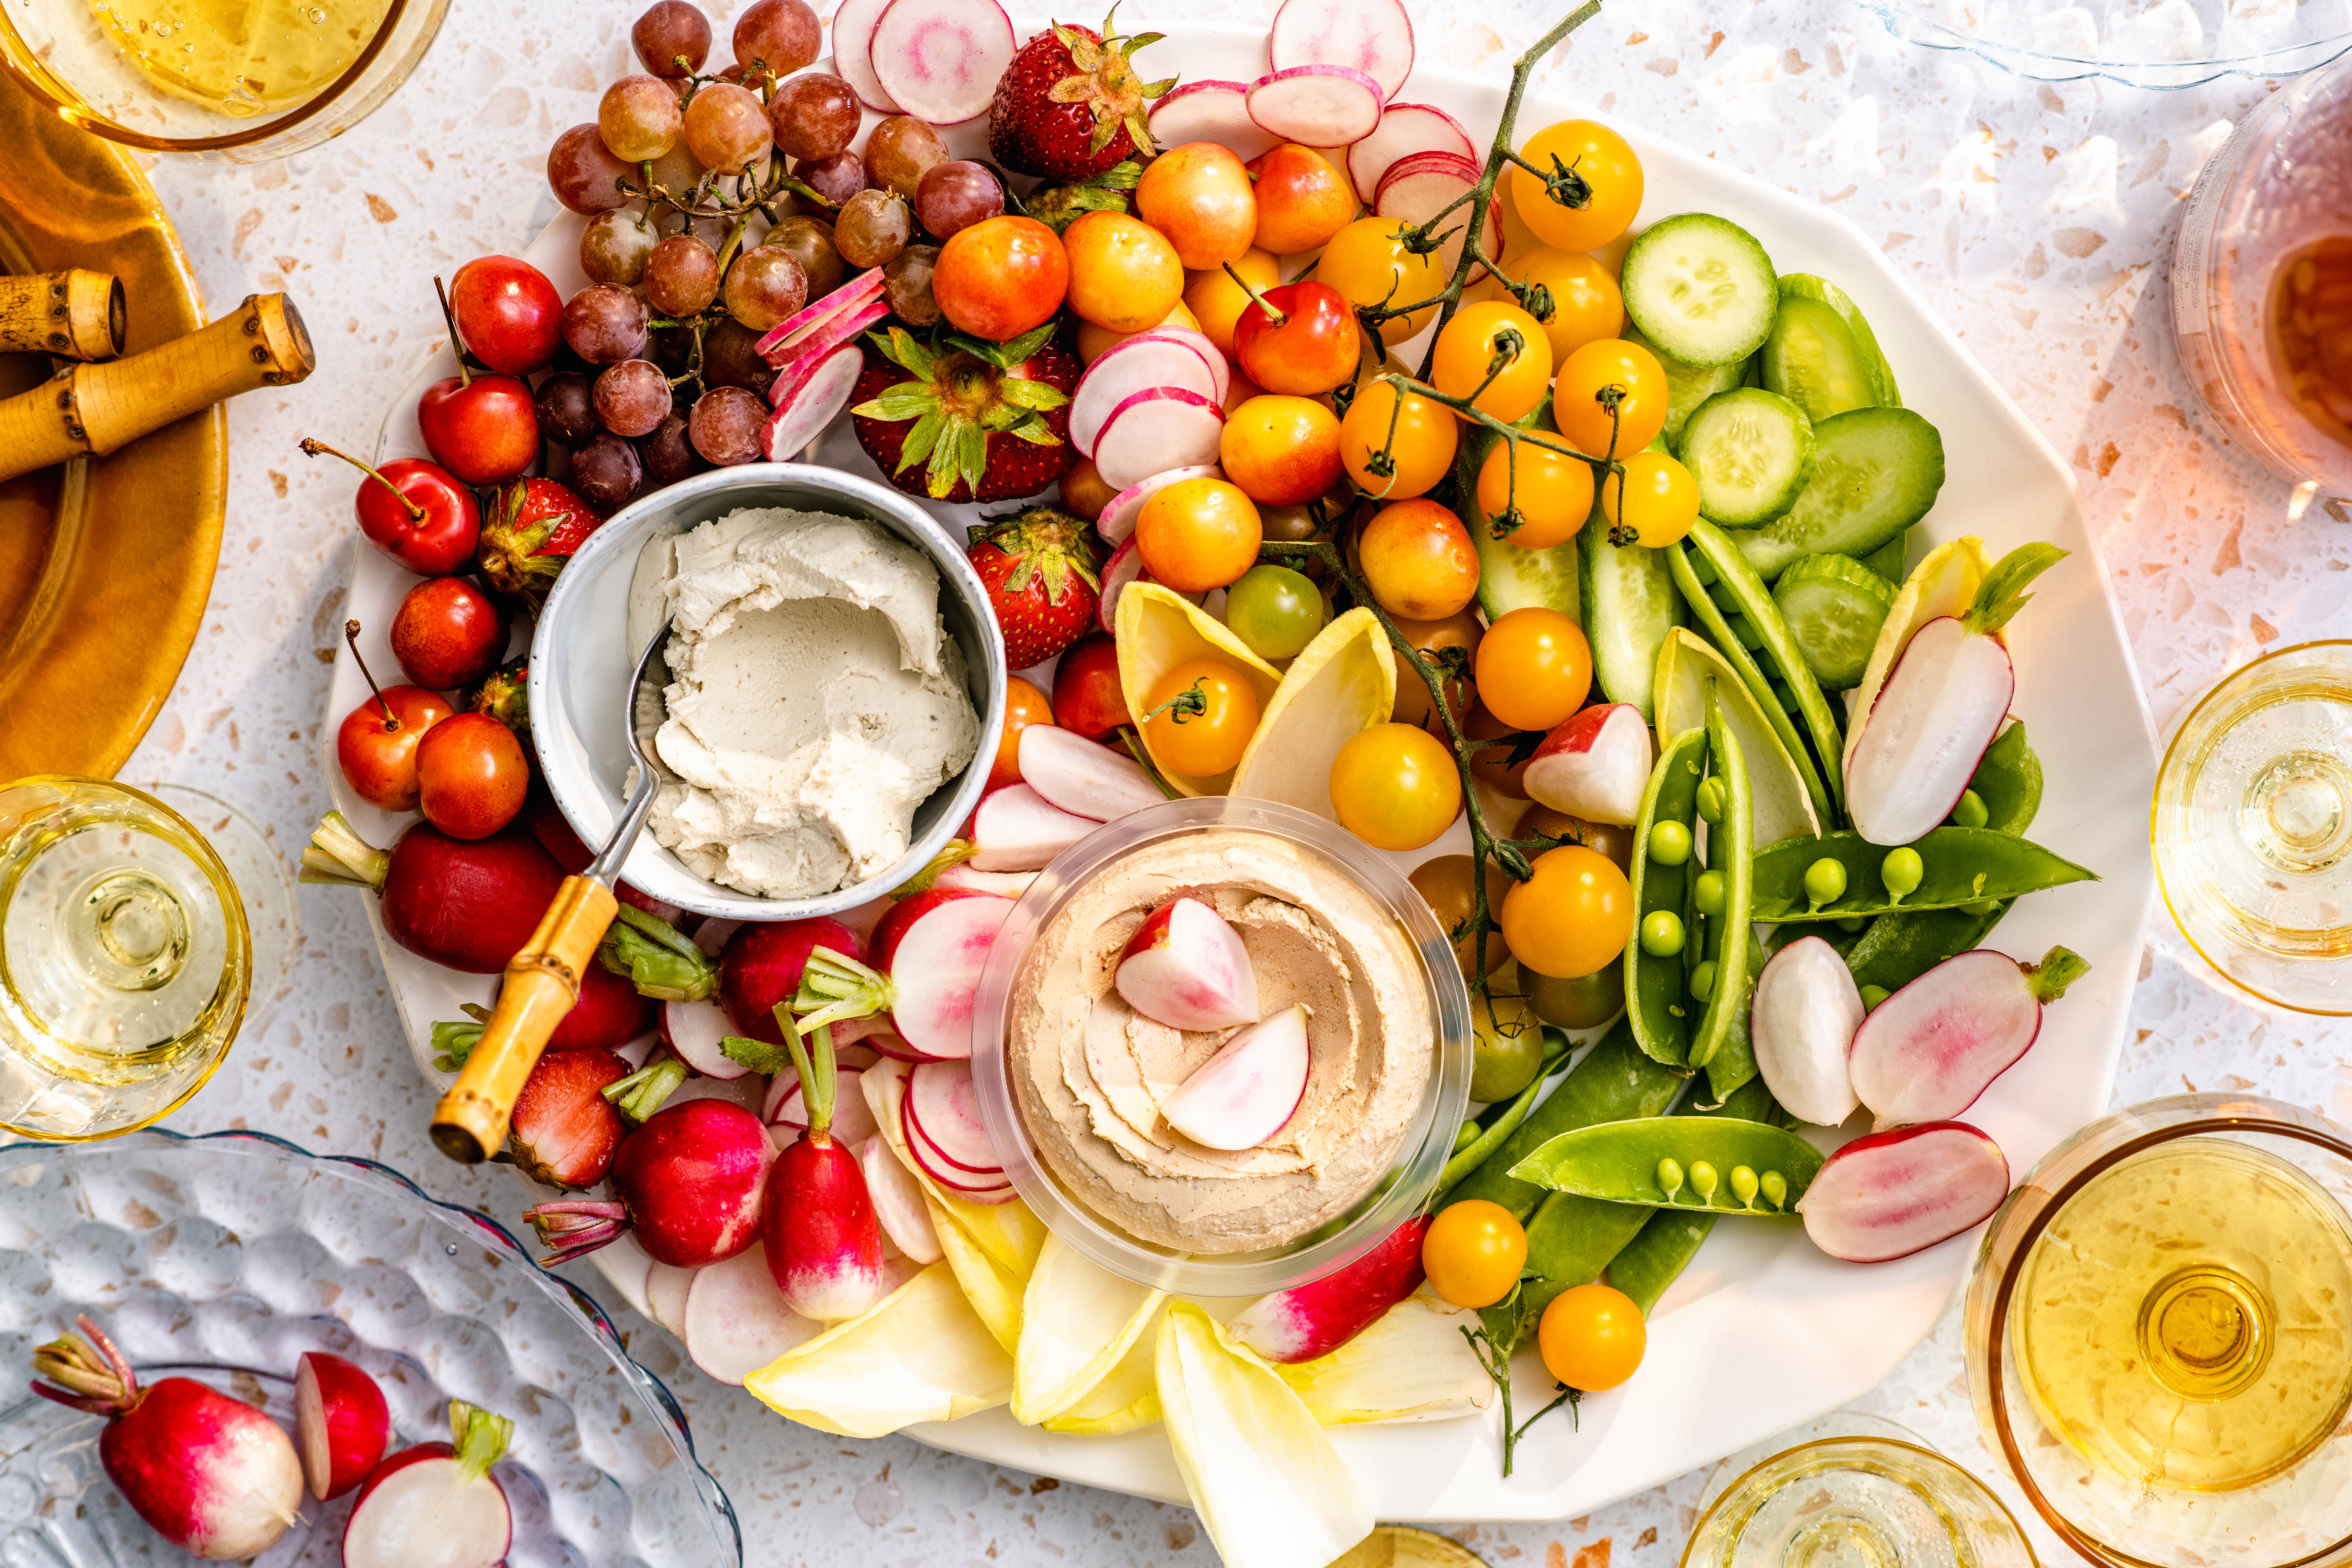
For example, with the board featured here I started with an “s” shape. However, other options are an “x” pattern, diagonal rows or lines, a large spiral… you name it. If you can dream it, you can do it!
2. Go big or go home
In other words, start with larger focal points first. Then, go smaller!
Start with your cheese. Lately I am impressed with Treeline’s Dairy-Free Goat Cheese. It’s slightly tangy, yet smooth and creamy, and fluffy. I think some vegan cheeses can be a little too tangy and fermented but this one hits all the right notes. I know I’ll be reaching for it again.
Plus this “goat cheese” comes in original, blueberry, or garlic & basil. I can honestly say, I’m not sure which is my favorite yet. Because of this, I used two types for this board… and I don’t regret it one single bit.
Afterwards, place larger chunks of fruit or veggies (or even whole ones), then add smaller items—such as sliced apples, delicious berries, seasoned nuts or seeds, or even dried fruits. Personally, since summer has an abundance of produce to offer, fresh is best!
Not only will it help to fill in the gaps, but it will also make the board appear more abundant when there is no surface peeking through.
3. Color your world
You know the saying “eat the rainbow” – that thing your parents and doctors and favorite nutrition TikTokers say? To eat the rainbow translates to eating fruits and vegetables of different colors.
And—in addition to all of the health benefits—produce is beautiful, making it the perfect reason to add color to your vegan cheese board.
When so many plant based alternatives range in color on a brown scale, why not focus on the brighter colors that nature provides?
For the best, most aesthetically-pleasing results, aim for vibrant, enticing colors! Not only will it be easy on the eyes, but it will be rich in vitamins and minerals too.
It’ll be better for your board, and it will be better for your well-being too. Eating a variety of colors increases your intake of various nutrients to benefit different areas of your health!
(For this board, I went for a sunset/sunrise theme, and opted for a gradient of colors!)
4. Cut it out
Have fun slicing and dicing and cutting fruits and veggies into shapes!
Take a minute to watch a tutorial or two to get even fancier with your board. All it takes is a quick YouTube search to find videos that are super useful for cutting kiwis into zig zaggy forms, or for fanning out slices of apples ever-so-perfectly.
You can also use tiny cookie cutters to slice fruit into exciting shapes! You can really cut as simply or as elaborately as you like, depending on how much time you have (and how much patience). For this example, I kept it simple as slicing, halving, or quartering. All I’m sayin’ is that there are OPTIONS!
By the way, here are some great references:
- Art in Fruit and Vegetable Carving
- 20 Beautiful and Simple Food Carving Tricks
- 7 Knife Skills That Will Make You a Real Life Fruit Ninja
5. Think of it as a playground for your tastebuds
One of my biggest tips for deciding which supplemental ingredients to add is to think about texture as much as flavor!
When assembling, think about juicy versus crispy, crunchy versus tender, sweet versus tangy… you get the picture. It makes the overall experience of looking and eating all the more engaging and fun!
Simply, enjoy the process, and like anything else, keep it exciting.
After all, conversing together, especially over a delicious spread, is a great way to make memories! You’d be surprised how tasty and unique fruits and vegetables are in comparison to each other. It’s truly a treat.
6. The Inside Scoop
Whether you focus on crackers or endives, celery, sliced carrots or halves of radishes, they all make great vehicles to transfer the softer goodies.
Anything goes as long as you have options to help scoop up those yummy “cheeses” or spreads! And of course, you can keep spoons and knives nearby, but it is much more interactive with freshly cut fruits and veggies.
In the end, the most beautiful spreads are the ones that are easy to share and enjoy!
Recipe for Success
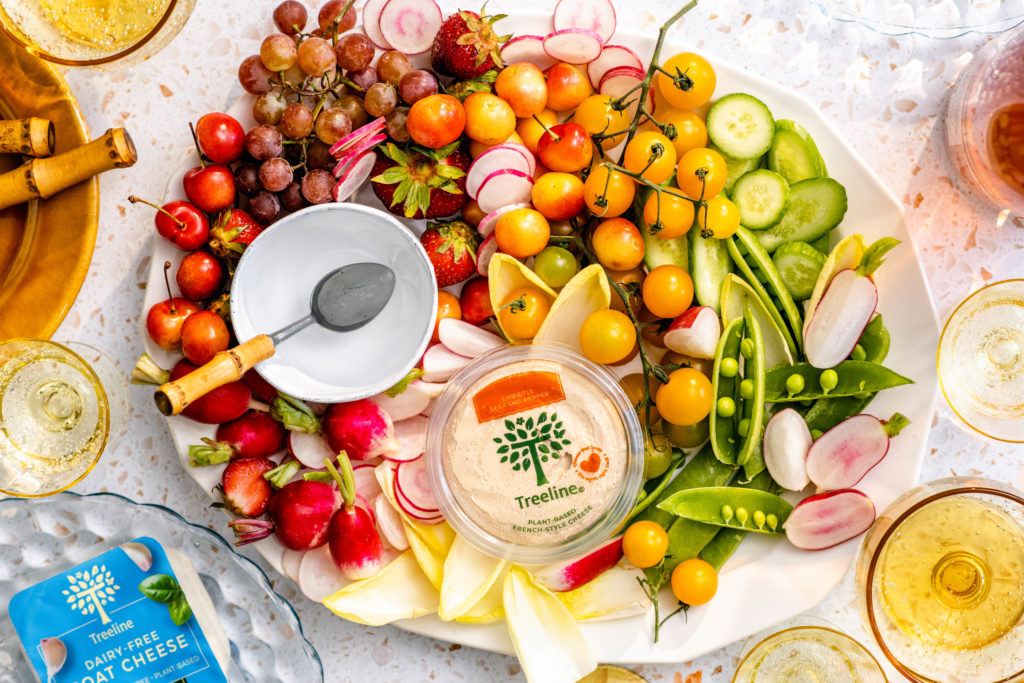
I hope these tips help you create your own ideal vegan cheese board! However, if you want to recreate this exact vegan cheese board, here is a list of everything you need to build your own vegan cheese board with Treeline Goat Cheeses.
SERVES: 8-10
PREP TIME: 15-20 MINUTES
INGREDIENTS:
- 1 package Dairy-free Treeline: Blueberry “Goat Cheese”
- 1 packages Dairy-Free Chipotle-Serrano Pepper “Soft French-Style Cheese”
- 1/2 cup grapes
- 1 cup French radishes, halved or quartered
- 2 Endives, core removed
- 2 bunches Cherry tomatoes on the vine
- 1/4 cup Strawberries
- 1 small Cucumber, sliced
- 1/4 cup Cherries
- 1/4 cup Sugar snap peas
- Crackers, on the side
METHOD:
- First, smooth the vegan cheeses into ramekins (or serve as is), then place on your surface or board.
- Fill in the platter with larger items such as sugar snap peas, grapes, and tomatoes on the vine. Then, add smaller pieces of produce like radishes, cherries, and cucumber slices. Tuck in longer items such as endive leaves to help give visual direction. Layer as needed.
- Afterwards, serve any extras alongside, like crackers. Finally, share and enjoy!
Thanks for taking the time to learn more about how to make a vegan cheese board! For more plant-based guides and recipes, click here. And to make sure you don’t miss my next post like this one, subscribe to my email list below!
