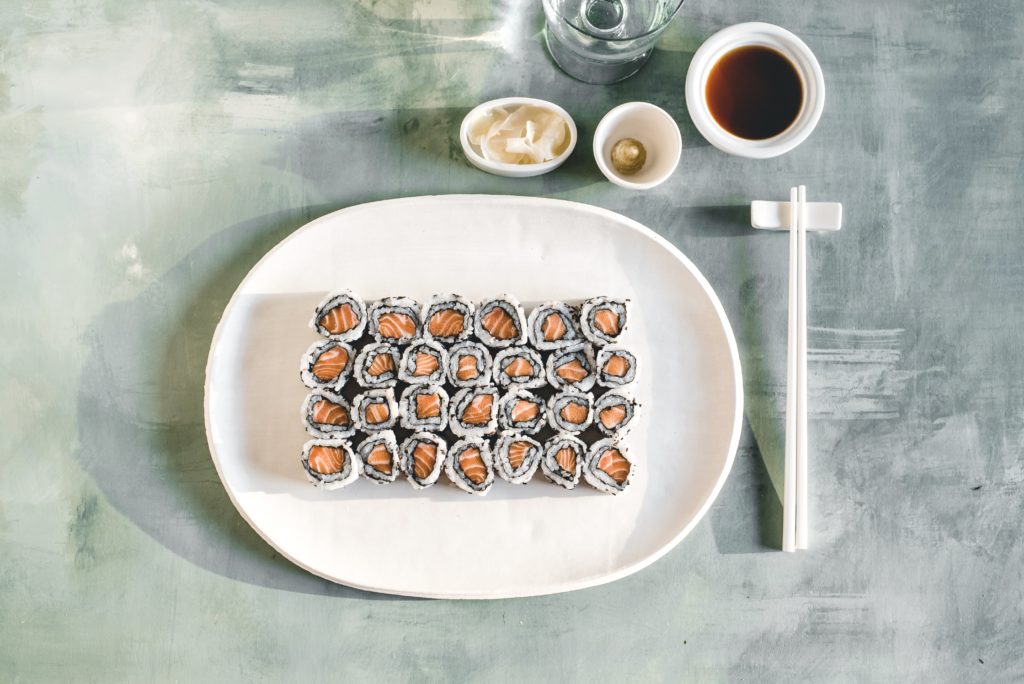
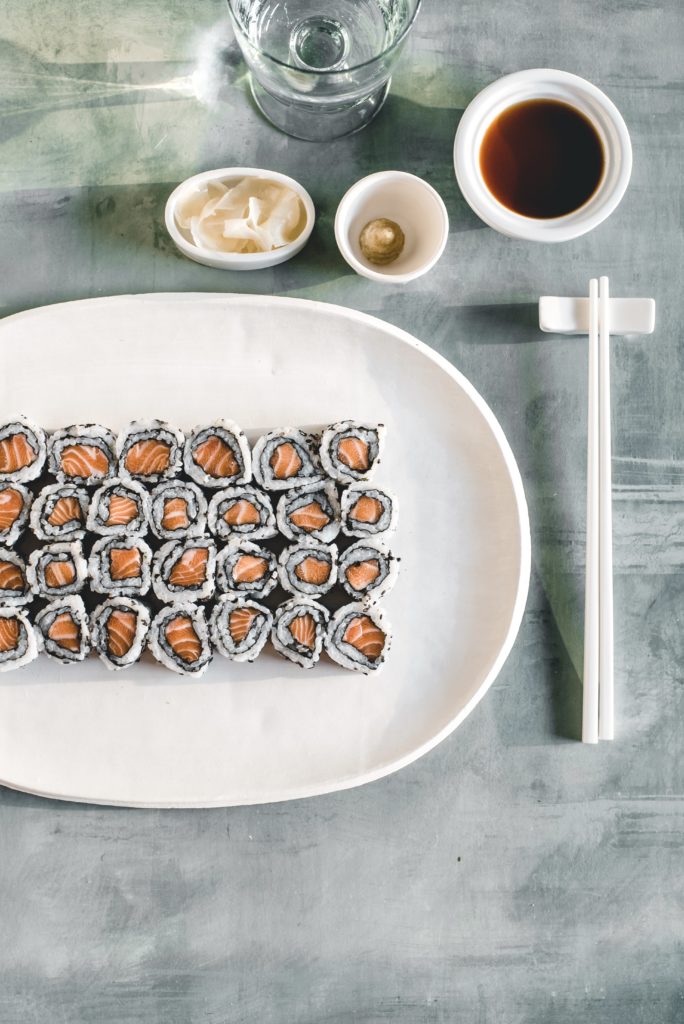
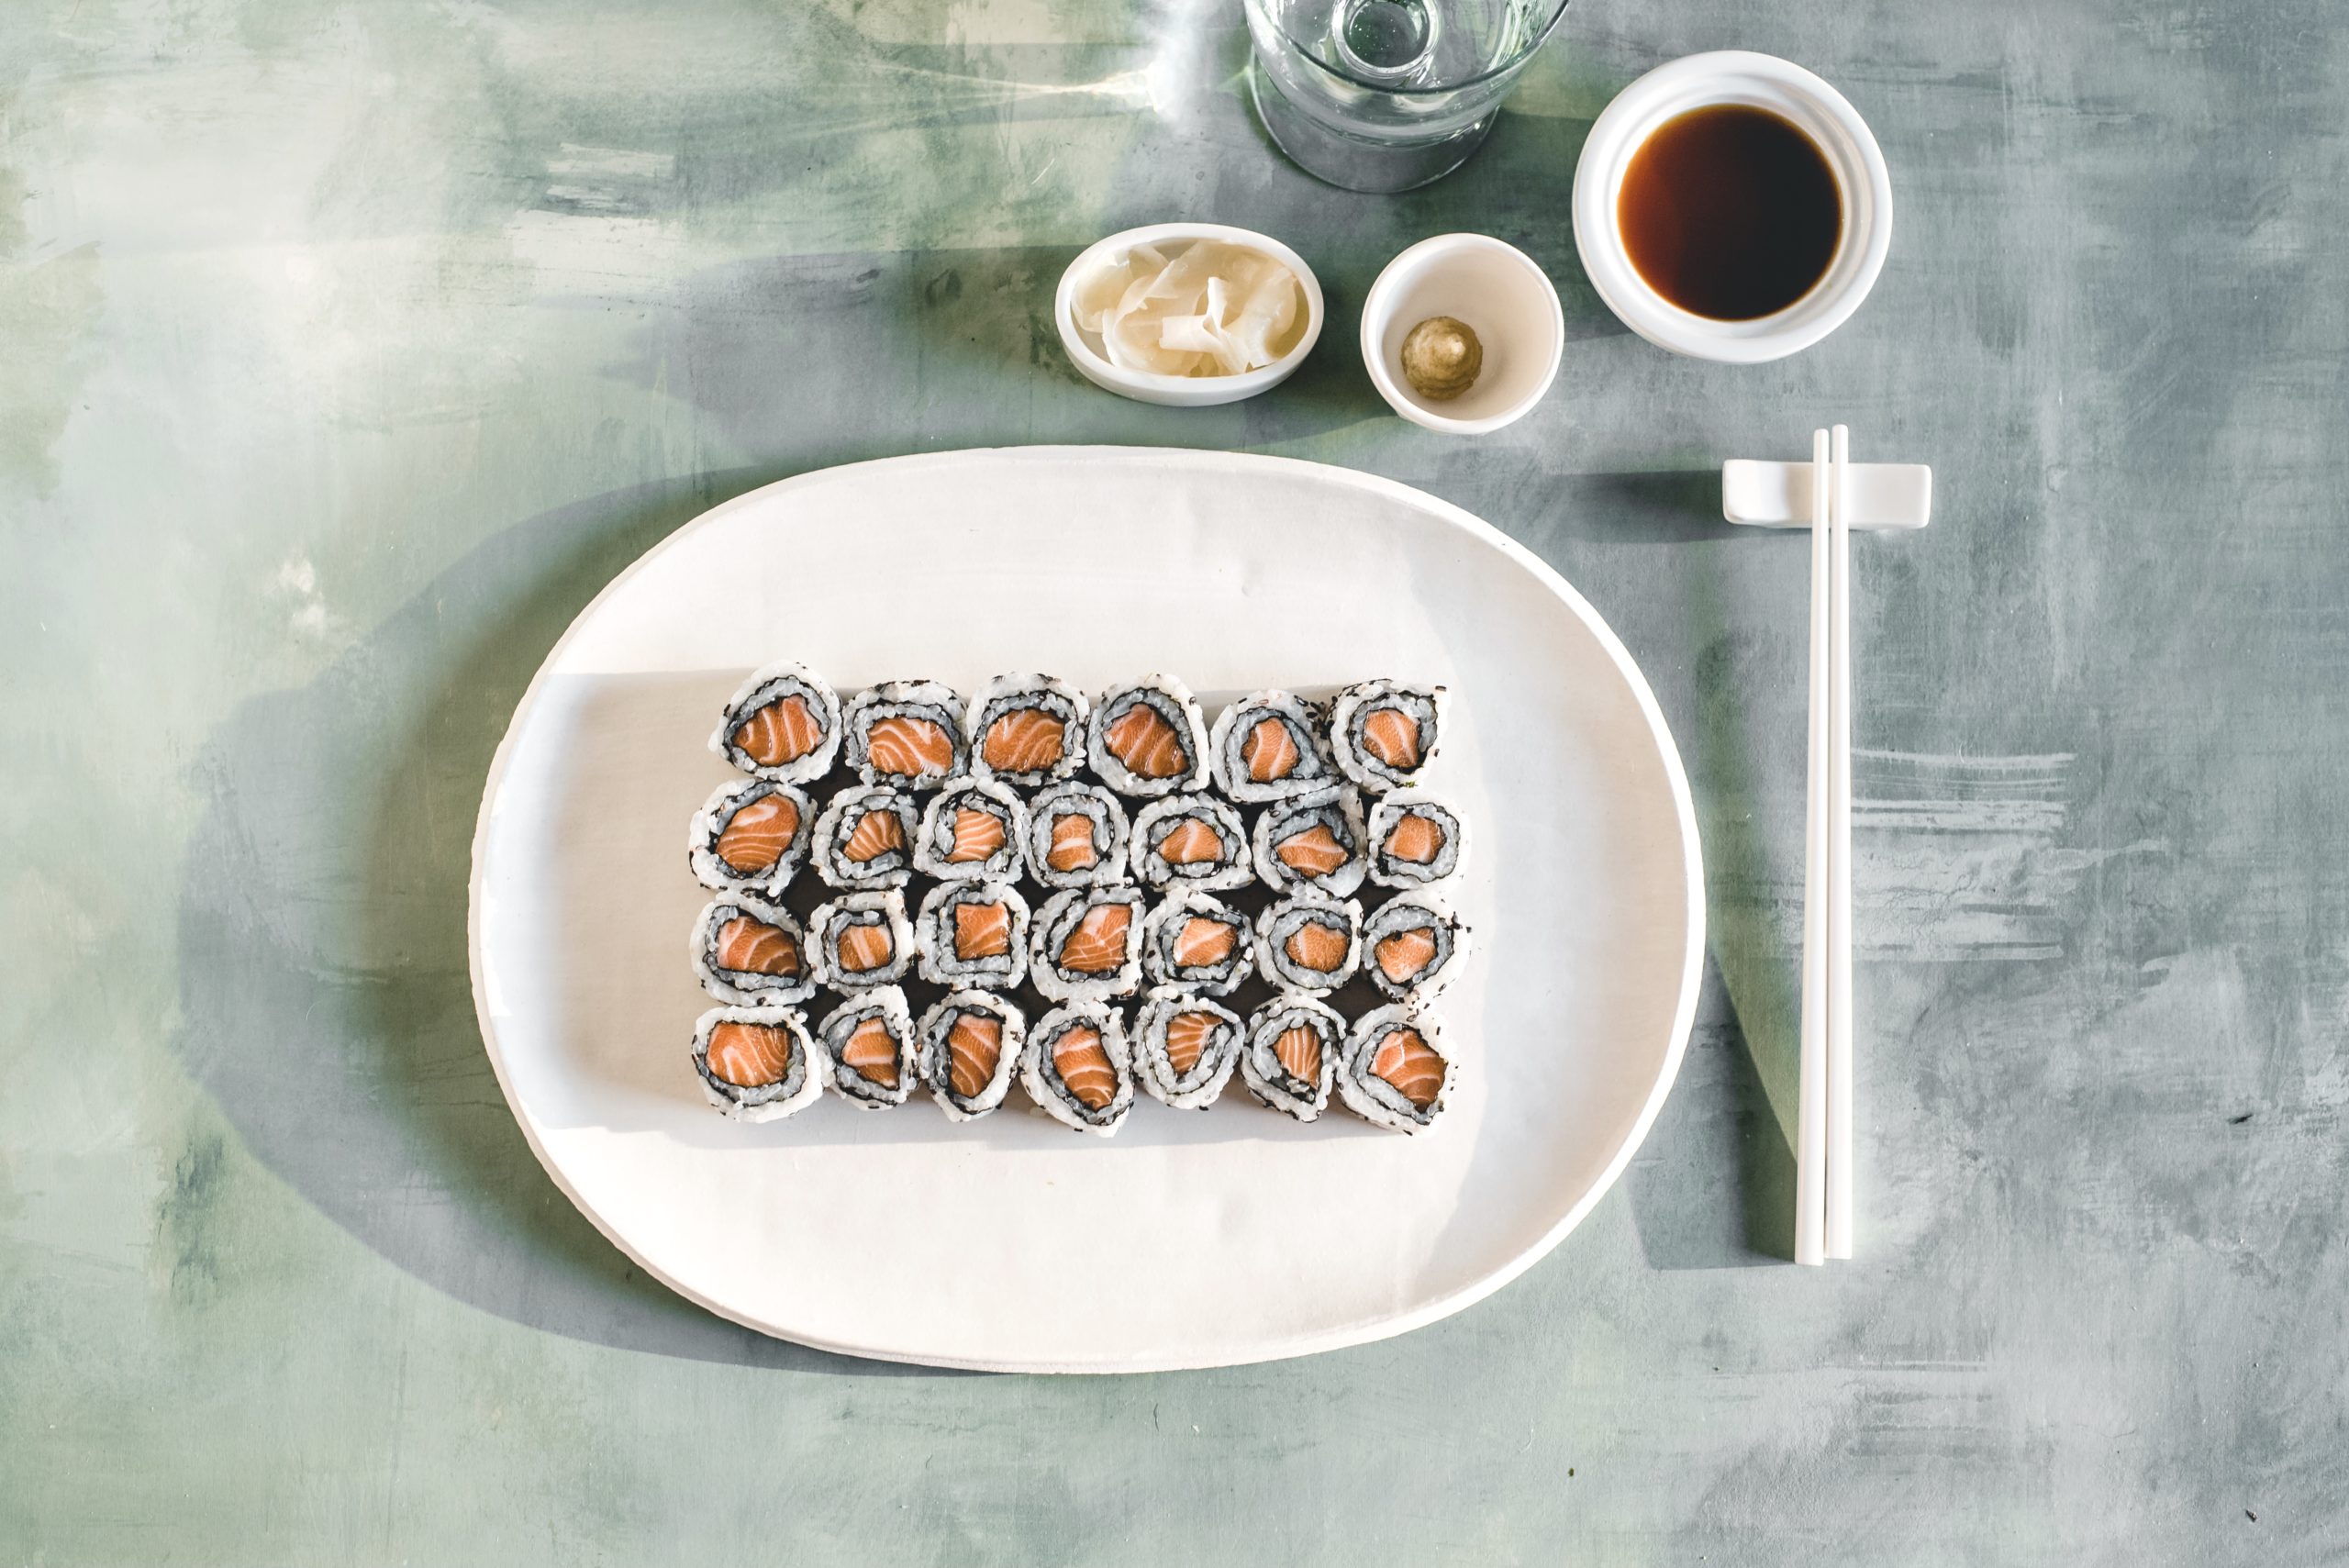
Beginner Salmon Maki Rolls by Cinematographer / Director of Photography: Mike Curry
Guidance for first time homemade maki rolls in collaboration with Cinematographer / Director of Photography: Mike Curry!

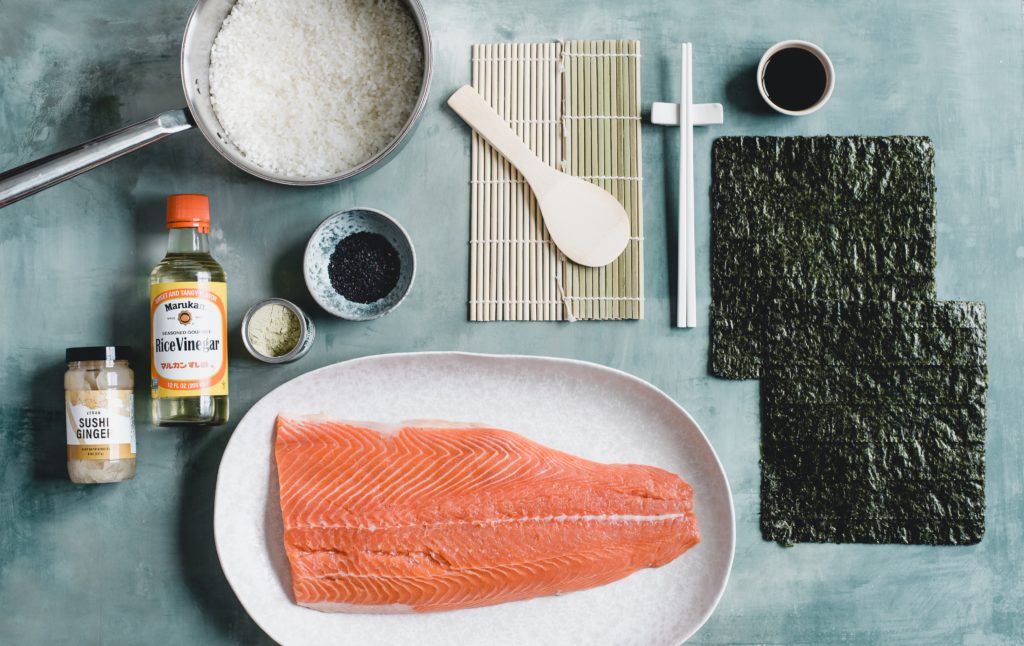
Ingredients:
- Sushi rice (short grain)
- Nori sushi nori
- Sushi seasoning (rice vinegar)
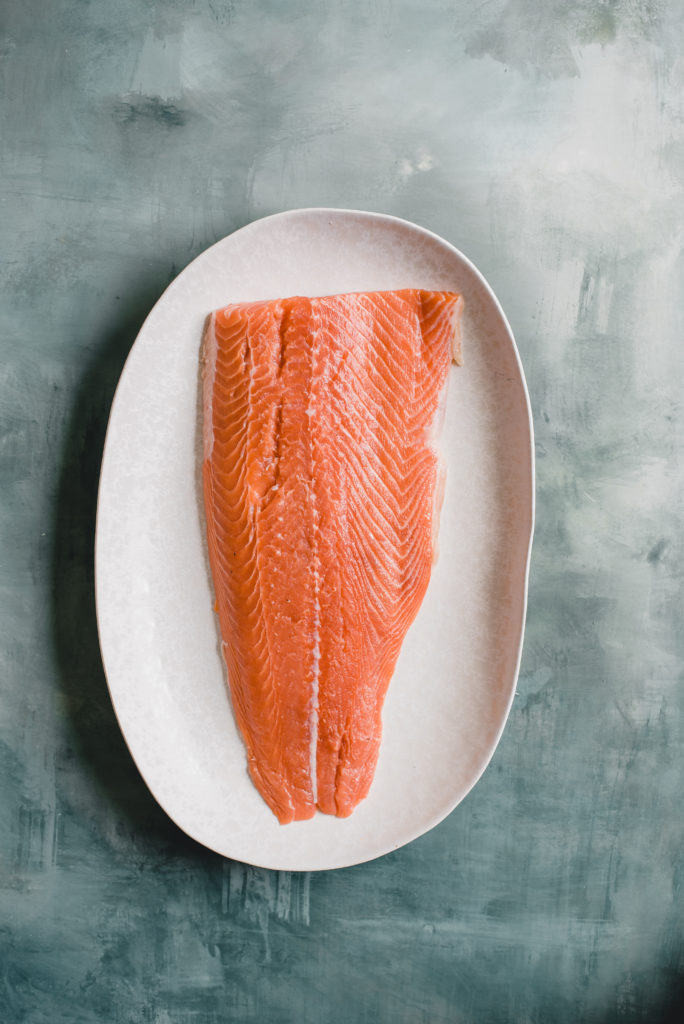
- Raw salmon steak
- Additional filler fixins of your choosing
- Soy sauce
- Sesame seeds (optional)
Equipment:
- Bamboo roll wrapped in cling wrap (a thick towel can substitute in a pinch)
- Rice cooker (optional of course but a Zojirushi rice cooker will sing when you start your rice so…)
- The sharpest knife you have available
- Bowl of water
- Wet Towels (paper towels are fine)
Alright – First time making sushi rolls at home: It’s messy, it’s (slightly) parasitically risky, and it’s fun for the whole family!
The Rice. DO NOT use the white rice you already have in the back of the top cabinet. You’re gonna want the good stuff – something with “sushi” on the label preferably but any short grain white rice will do. It’s 50/50 whether your local grocery store will carry the stuff so head to an Asian market if you have one nearby. Nishiki brand is A+ and available at whole foods.
The Fish. It’s your first sushi excursion and you’re spooked about dying. Not a problem! Let’s stick with salmon – it’s significantly less parasite-friendly than tuna and a good salmon steak from a reputable fish-monger or high quality grocer will be of little to no concern. Name drop “sushi-grade fish” as a launching point with your meat-man, but even non-sushi grade salmon is (almost completely) safe.
The Process
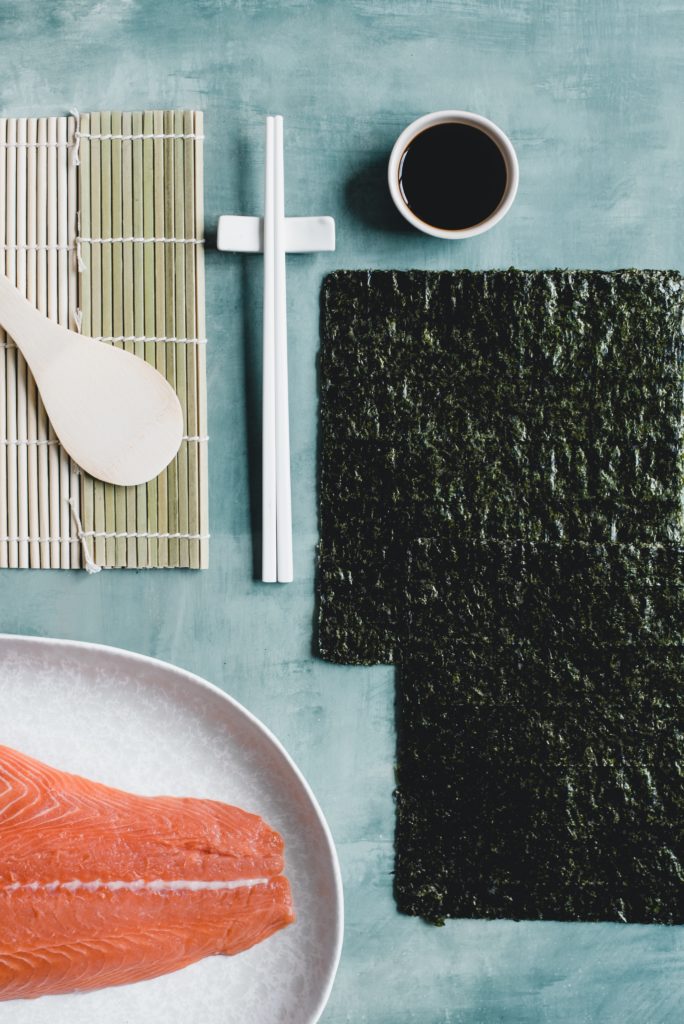
- Rinse your rice a handful of times in cool water and then cook by either your rice cooker or brand instructions. While the rice cooks, lay out all of your equipment (once the party starts, you’re going to want everything in its place). Lay out your bowl of water, wet towel, knife and nori sheets. Cut the fish into thin strips diagonally against the grain. Cut veggies of your choosing (I like avocado and cucumber) into thin strips also.
- Once the rice finishes cooking, jazz it up with a splash of sushi seasoning to taste. This stuff will make your whole batch of delicious rice taste like vinegar real quick so be incremental. Set aside in a large bowl covered in a wet towel. This will prevent the rice from drying out as you build your rolls.
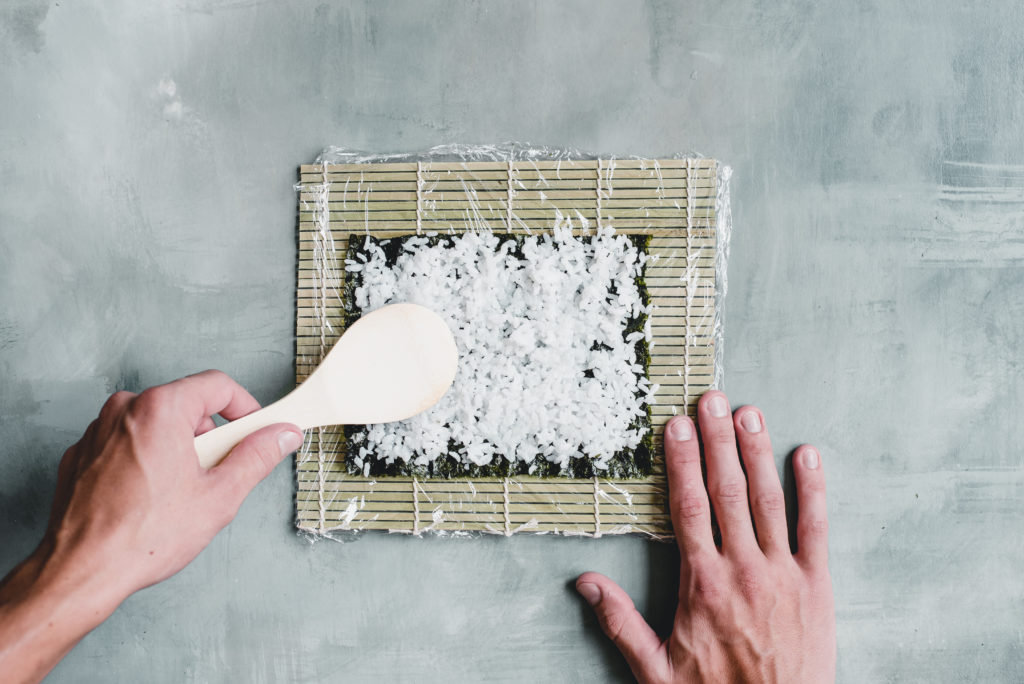
- Take your bamboo roll and wrap it with cling wrap. This will prevent rice from sticking to the bamboo. Fold and rip a nori sheet in half and lay it down on the bamboo with the shiny side down to the mat. Grab a healthy handful of your rice and spread it across the entire surface of your nori, pressing gently. Make sure you get those suckers across the entire sheet and all the way into the corners. Try to not have too much thick stacking of grains. A uniform, flat covering is ideal. Use the bowl of water at your workstation to wet your hands as needed to keep the rice from sticking to EVERYTHING.
- Once the whole nori sheet is adequately covered and your hands are nice and starchy, flip that bad boy over so the rice faces down. It should stick to the nori without issue. Place your fish down just slightly below the edge of your sheet followed by your fixins. You want to one take up a 1” maximum width of the nori with your filler.
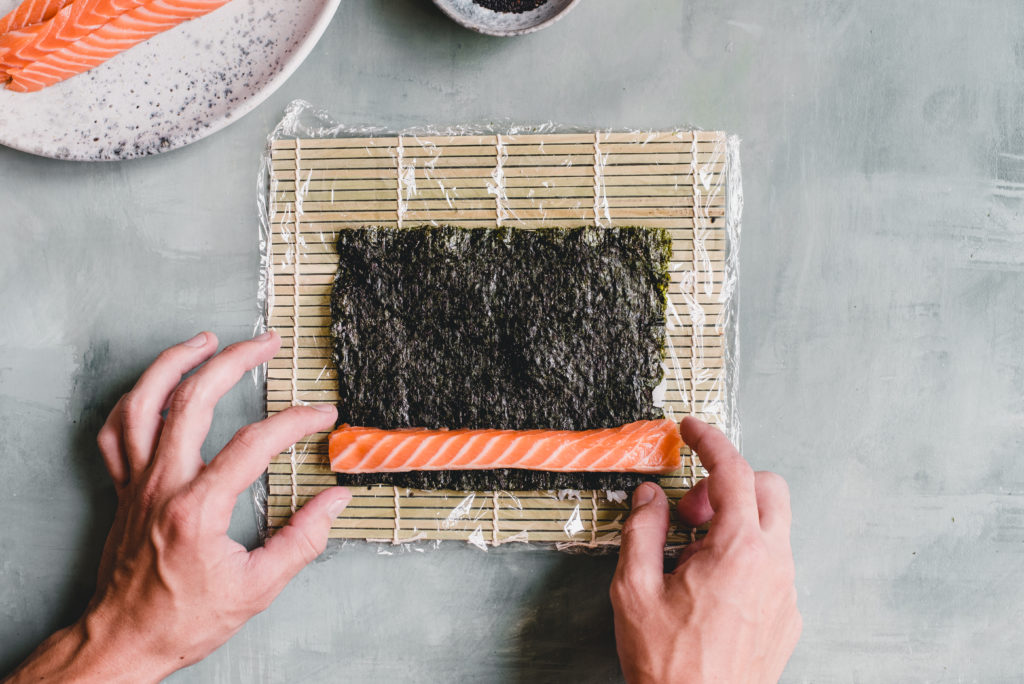
Ready to (Maki) Roll
Moment of truth – time to roll. Start to roll the bamboo sheet inward with a firm and steady hand – keeping some fingers available to hold your filler in place as needed. As the roll begins to close, peel your bamboo sheet back and continue to roll so the edge of the bamboo doesn’t get sucked into the sushi core, never to escape. Once the roll is fully closed, give the bamboo exterior a good squeeze to show the stubborn roll who’s boss. This should keep it in line once the bamboo is removed.
As you look at your first mess of a sushi log, you should feel clumsy and like your motor skills are underdeveloped – that’s normal. You still have one golden opportunity to make it all worse.
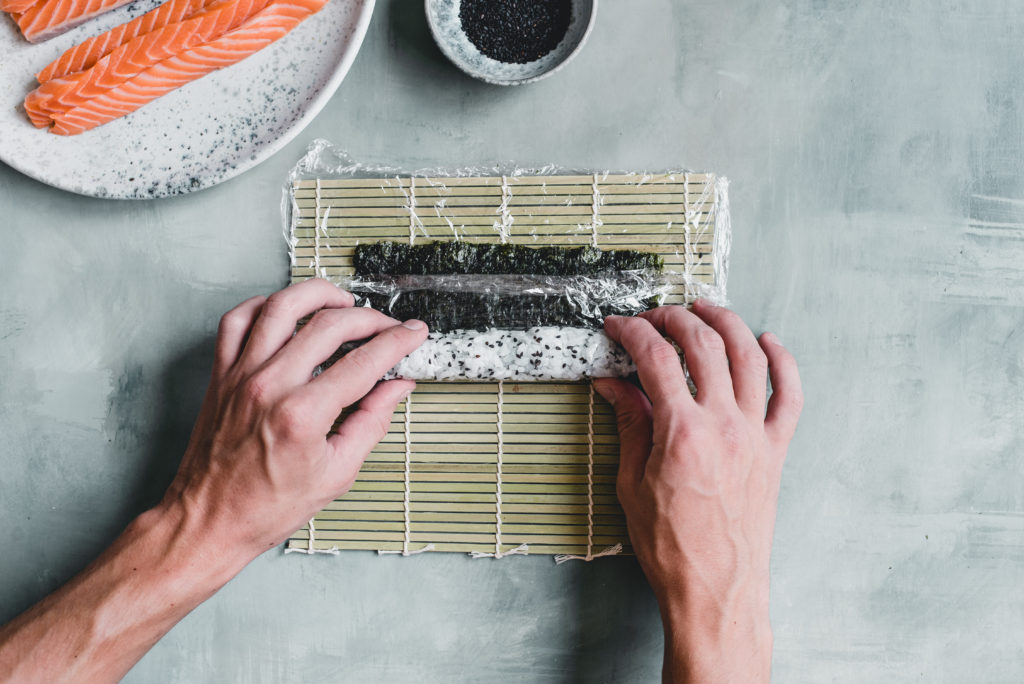
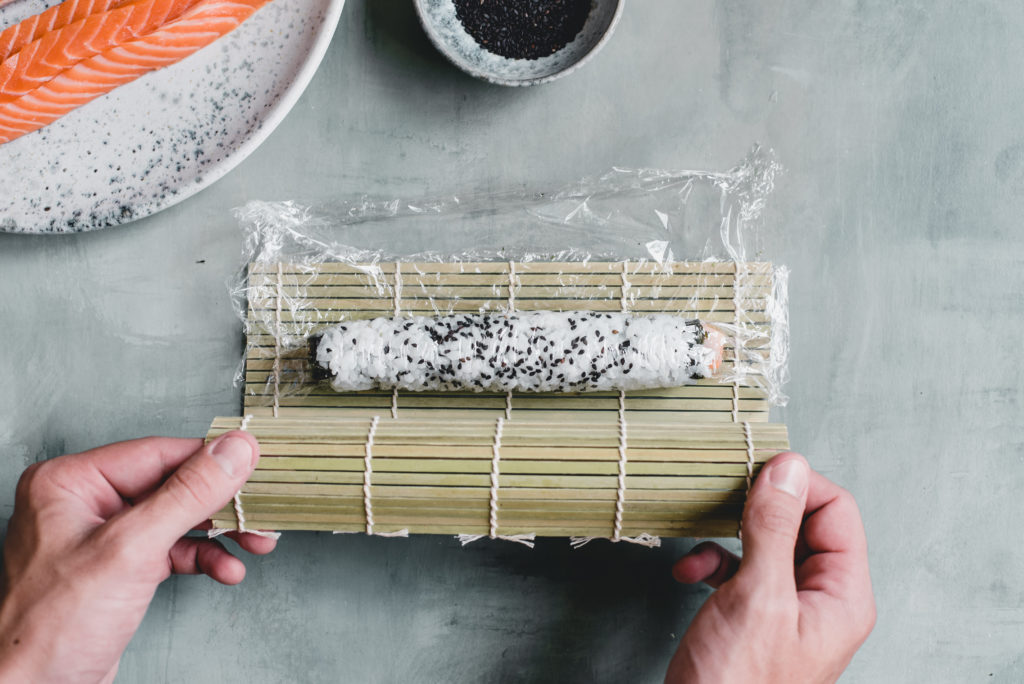
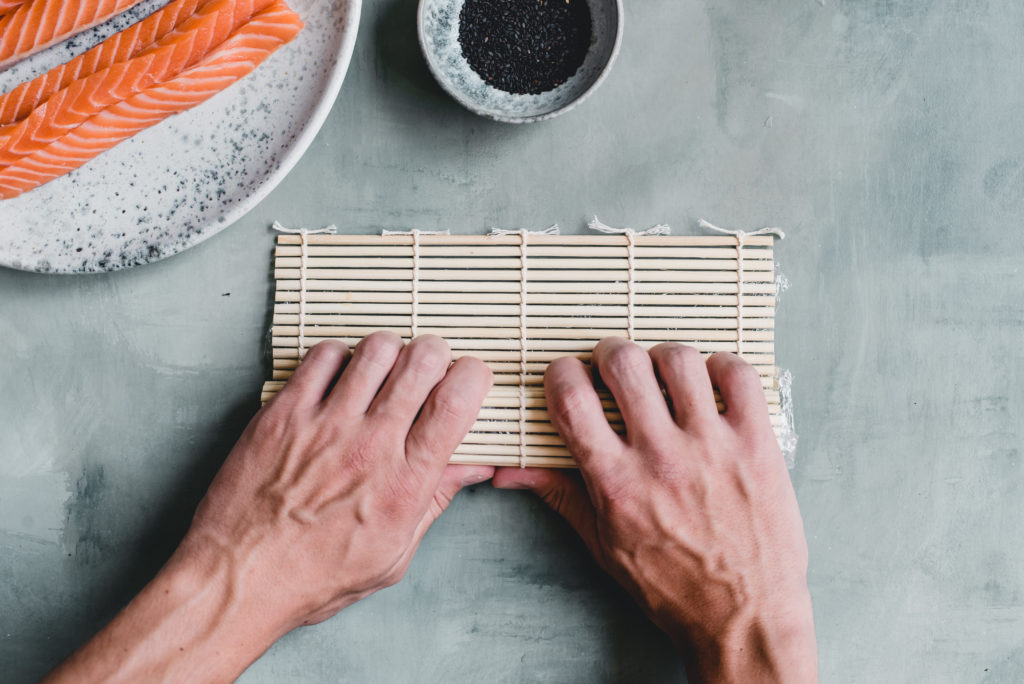
Cutting Maki Rolls
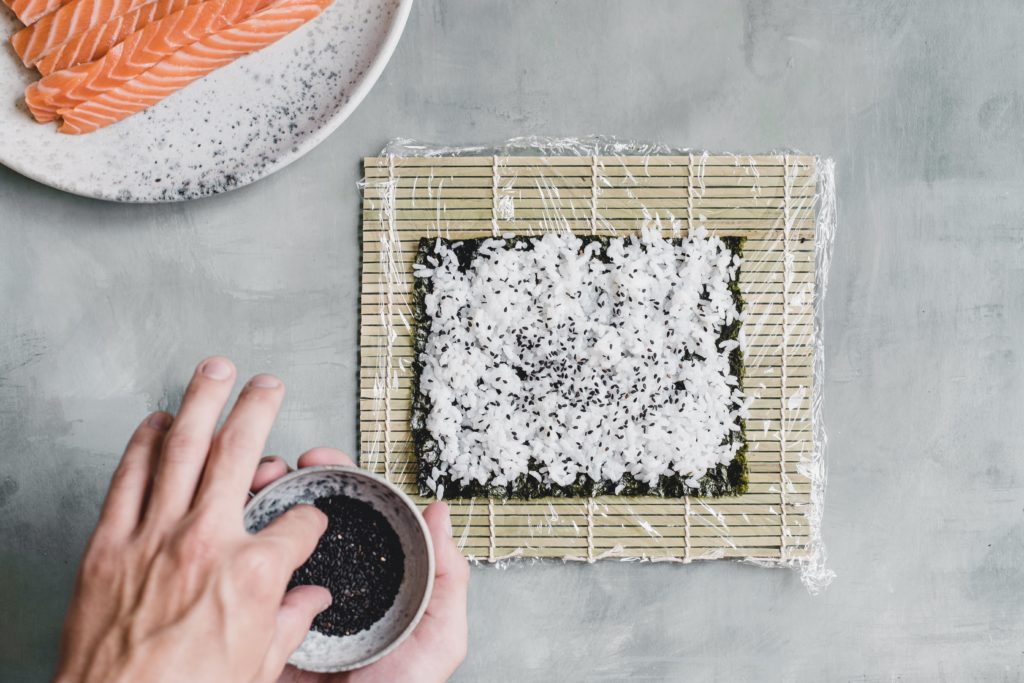
Cutting a sushi roll is a delicate game of power between you and your roll. To give yourself every possible advantage against your stubborn creation, wet your sharpest knife between EVERY cut with a damp towel and maintain unwavering eye-contact. Start with a center cut and work your way toward the edges until you have 6-8 pieces. Wipe the sweat from your brow and bedazzle your rolls with a sprinkle of sesame seeds (you can do this before cutting, but it won’t feel as rewarding).

Eating Maki Rolls
Grab your favorite chopsticks and soy sauce and have at it! Repeat until full.
Did you enjoy this guest post? For more recipe collaborations visit the Kitchen Journal for more. Also, to view Mike Curry’s interview visit the Table Talks page!
