

")
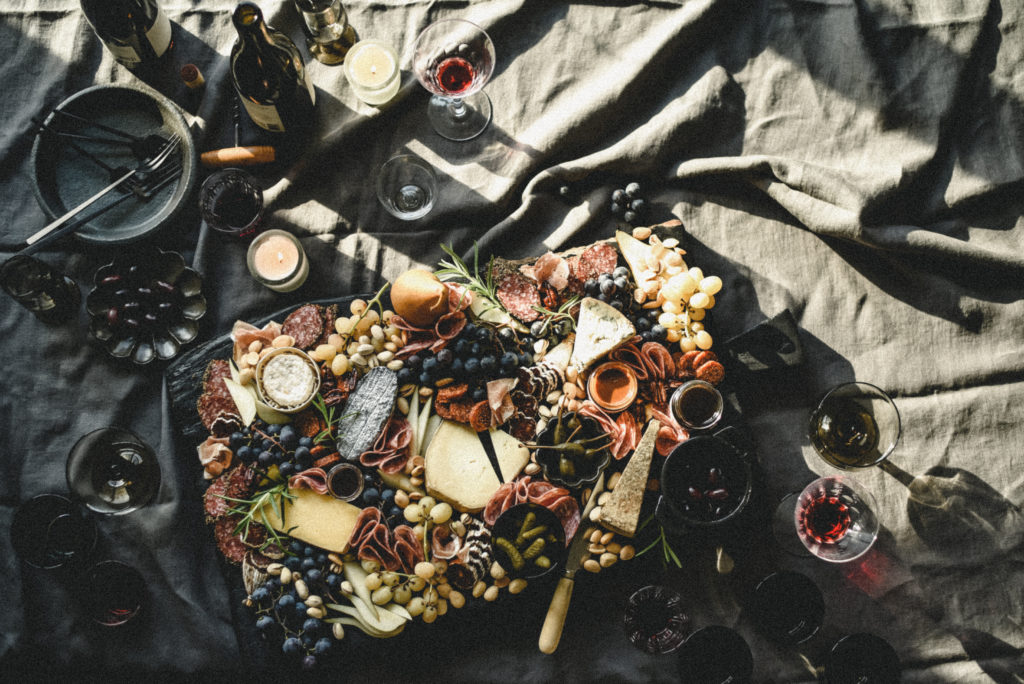
Cheese and Charcuterie Board Aesthetics
Want to learn how to make the perfect go-to appetizer for all occasions? A cheese and charcuterie board is a surefire crowd pleaser, and it also happens to be one of the easiest ways to support your local artisans, chefs, bakers, and businesses.
They’re easy to make, and can make absolutely anyone look like a seasoned entertainer and food professional. Let’s get started!
Getting Started
The first step in crafting the best cheese and charcuterie board is to select your board. I recommend starting with a large surface like a hand-made wooden board, a hand-crafted ceramic platter or custom-cut piece of slate or granite.
Anything you find that you imagine can be the vessel for all the delicious things is perfect. You can visit your local market or art gallery to become more in tune to what is around you!
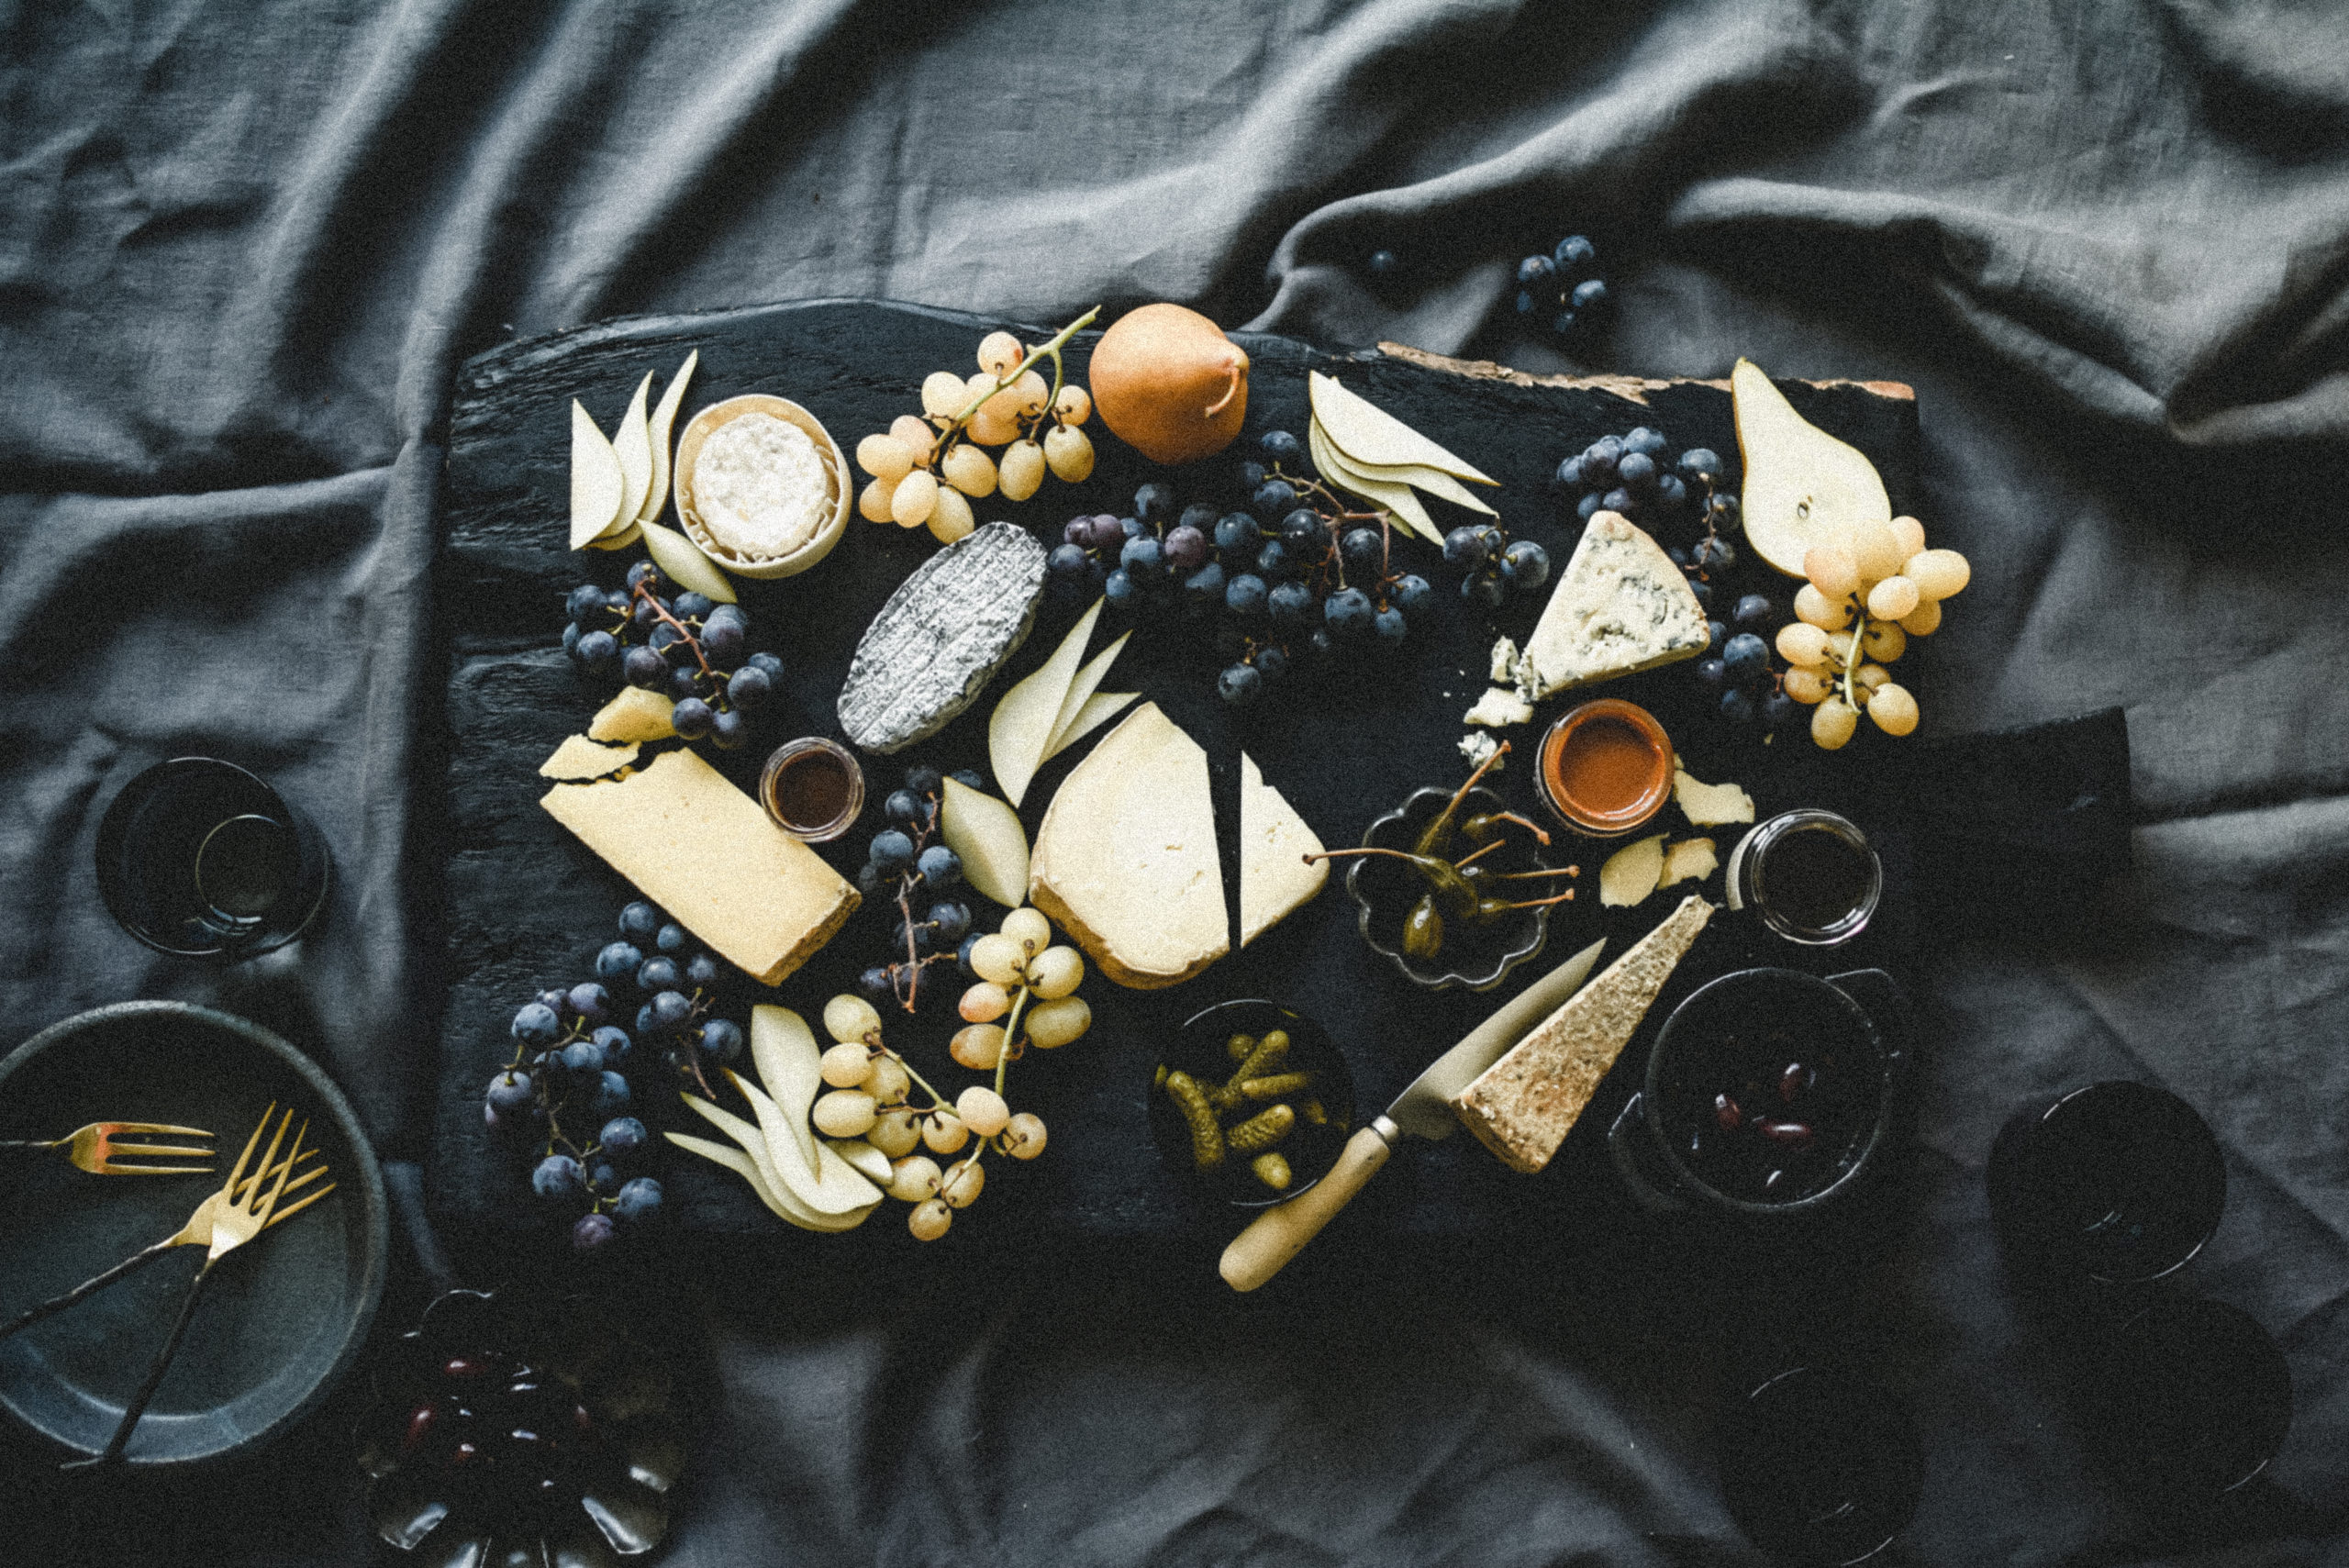
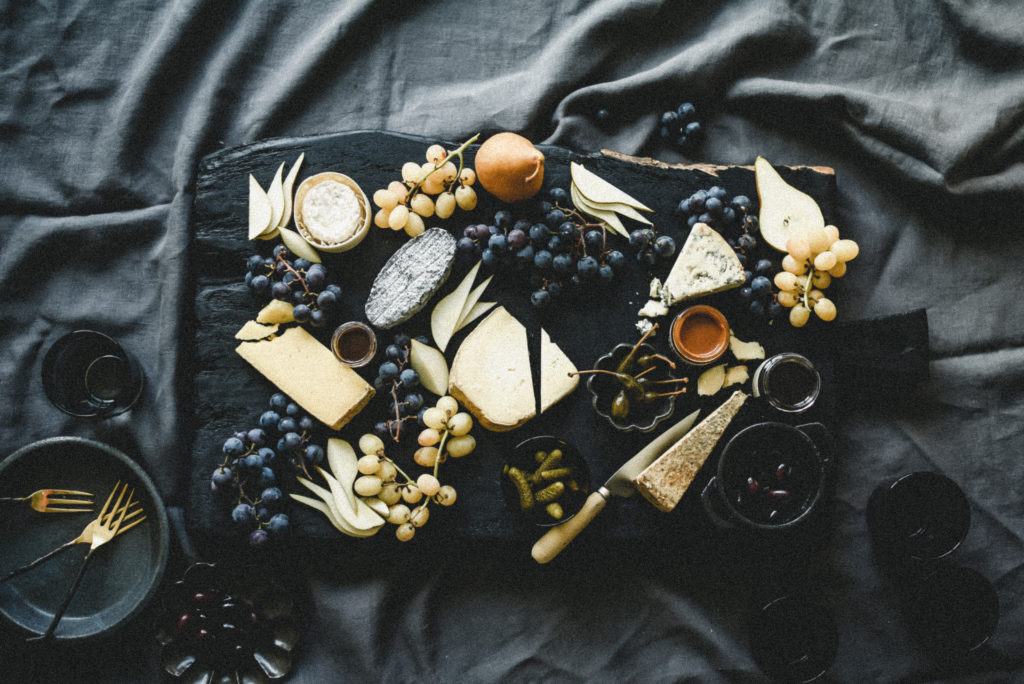
Adding The Cheese
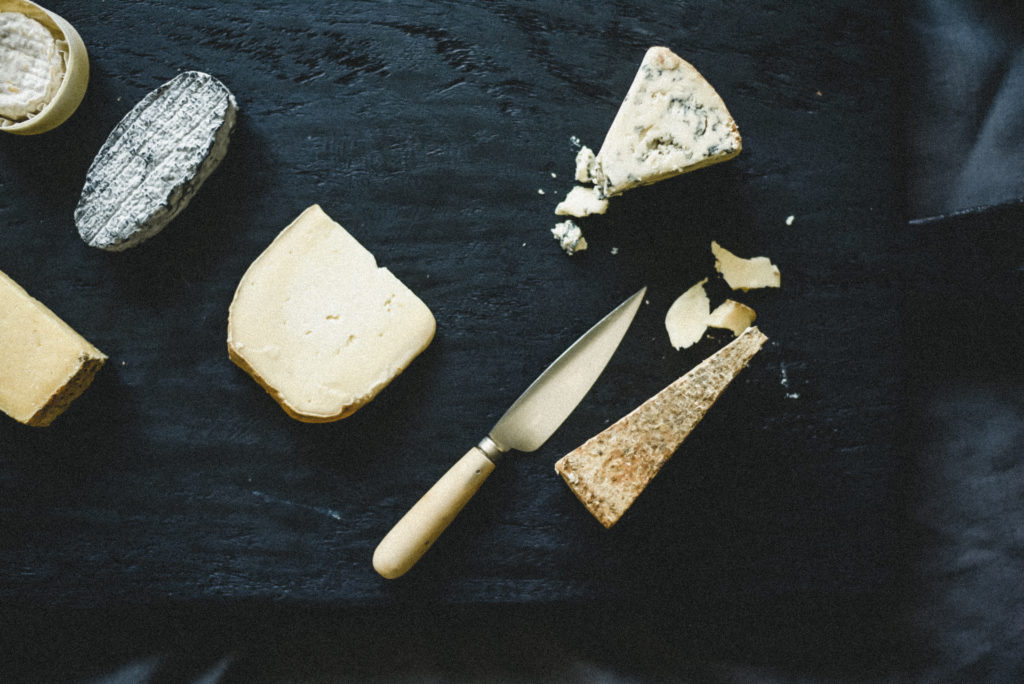
As you begin to build out your board, larger items like cheese wedges and wheels should be added first, to act as delicious focal points to draw the eyes in.
When deciding on cheeses, opt for a soft cheese, a hard cheese, an aged, sharp cheese, a mild gooey one or a stinky, briny option. Have fun with the varieties! If you are unsure where to start or want to try something new, simply ask your local cheesemaker or cheese shop—they’d be more than happy to help you.
BTL Note: Cheese is best served at room temperature! Remove cheeses from the fridge about half an hour before serving for optimal results. Though, softer cheeses may need closer to an hour to reach their ideal serving temperature! (Each cheese is different so don’t be afraid to ask!)
Adding The Fruit and Veggies
Seasonal fruit and veggies are next on the perfect-grazing-board list, and they’ll act as the second focal points. Slice them into bite-sized pieces, or cut in creative ways (no limits!). Serve extra alongside in a separate bowl for guests to nosh on!
Adding handmade little bowls or ramekins to hold small things, especially for wet items (like pickled veggies or olives), is a great way to add depth and height to the overall presentation of your board.
After all, it’s no secret that half the reason you’re making this board is for the aesthetics!
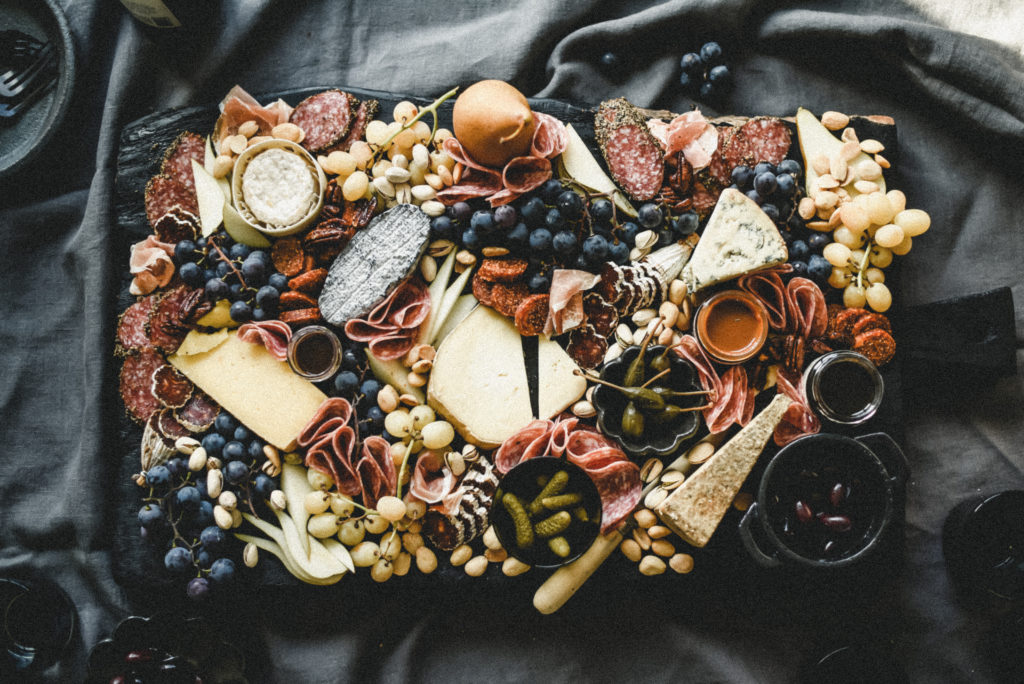
Adding The Meats
Ask your local butcher what they recommend. Striking a conversation can open up a world you may not have known about! Plus, you may end up with a good story to share with friends at the table.
Salty, savory, cured meats are easy to munch on. Prosciutto, ‘nduja, speck, soppressata or chorizo—you name it—are all crowd pleasers. You can even keep it simple and slice up pepperoni or salami into bite-size pieces.
If you’re really feeling fancy, add some pâtė – the texture is silky smooth and buttery. Simply look around your local stores and see what sparks your attention and taste buds!
(And definitely opt for nitrate-free options).
In terms of presentation of the meats, you can dice, or fold, shape into rosettes or layer into piles. There are plenty of tutorials floating around online like this one or this one, or you can ask your local cheese-board maker what they recommend or participate in a class or two to learn! What a great way to support your community.
BTL myth-buster: did you know that the term ‘charcuterie’ — often (incorrectly) used to describe a cheese board — actually means ‘cold cooked meat’? Pull that fun fact out at your next party and you’ll either be the cool friend who knows a lot about food and French vocabulary, or the weird friend who knows too much about meat…depending on your friend group. Wink.
Filling In The Gaps
Adding smaller snacking items—such as seasoned nuts, seeds, or dried fruits—will help you fill in the gaps between the cheese and meat. This also helps to make the board feel abundant when there is no surface peeking through.
My biggest tip for deciding which supplemental ingredients to add is to think about texture as much as flavor! When assembling, think about juicy versus crispy, crunchy versus tender, sweet versus salty… you get the picture. It makes the overall experience of looking and eating all the more engaging and fun!
The Final Touches
Garnish with vibrant herbs, microgreens and/or edible flowers to add layers of freshness! Herbs like rosemary are fantastic because they are a bit sturdier, and can withstand time and warmer temperatures.
(However, you can mist cold water to help perk up daintier produce before serving.)
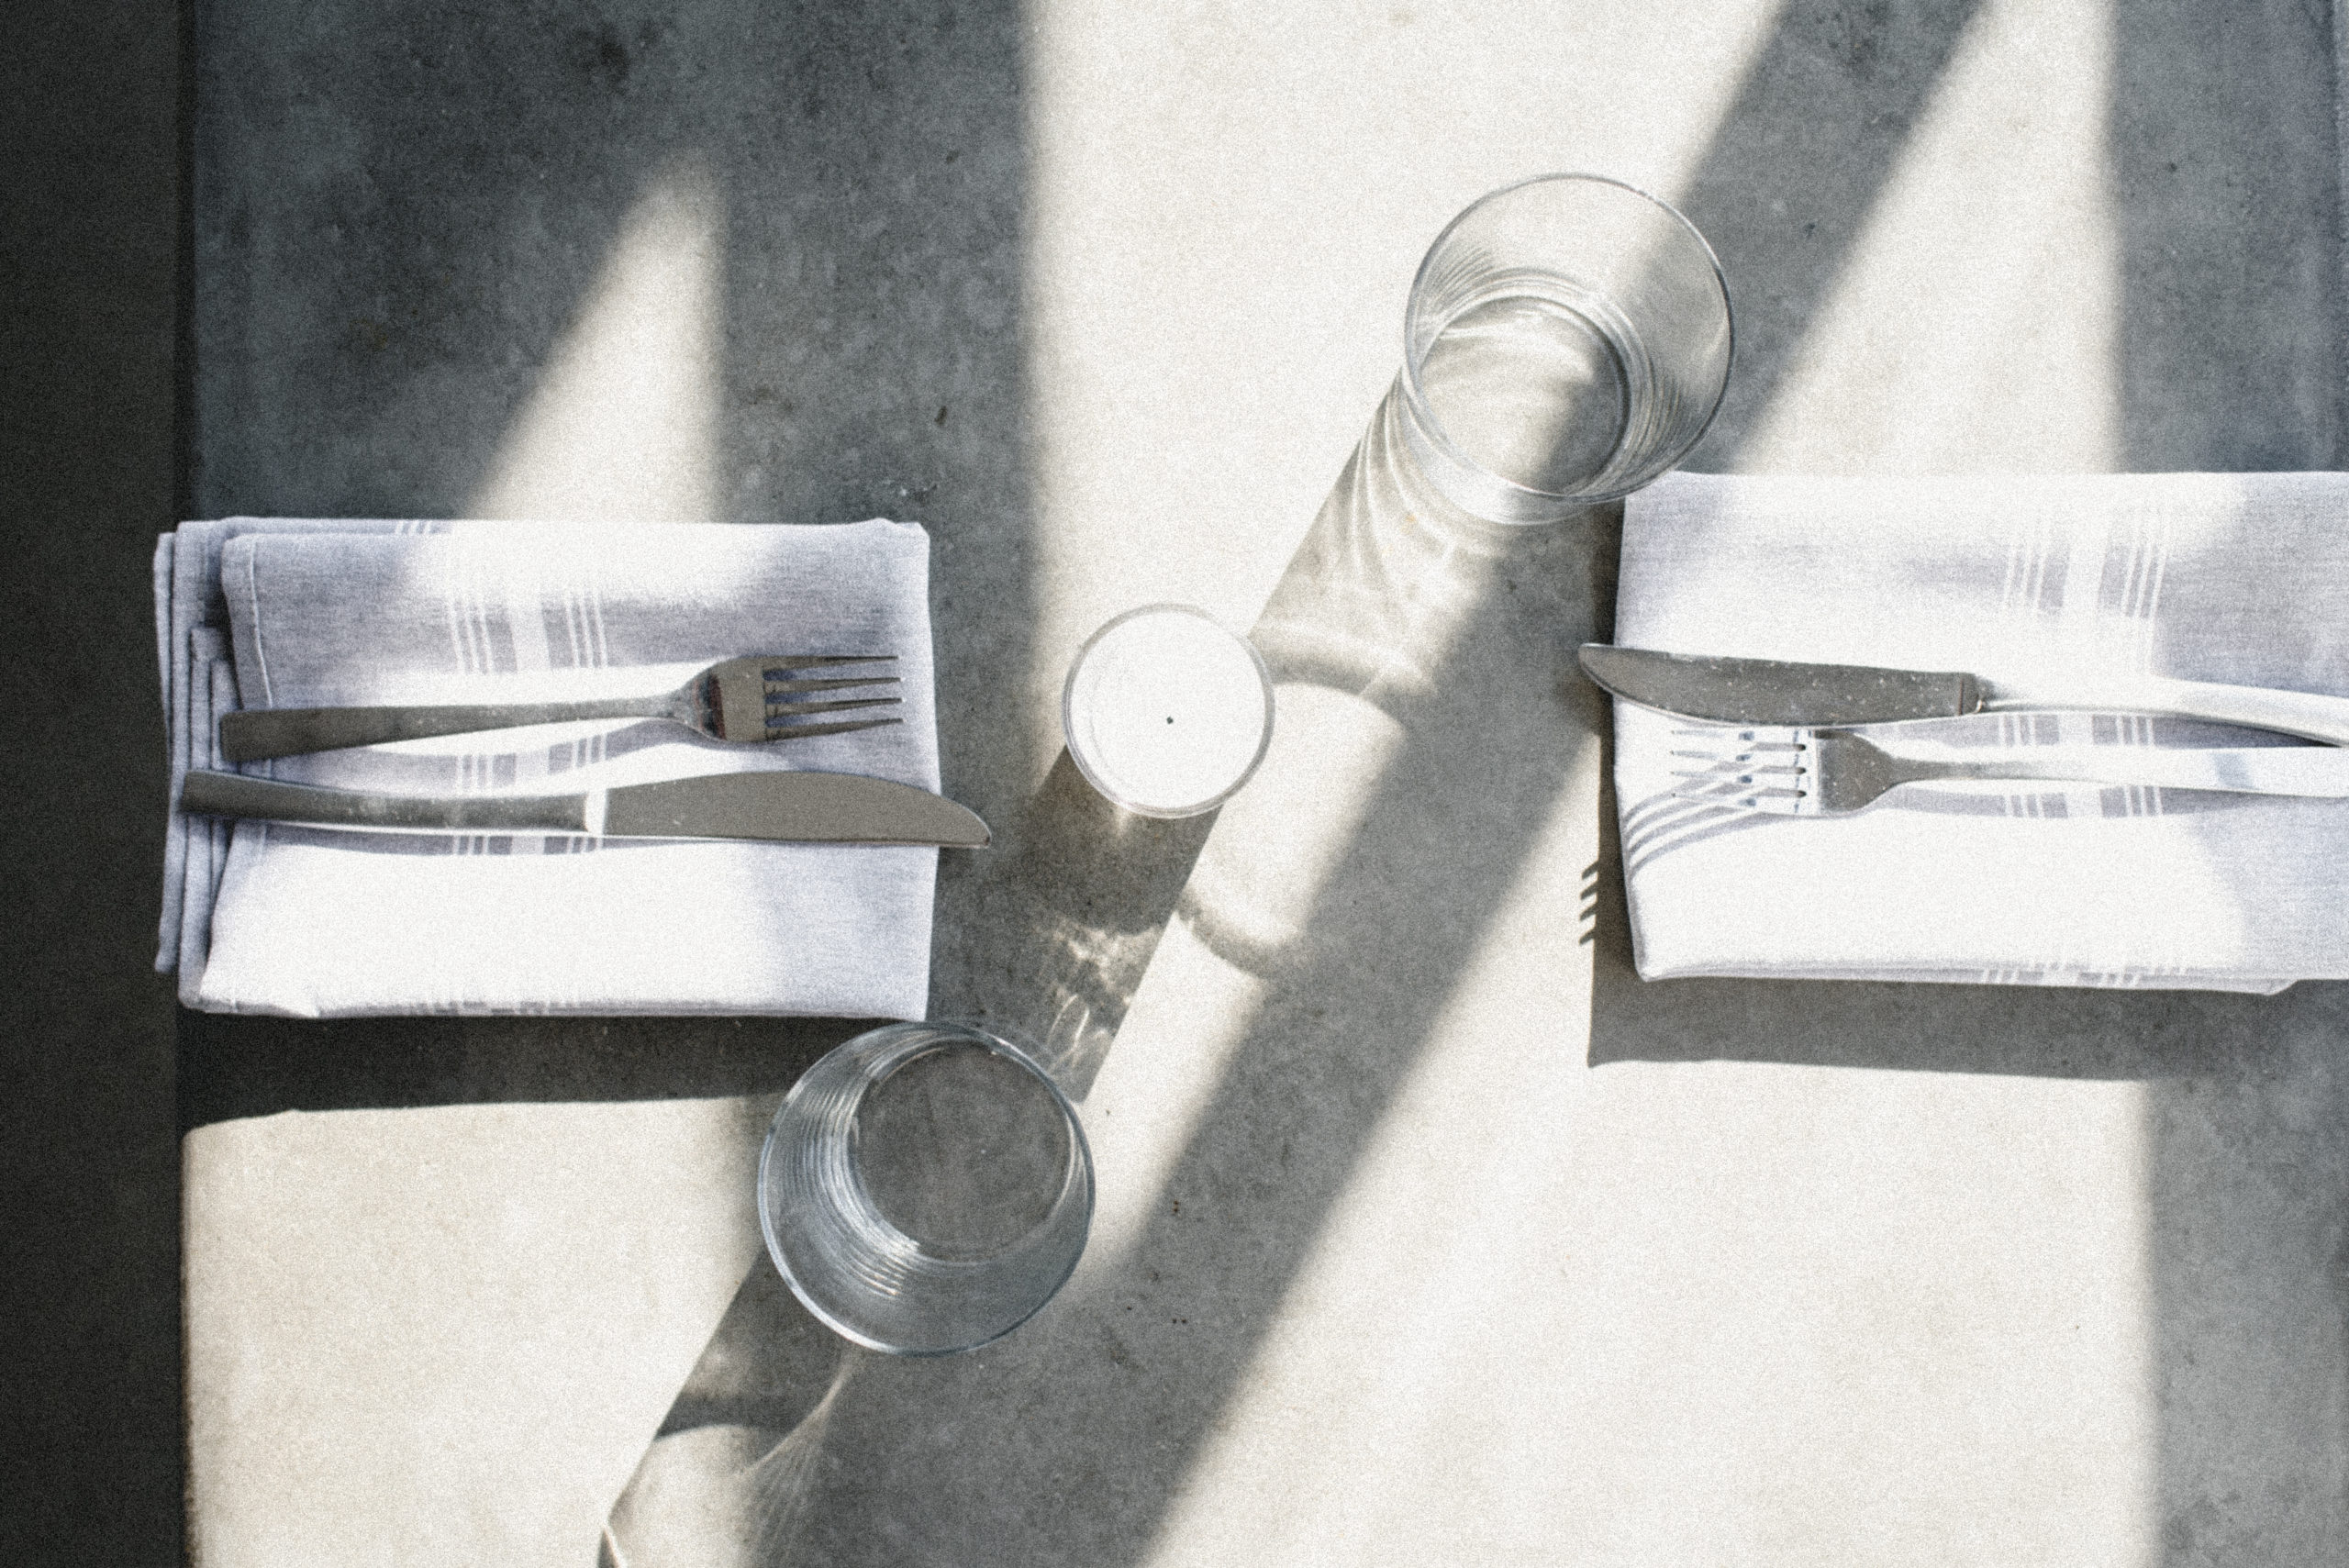
When you’re just about ready to present your board, add a variety of cheese knives and / or reusable toothpicks or forks. It will help make digging in that much easier, but also provide the board with compositional lines that can be pleasing to look at. It’s also a way to add some flare and style since the range of designs are vast!
Plus, it will help guests feel more comfortable that not everything is being touched by everyone’s fingers!
Pair with slices of bread or wriggle breadsticks amongst the board, or on the side, and you’re just about done! This is another easy area to support local—and who doesn’t love visiting a bakery and being greeted by the beautiful scent of fresh bread?
Working within a color scheme will help draw the cohesiveness of the different elements of your board together. Looking towards seasonal produce can help decide which colors to feature! Allyson from Full Heart Farm has this awesome schedule that helps break down what is seasonal at her farm; I highly recommend checking it out for some guidance.
The Best Part of Your Platter
The telltale sign of a great grazing platter is your guests telling you that it’s too pretty to eat…as they’re going in for a bite. The best part is sharing! So sit back, share moments and laughs—and cheers to deliciousness!
Don’t feel like making a board, but still want to dive into deliciousness? Head over to your local cheese shop, and pick up one of theirs (I personally love Dom’s Cheese Platters)! Or, check out your local winery; they likely serve cheese with their wine, and they’d love to chat with you about it.
And speaking of local—if any of you, like me, are based in Connecticut, I highly recommend stopping in and saying hi to the lovely people at the businesses linked below.
- Arethusa Farm – Blue Cheese, Tapping Reeve Cheese
- Cato Corner – Bridgid’s Abbey Cheese, Aged Bloomsday Cheese
- Dom’s Cheese – Sour Baby Cornichons (Gherkins), Fat Toad Farm Caramel
- Jane Herold Pottery – Charcoal ceramics
- Fromage Fine Foods & Coffee – Hellenic Farms Fig Salami (dried Greek figs, orange zest, pepper), Vermont Salumi Smoked Paprika Salami, Black pepper Cured Salami, Prosciutto
- Mystic Cheese Co – Ovalie Cendree Caissette, Marcona Almonds
- Cypress Eyes – Smoky glassware
- Weekend Kitchen – Wine cork and pairing knife
- Bishop’s Orchards – Pears (pick your own option!)
Thanks for taking the time to learn more about how to make a cheese and charcuterie board while supporting local artisans! For more recipes, click here. And to make sure you don’t miss my next post like this one, subscribe to my email list below!
For more tips and tricks, and advice on cheese and charcuterie boards, Jenny Goycochea of somuchfoodblog.com has a great guide here!
")


")

