

")
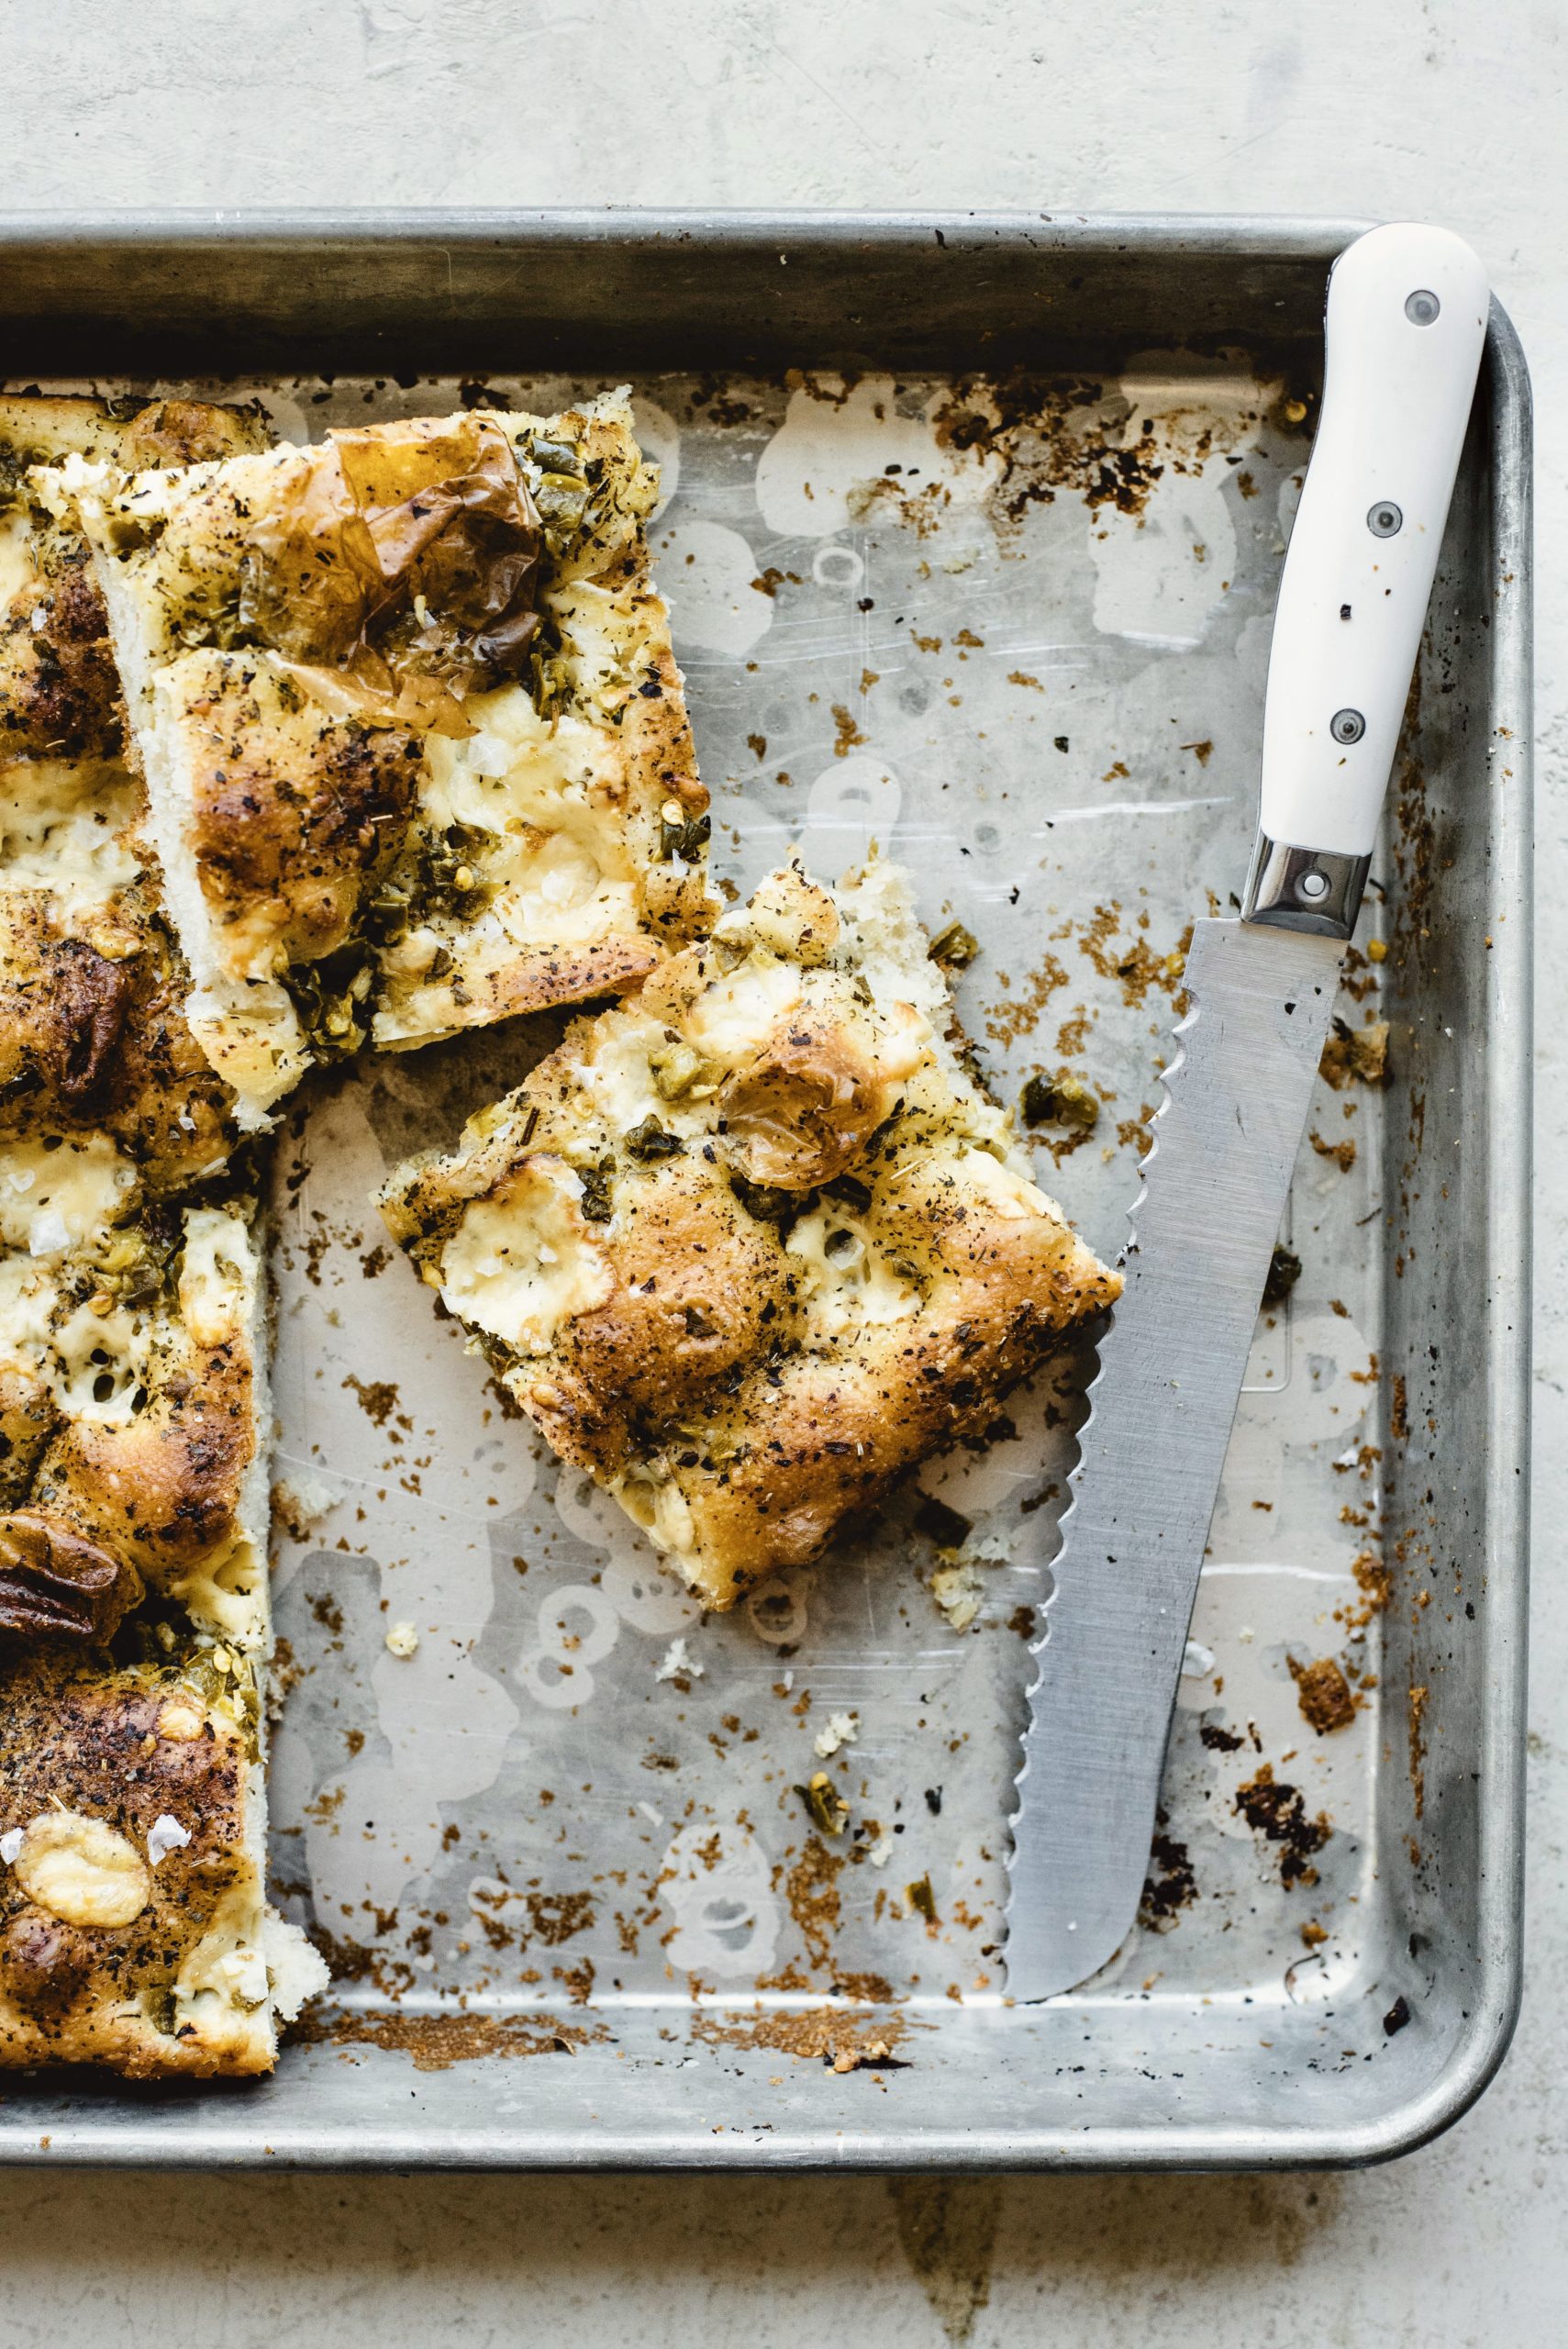
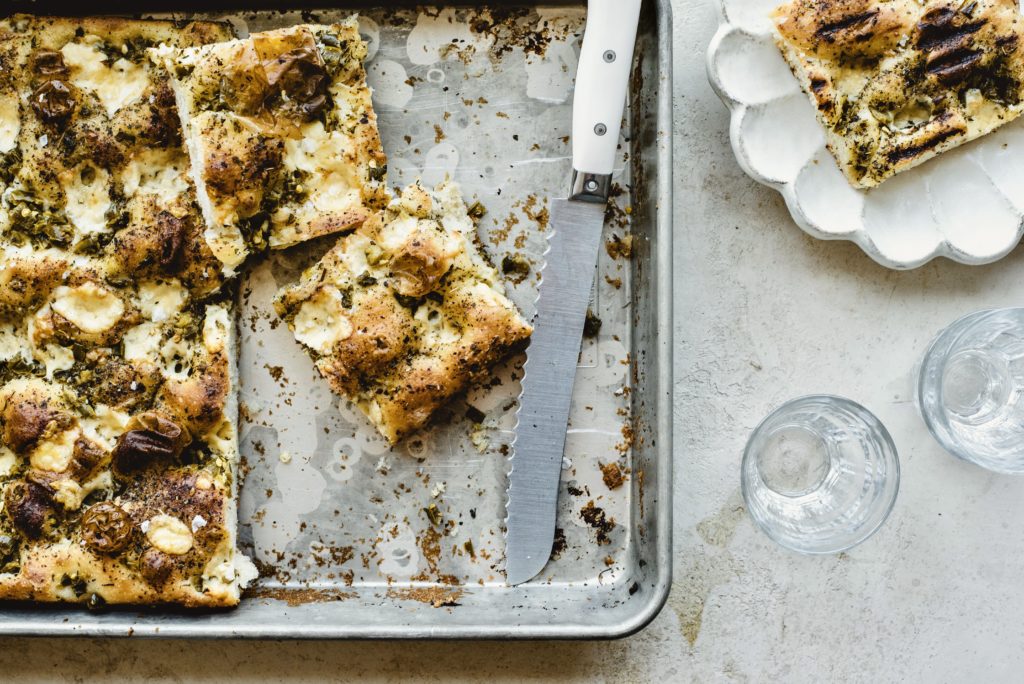
This Jalapeño Dubliner Focaccia is a spin off my original focaccia recipe here. This focaccia is loaded with aged Irish-style cheddar (by Kerrygold) and pickled jalapeños for a combination full of umami, spice, and tang. Although it is supremely delicious fresh out of the oven, my favorite way to munch on this treat is grilled!
Though, you’ll have to try for yourself to know what I mean. Scroll onwards for directions to share with loved ones!
Jalapeño Dubliner Focaccia
Dough Ingredients:
- 1 Tbs active dry yeast
- 2Tbs maple syrup (optional)
- 2 cups warm, filtered water
- 4 cups bread flour (give or take, depending on temperature and humidity of your environment)
- 1/4 cup extra virgin olive oil (plus 1/4 cup extra for coating)
- 2 tsp sea salt
Toppings:
- 7 oz. Kerrygold Dubliner (Irish Cheddar), cubed into small pieces
- 1/2 cup pickled jalapeños, diced
- 2 Tbs Italian spice blend
- Finishing salt
Method for Jalapeño Dubliner Focaccia:
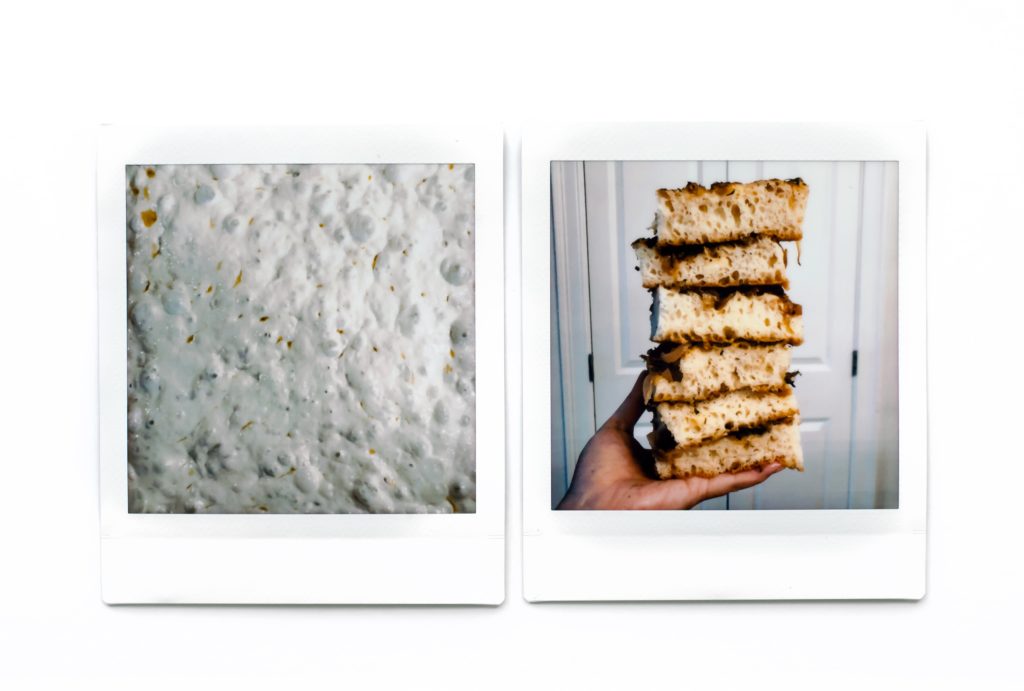
- In a small bowl, combine the active dry yeast, salt, maple syrup, and water. Mix and allow to sit for at least 5 minutes or until it froths and becomes cloudy (Also known as blooming).
- In a large mixing bowl, add the bread flour, bloomed yeast, and olive oil, then use a large spoon to mix the ingredients together until a shaggy dough forms. Next, use your hands to gently knead in the bowl for about about 6 minutes. The dough will be sticky. (The dough will stick to itself as you knead it. This process helps to strengthen the gluten development. You will feel the difference and transformation as you go.)
- Afterwards, cover the bowl with a damp towel and allow to rest for 2 hours at room temperature. After, press down the dough (to redistribute the gluten), then replace the towel for cling wrap, and transfer into the fridge. Chill for at least 12 hours (up to 72 hours) for the slow fermentation process.
- When ready, transfer the dough into a large, generously oiled sheet pan (preferably 12”x17” and 2” deep) and gently stretch the dough to cover the surface of the pan. Keep in mind the dough will continue to relax into the pan as it continues to rest. Allow the dough to warm to room temperature for about 2-3 hours, uncovered.
- When ready to bake, preheat the oven to 450°F. Next, use your fingertips to gently dimple the dough, then garnish and distribute the toppings on top. Afterwards, transfer to the middle rack of the oven to bake for 20-30 minutes, or until it golden and aromatic. Periodically check on the bread to make sure nothing extends beyond the tray.
- When the focaccia is ready, remove from the oven and transfer to a cooling rack to rest for at least 15 minutes. (The trapped steam inside the bread will finish the cooking process by softening the interior as it escapes.) When ready, break bread, and enjoy!
Notes:
- (Level Up Option) Bulk Fermentation Step: after mixing dough ingredients together, perform 4 sets of coil folds spaced 30 minutes apart for 2 hours, keeping dough covered in between folds. (Here is a great article that helps explain the why for this step.)
- For a more tender crumb, use all purpose flour instead of bread flour.
- Alternatively, you can allow to rise for 8 hours at room temperature instead of in the fridge for longer.
- For the fastest focaccia, you can allow the dough to double at room temperature for about 1-2 hours for the first proofing, then another 1-2 hours after stretching into the pan. This is the fastest method, but the texture is not as airy, and with a “flour-y” taste. Also, the air pockets will not be as evenly distributed, resulting in an uneven crumb. Though, all in all, depending on how much time you have, or what your schedule is, there are options to plan accordingly. For instance, I appreciate the quickest focaccia when I am trying to clear out the fridge in a pinch by topping with vegetable scraps or the last bits of pickled onions!
- For more delicious recipes to create or pair alongside, visit the Kitchen Journal.
")


")

