

")
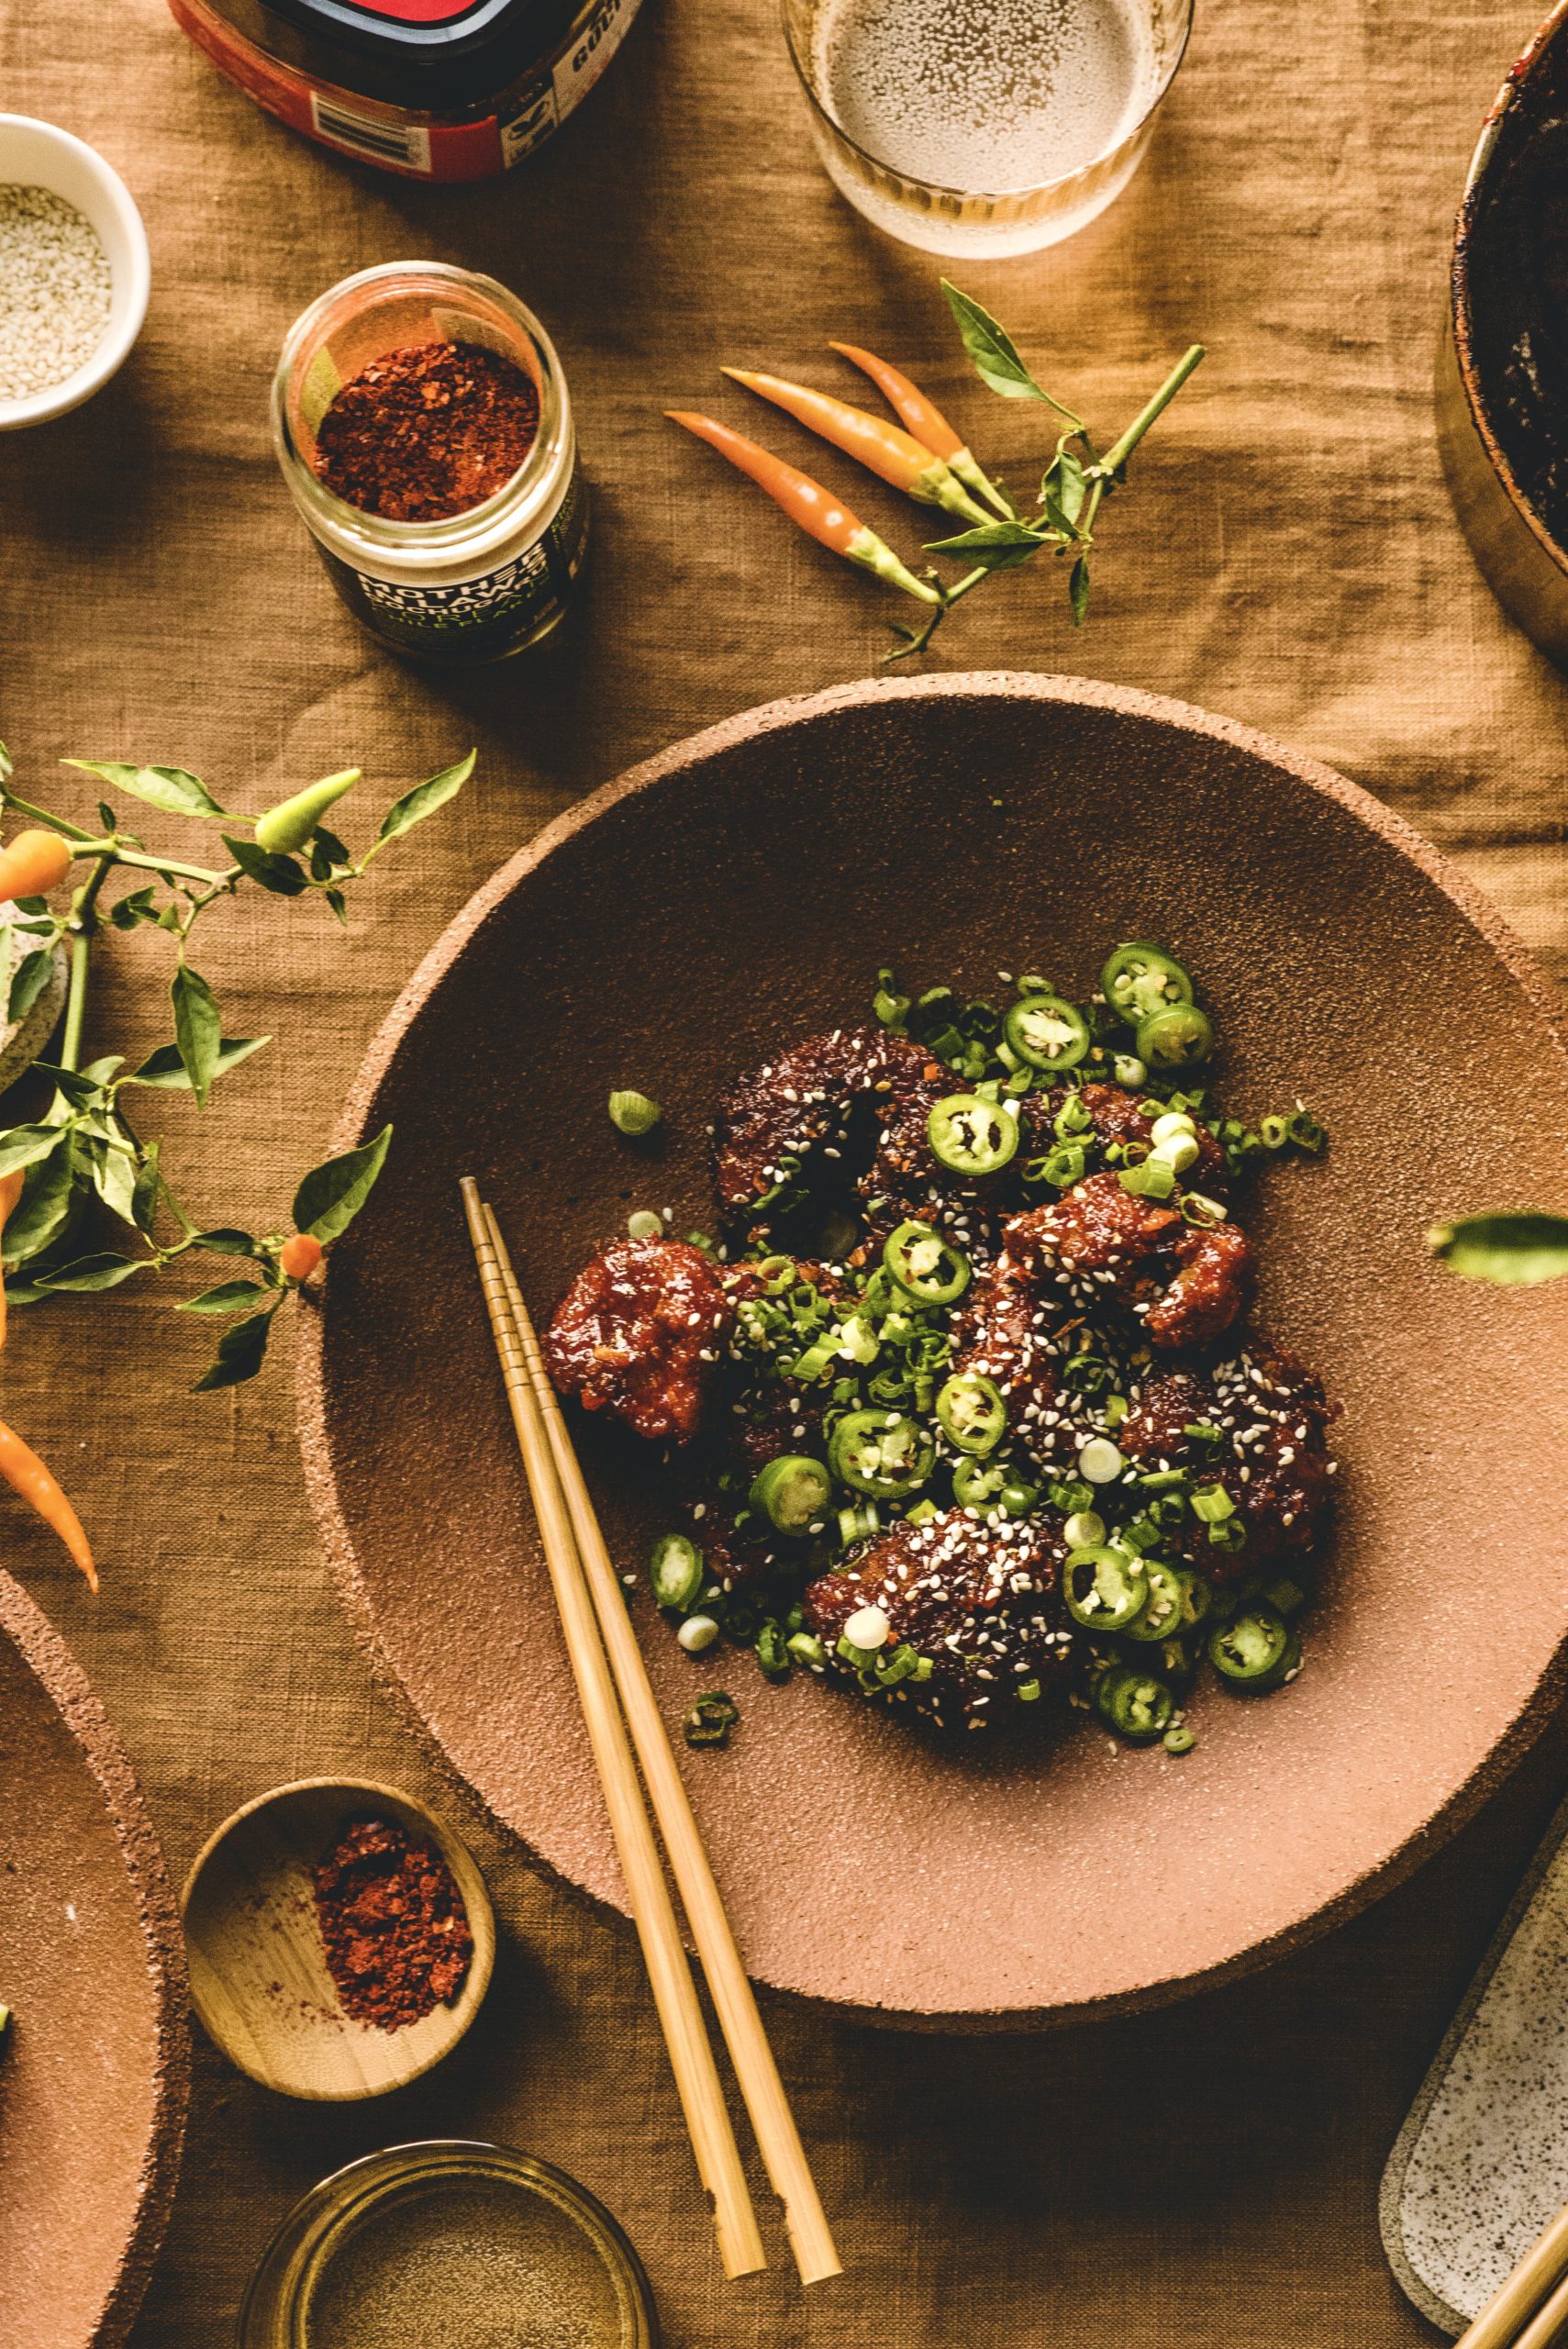
Have you ever had (Sort of) Korean Fried Chicken? Or Korean-fried anything?? It’s unreal! It is sweet and savory, spicy and crispy. It’s aromatic and such a delight with every bite! In fact, at a restaurant nearby I ordered it a little more than I’d like to admit. Though, once their menu changed I knew I had to fill the space left in my heart with a home-made version.
To be clear, by no means is this version traditional. This is my experimental attempt. All I knew was that I wanted something crispy crunchy, slightly sweet and mouthwateringly savory. I wanted it loaded with extra scallions, extra ginger, and a mountain of dry-roasted peanuts.
When developing this recipe I opted for panko instead of a heaver coating. I wanted it to be bit lighter than the versions I tried, and instead of chicken wings or thighs, I swapped it for chicken breasts. Though, it’s mighty delicious either way! (It’s simply what I had on hand already.)
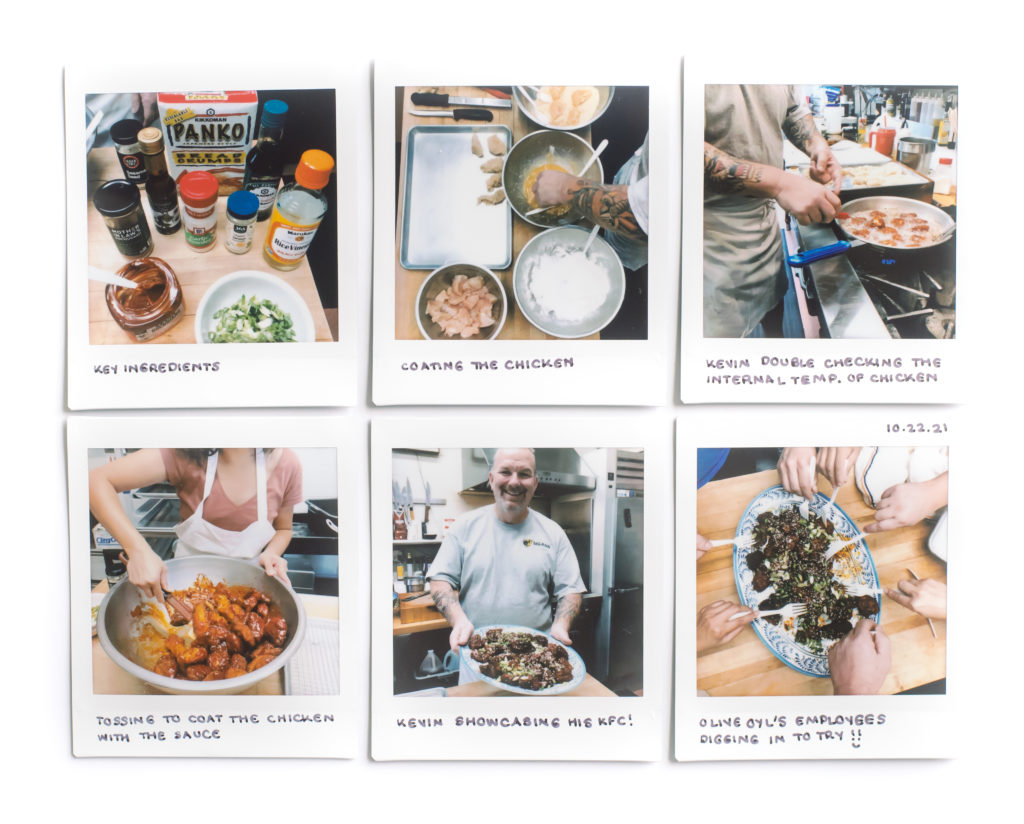
That said, I shared with my neighbors and it was such a hit that they asked me to help teach them, which brings us here!
By the way, since this recipe is truly, really, all about the seasonings and crispiness, be sure to stay on the look out for a plant-based version in the near future. That way, everyone can enjoy! (*Update* here is the tofu version!)
So on that note, scroll down for some imagery and notes to make it yourself!
(Sort of) Korean Fried Chicken
SERVES: 4-6
PREP TIME: 15 MINUTES
COOK TIME: 12-15 MINUTES
Panko Chicken Ingredients:
- 1 1/2 lb. chicken breasts (about 3 breasts), cut into 1 1/2″ pieces
- 1/4+ cup all purpose flour
- 3 large eggs
- 1 tsp sea salt
- 1 tsp freshly cracked black pepper
- 2+ cups panko
- 1 tsp onion powder
- 1 tsp garlic powder
- Vegetable oil for frying (enough to fill a heavy-bottomed skillet or pot with 1/2″ of oil)
Korean-ish Sauce:
- 1/3 cup gochujang
- 1/4 cup pure maple syrup
- 1 1/2 Tbs gochugaru
- 3 Tbs sweet rice wine vinegar
- 2 tsp toasted sesame oil
- 1 1/2 Tbs low sodium soy sauce
- 1 Tbs fresh ginger, finely minced or grated
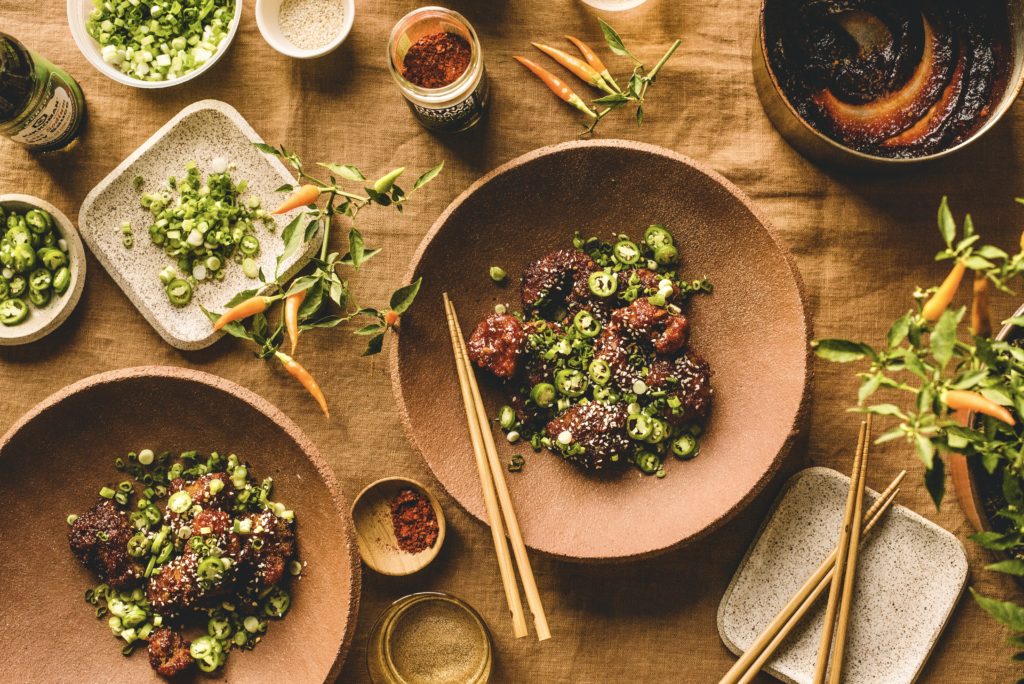
Garnish:
- 4 scallions, thinly sliced
- 2 Tbs dry roasted peanuts, roughly chopped
- 3 tsp sesame seeds
Method for Coating the (Sort of) Korean Fried Chicken:
- To coat the chicken, place the flour, eggs, and panko breadcrumbs into three separate bowls. Season the eggs with sea salt, freshly cracked black pepper, onion powder and garlic powder, then scramble.
- Afterwards, dredge each piece of chicken thoroughly into the flour, then dip into the egg mixture with one fork (or two!). Coat and allow the excess egg to drip off (that way there is enough egg mixture to coat the remaining pieces.)
- Then, transfer the egg-coated chicken into the bowl of panko. Use a separate fork to generously and evenly cover the chicken with the crumbs. Next, place the breaded chicken aside onto a plate or tray until ready to fry. Repeat the coating process with the remaining pieces.
Method for Cooking and Coating:
- In a large, heavy-bottomed skillet, bring the vegetable oil to medium heat, until it reaches an ideal frying temperature, or about 350°F on a thermometer. When ready, add the coated chicken to the frying pan, working in batches to avoid overcrowding the pan. Fry for about 2-3 minutes, flipping halfway through, until golden brown and crispy all over. (For reference, I use my #10 field company skillet. Timing may vary depending on the stove and cookware. It takes me 4 batches to complete the frying process).
- Afterwards, using tongs, transfer the fried chicken to drain on a paper towel-lined rack/tray until ready to toss with the sauce.
- Meanwhile, bring a small saucepan to medium heat and add the sauce ingredients. Stir until combined and cook for 3-4 minutes or until it begins to bubble and thicken. (It should shift into a deeper reddish brown.) When ready, transfer the sauce into a large mixing bowl. Though, to thin out the sauce simply add more rice vinegar as needed. This also helps to tone down the heat. Season to your preference.
- Afterwards, transfer the fried chicken into the mixing bowl of sauce. Then, quickly toss together until evenly coated. (I find it is easiest to use a rubber spatula at first, then toss and shake the entire bowl to finish coating.)
- Finally, transfer the sauced chicken to a platter, garnish, then serve immediately. Enjoy!
Notes:
- A few delicious ways to enjoy this recipe is to pair alongside rice, with vegetables, or with kimchi in tacos. There are so many options!
- By all means, you can bake or air fry the chicken instead of frying! The sauce is what truly makes this dish!
- For a mellower ginger taste add the ginger to the egg wash instead of the sauce.
- Keep in mind that cast iron retains more heat than aluminum so cooking times may vary.
- I hope you enjoyed this recipe! For more food inspiration or for other dishes to pair alongside, please visit the Kitchen Journal.
")


")

