

")
9 Secret Soup Styling Tips
Soup Styling Tips Intro
You know when you get into learning about methods and then cannot seem to unsee how things work?
What I mean is, especially in the visual/creative fields, there are certain patterns that take place. There are certain protocols—“rules” if you will—and tips and tricks that make something as interesting or as glamorous as it is.
These are the elements of a project that often get overlooked, but in the grand scheme of things, play an important part of the whole.
Take food styling. In movies or shows, for example. Everything is always perfectly propped or angled.
They are spritzed, polished, and, well, perfect.
What we see on the screen is often so good that it doesn’t capture our attention at first, if even at all, as something that involves a lot of hard work and technique. We’re so used to seeing beautiful imagery that we assume it’s effortless—because they’ve made it look that way, through that same technique our naked eye can’t see.
People may even believe that the idea of going to great lengths to style is unnecessary… only to then try for themselves, and realize that their outcome looks nowhere near the same.
When it comes to styling, there is so much more than what meets the eye, and it is because something was done RIGHT.
In other words, when things go smoothly, they will appear seamless.
If not, then those things will stick out like a sore thumb and become the main focus. This then could turn into a distraction, and all the efforts of the entire production would render pointless…
Here’s what I’m getting at:
I noticed some patterns with food that I cannot unsee, and therefore, I cannot un-think them. And to share with you, as well as to help us BOTH learn in terms of styling, I’d like to tell you about a few styling pointers I’ve stumbled upon.
That said, today’s topic is: soup.
Have you ever looked at a gorgeous image of soup and not thought twice about it? [Raises hand.]
Yeah, that was me, too—until I started taking photos of food.
You never realize how “blah” soup looks.
Or sometimes, even worse than blah. It can look like little swamps of floating chunks in an indistinguishable liquid. That is, if any chunks even surface to the top.
Though I could go on about the gross visuals of unstyled soup pictures, I’d rather share ways to avoid this situation, and tell you how to style a totally “photo-worthy” soup!
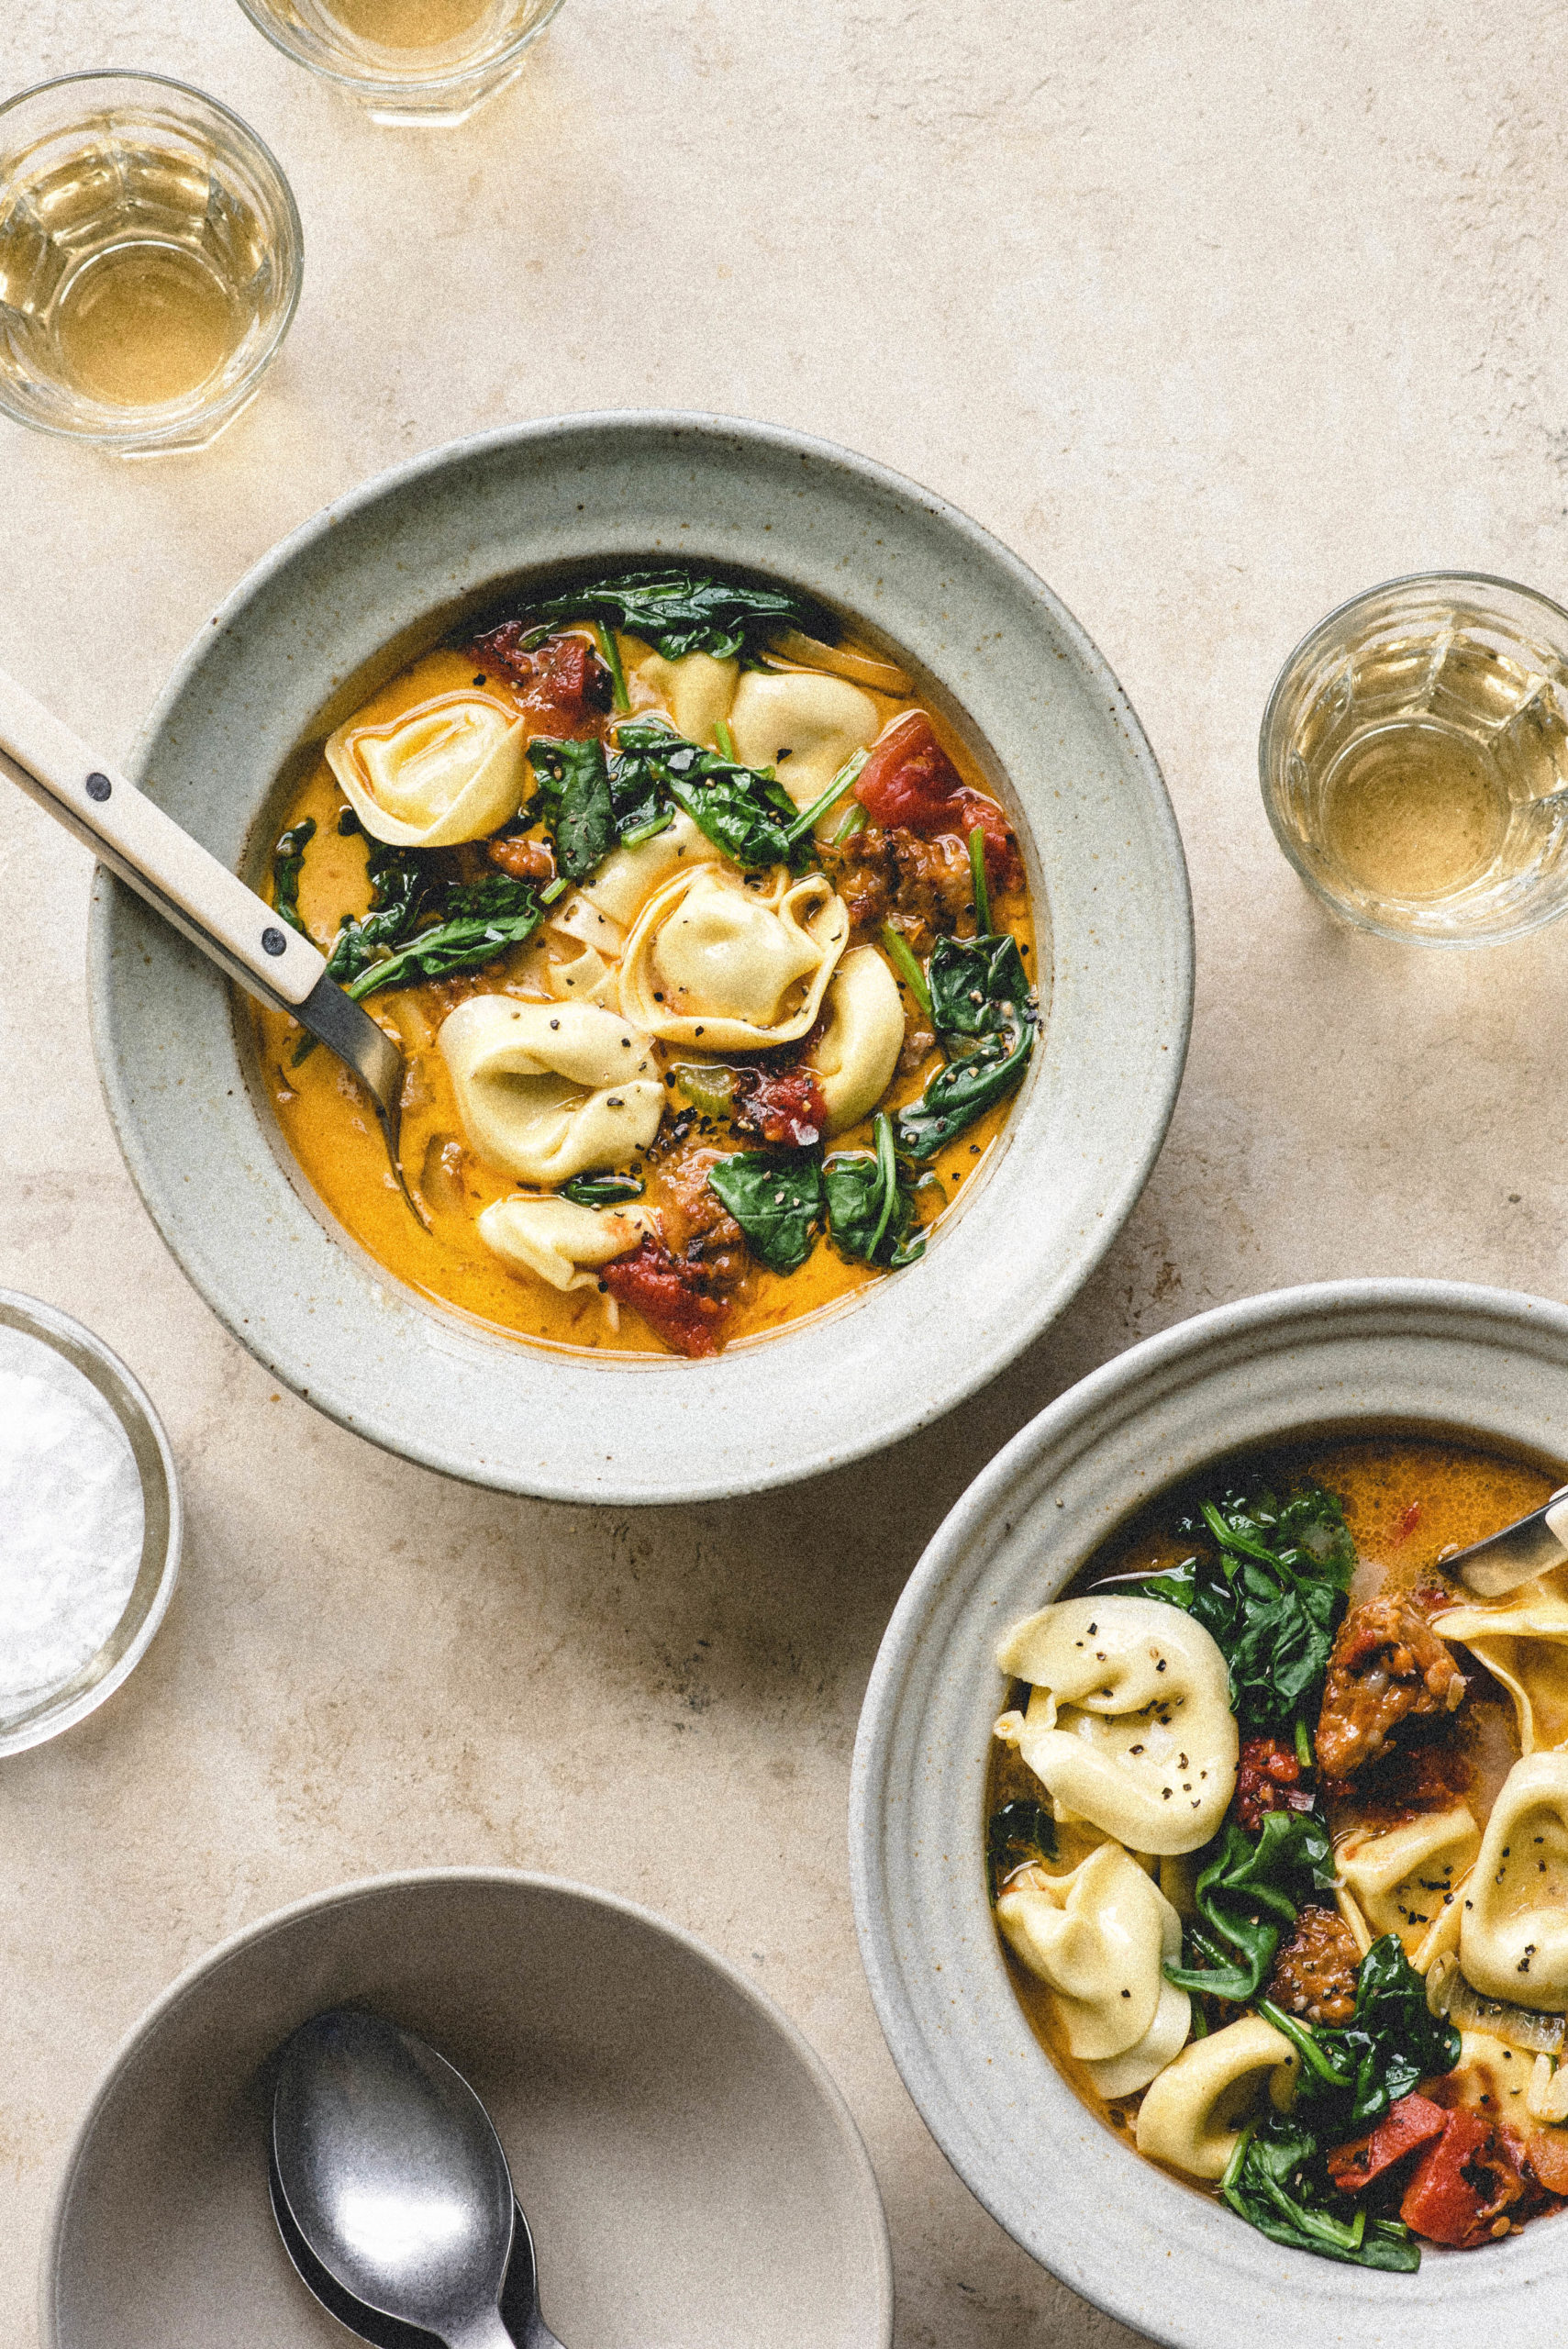
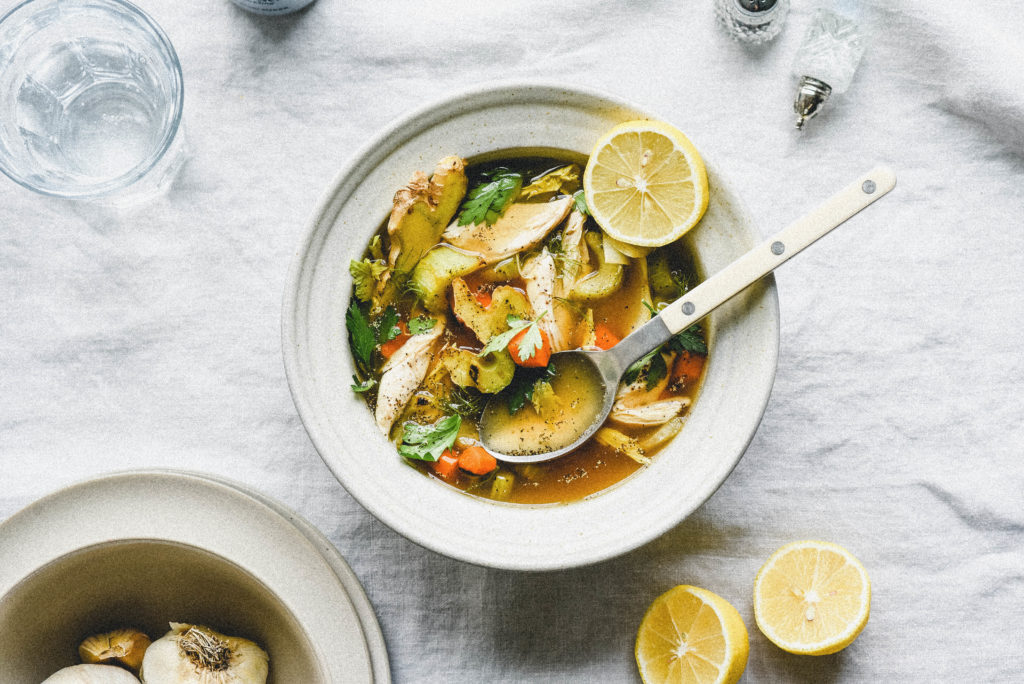
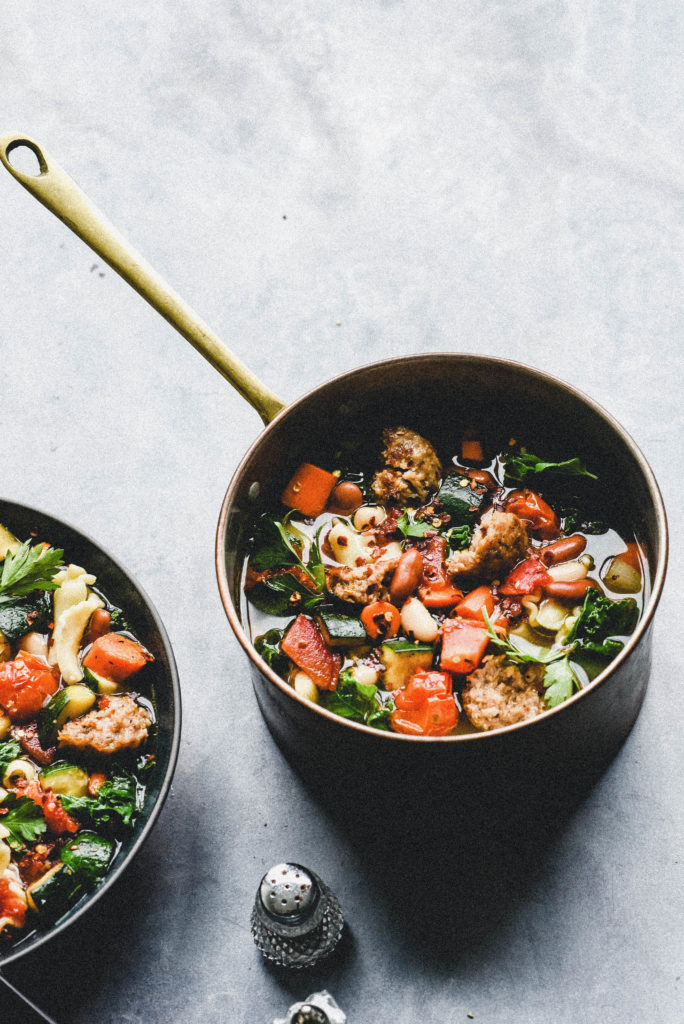
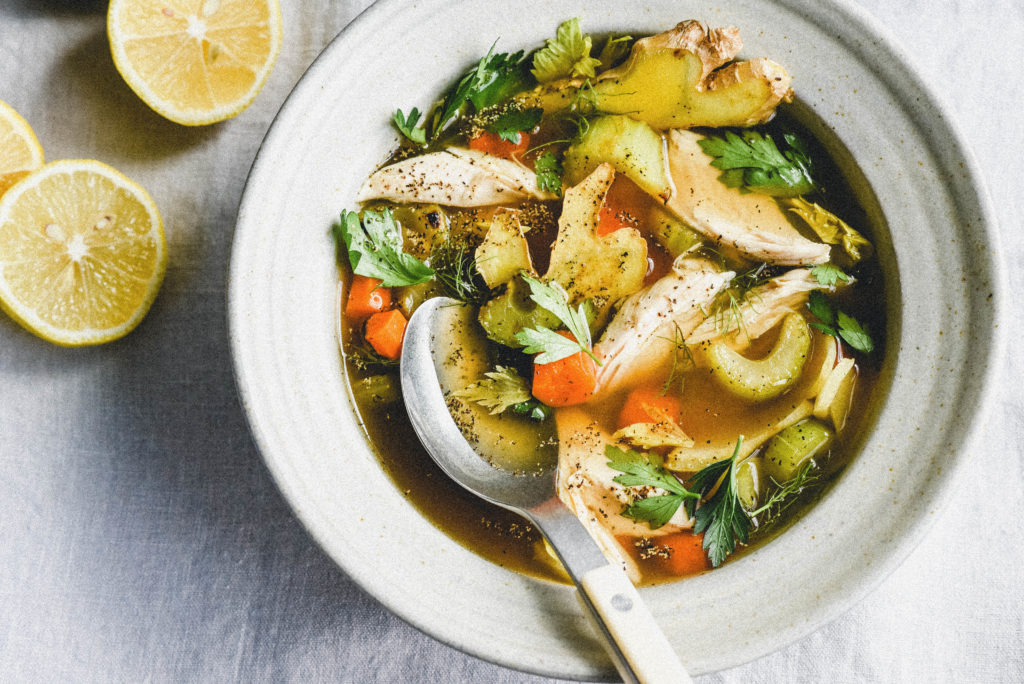
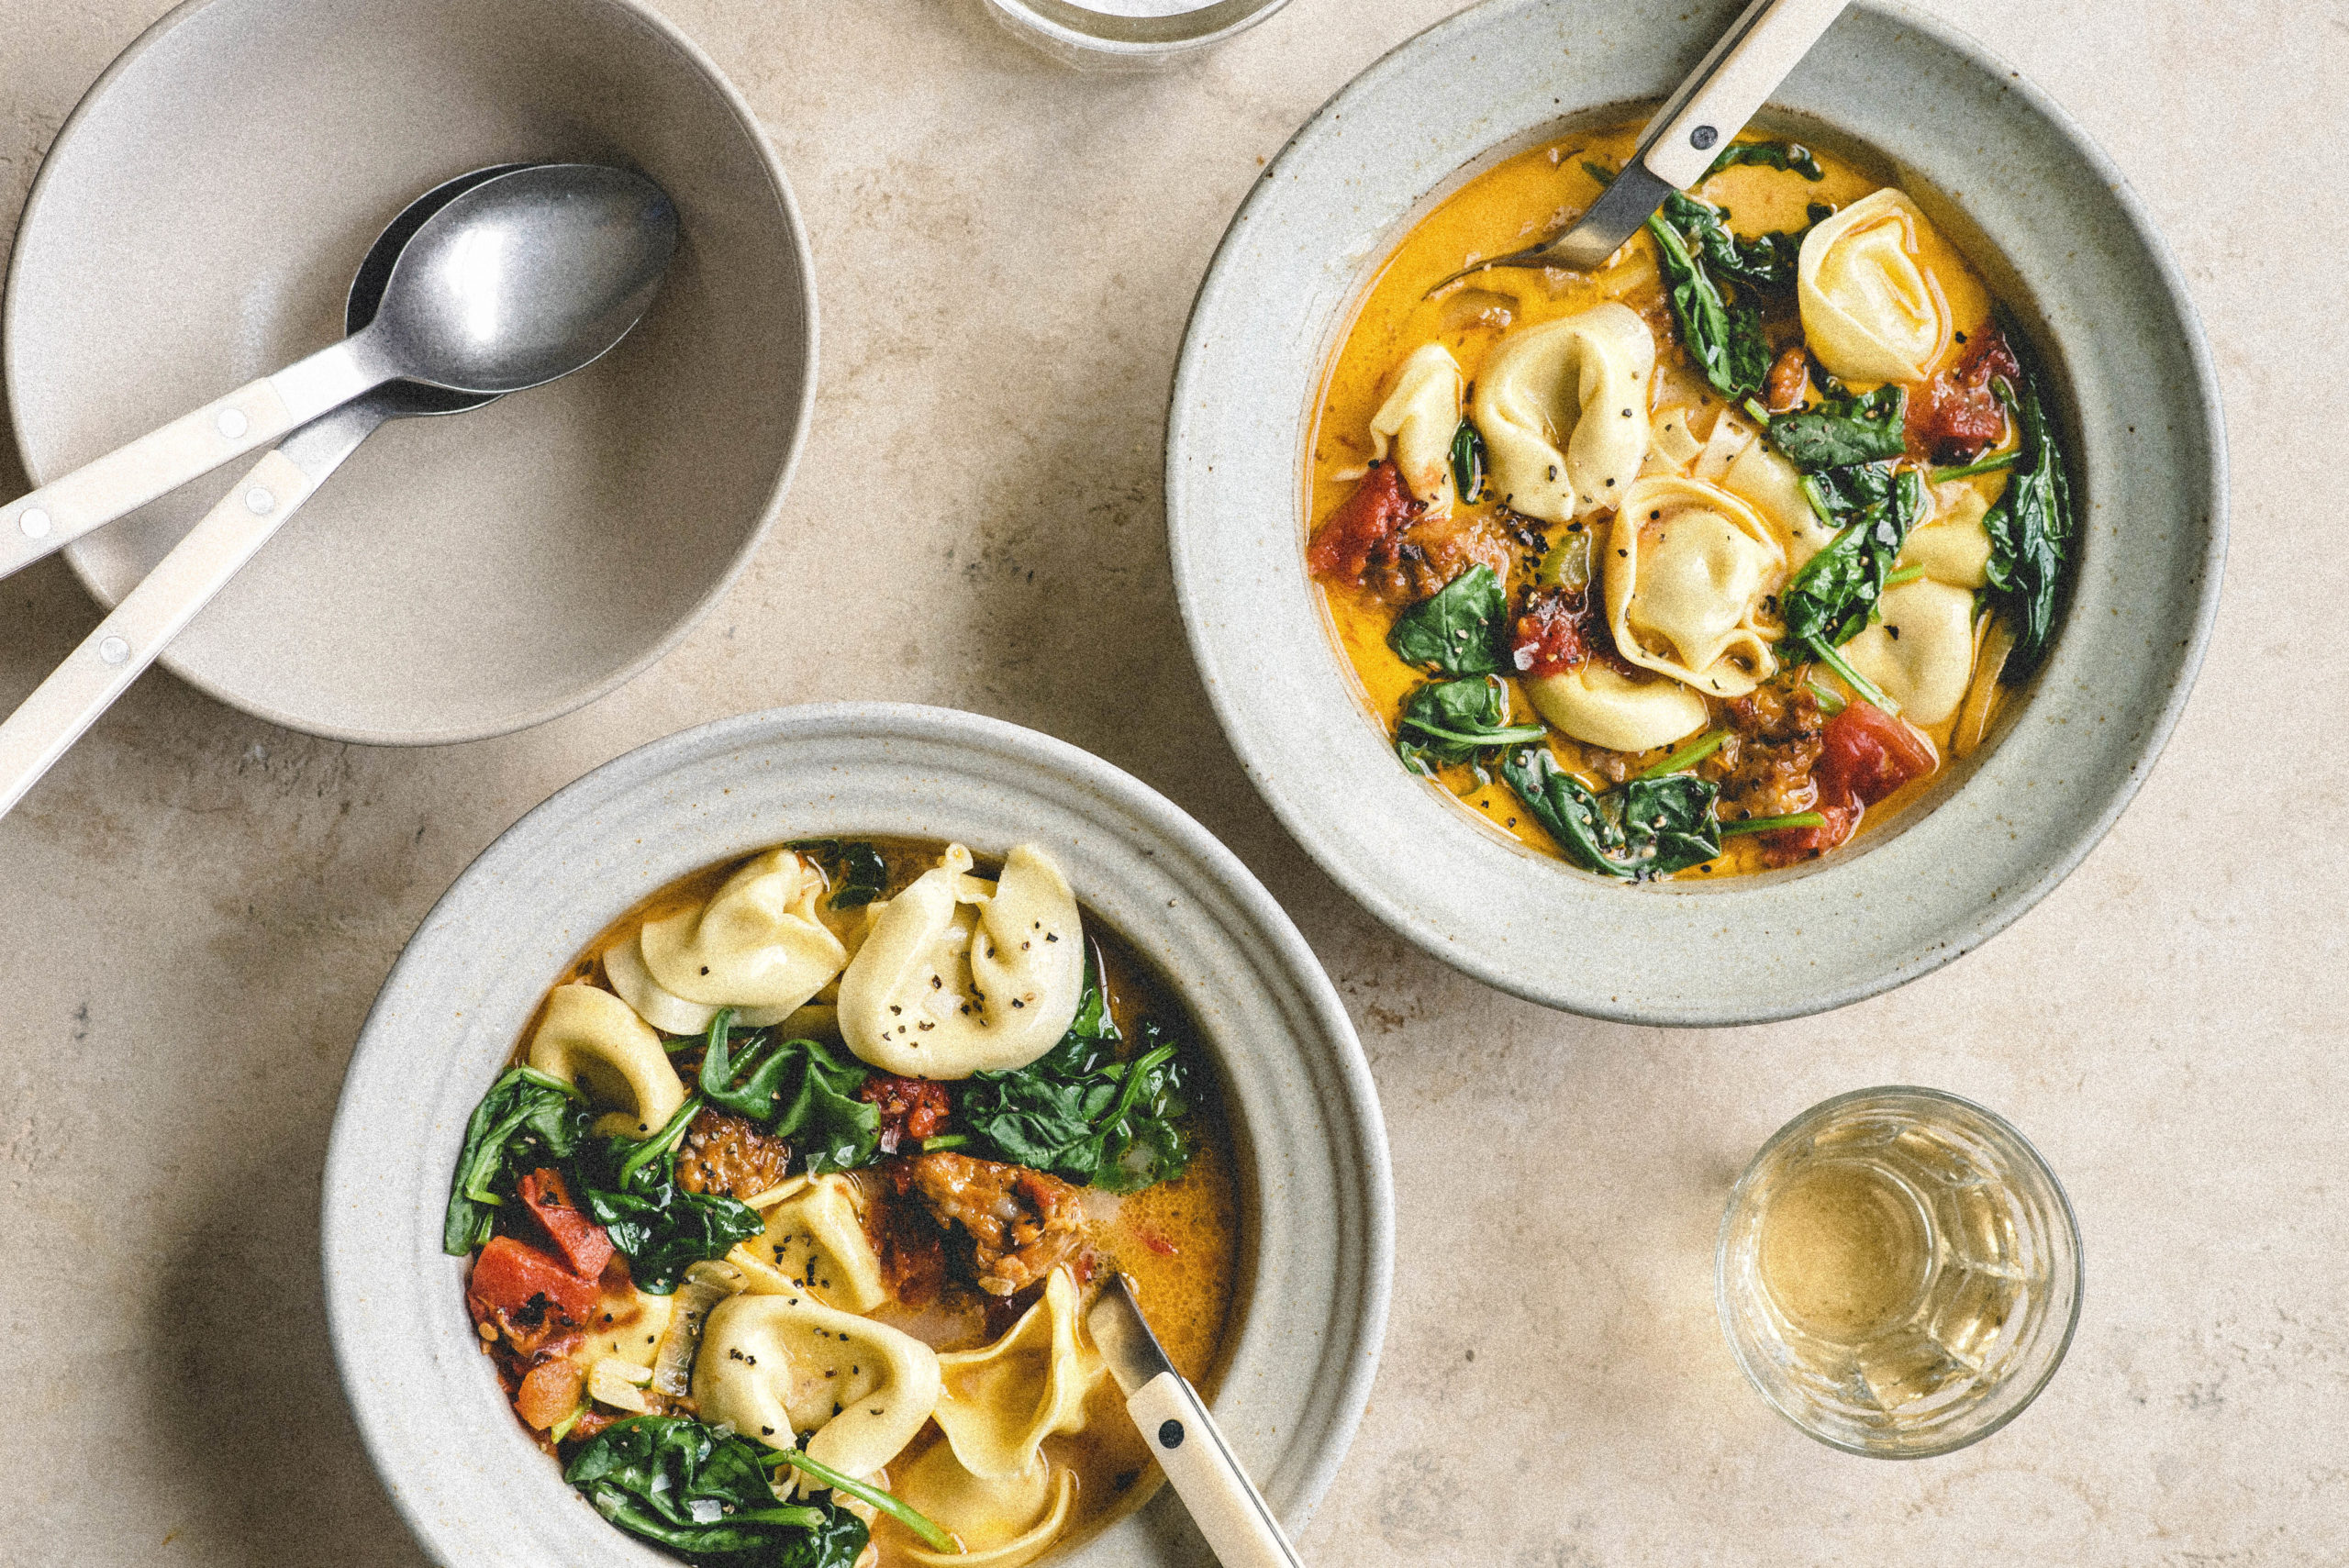
For a visual example, see the images below for the magic of understanding just how transformative a few simple styling components can make.
(P.S. I’m still learning as I go, so we are totally in this together!)
Now, here come the tangible tips. Grab a snack (or, dare I say, a soup?!) and get ready for this rapid-fire round of soup styling tips:

Prop Hunting for Soup Styling
- Aim for shallow bowls. This ensures that if the light is coming from the side, it will be able to hit all the ingredients within the bowl. This recognition translates to the eyes and mind as deliciousness!
- Bowls that are handmade add more character. They have life to them. Opt for supporting an artisan (bonus points if local) whenever you can. It will add a “something you can’t quite put your finger on.” Trust me on this one.
- Don’t leave the soup alone. Utilize pinch bowls or small plates or other bowls for showcasing flavor cues (aka focal ingredients).
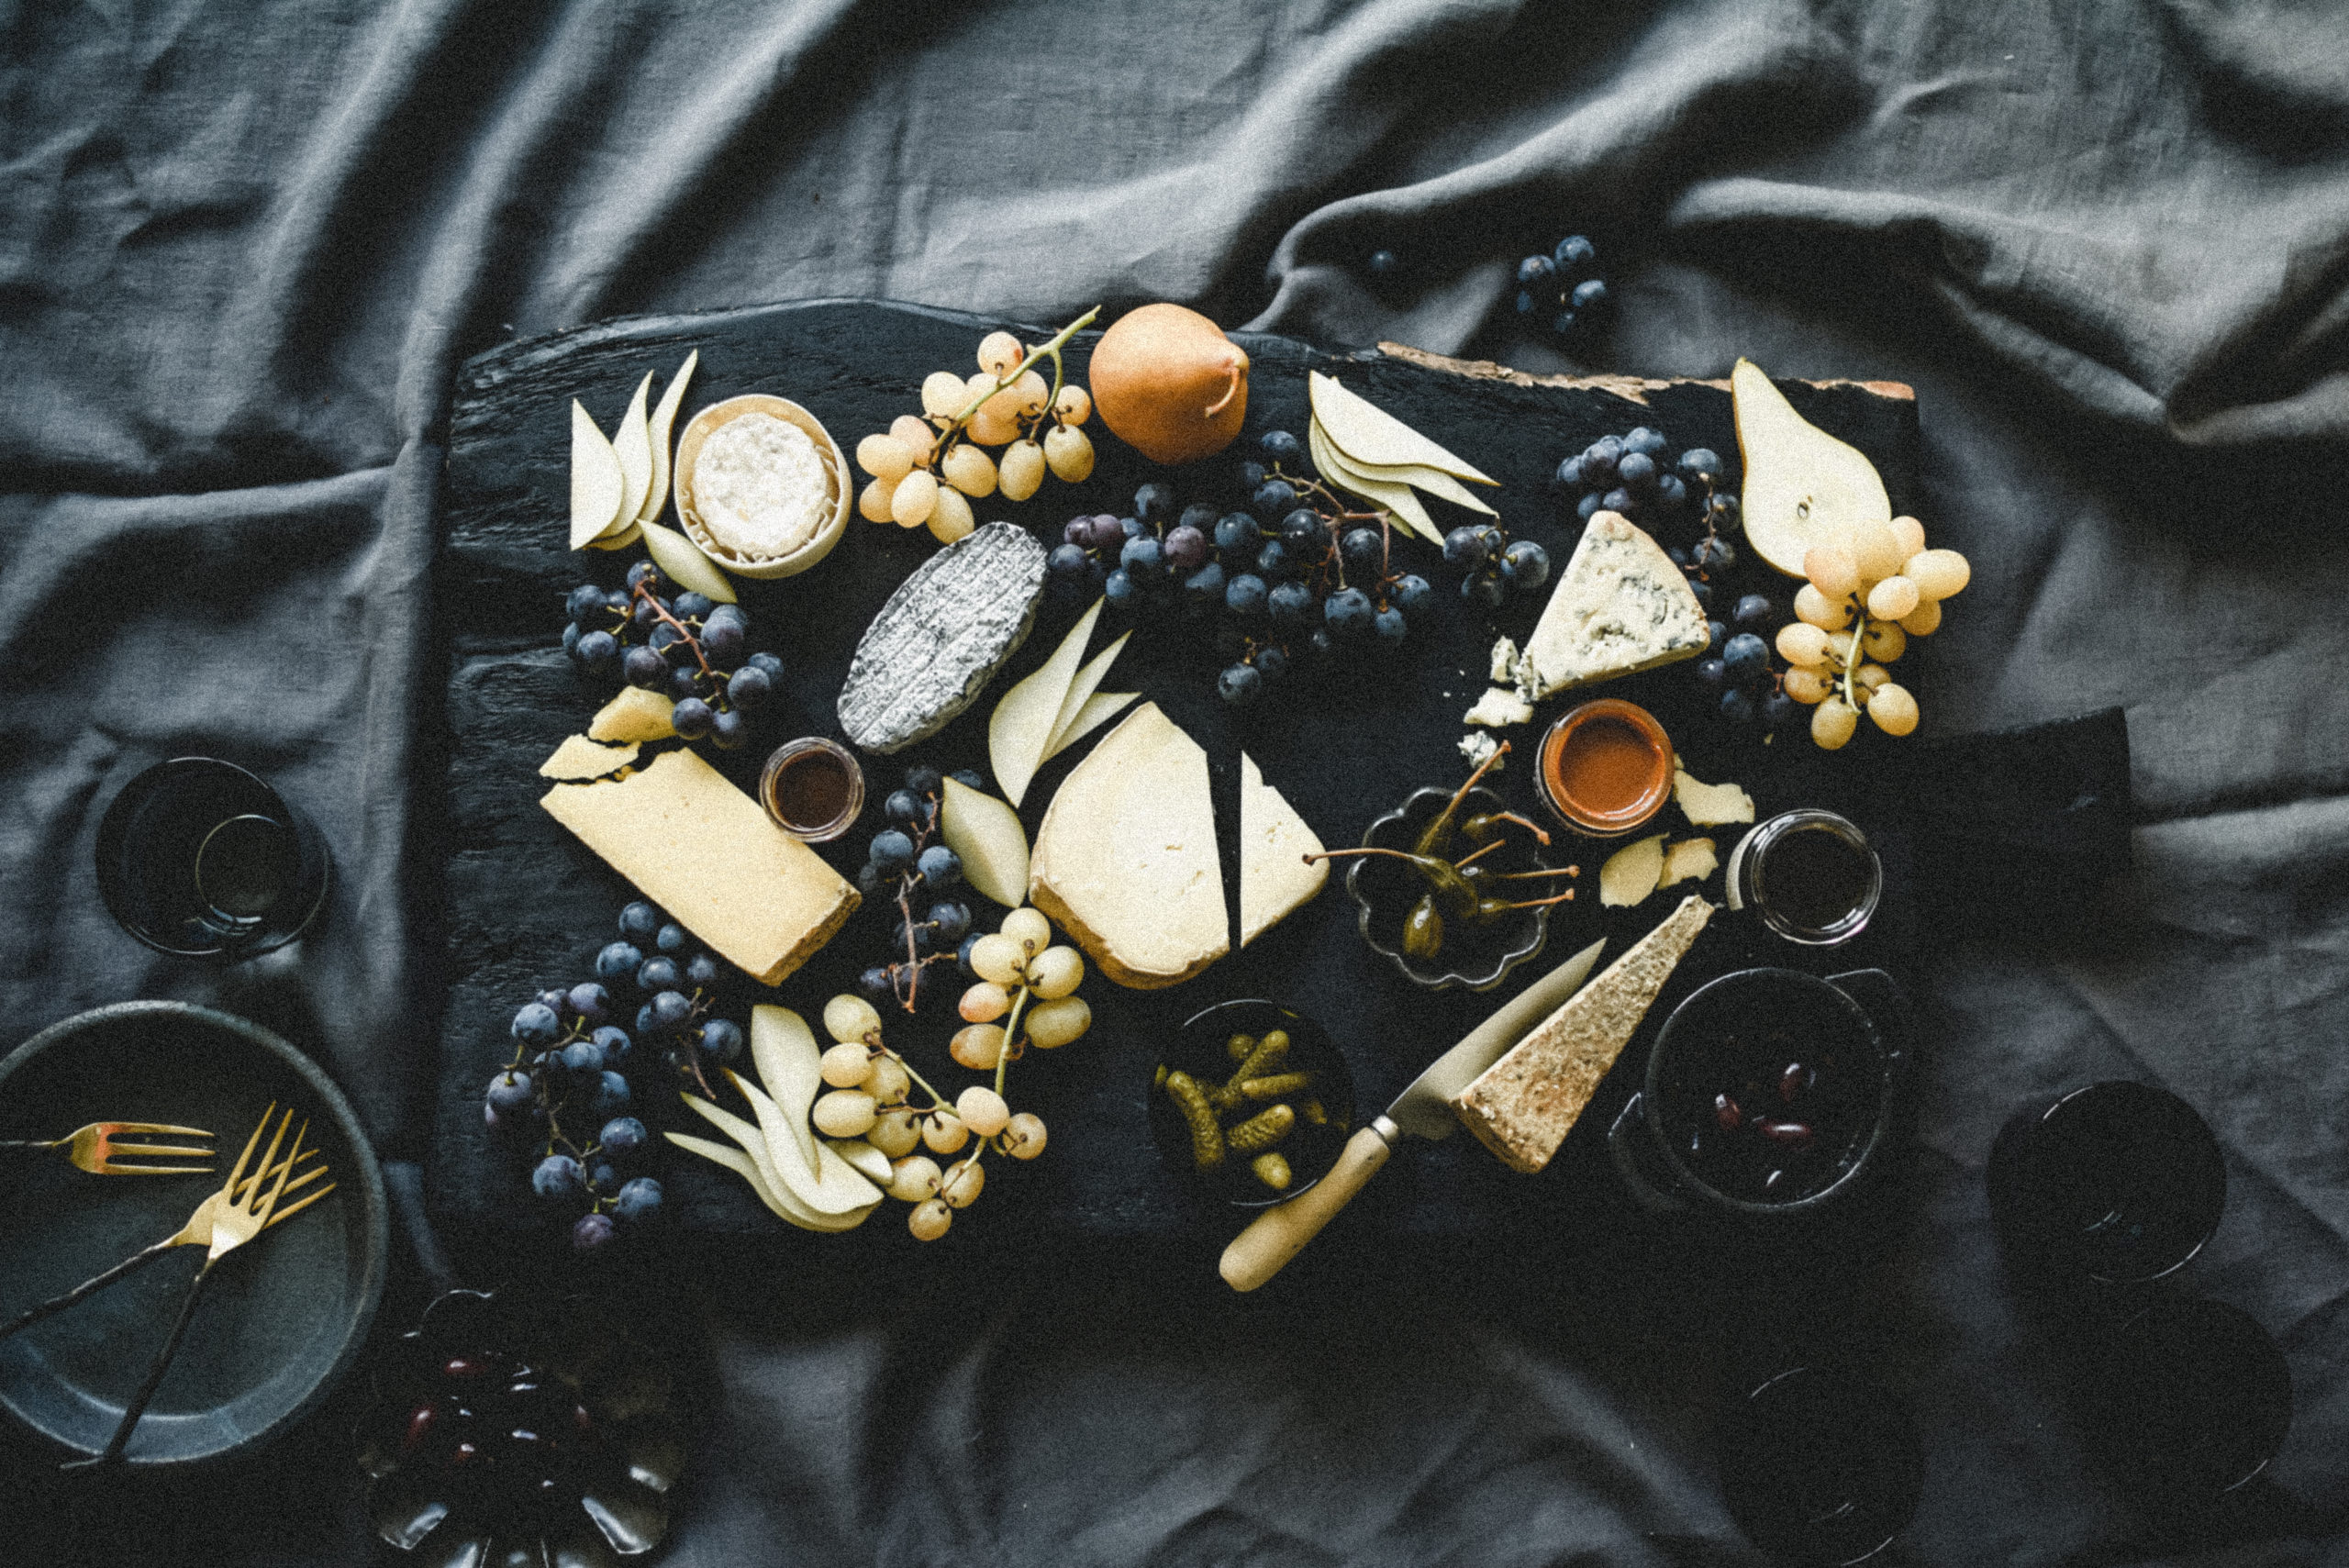
- Food can be props, too! Crusty bread, a cutting board of fresh herbs, or a peek of some produce… all of these can act as props as well as pops of color and textures. (Plus, who can resist a photo with crusty bread in it? I know I can’t.)
Don’t Lose Your Marbles
The best soup hack ever? Add height with clear marbles (or any other clear item that can act as a booster for the main ingredients! Fake ice cubes also work well.
Diced potatoes are another alternative to add height, however they may absorb the liquid depending on the type of soup you’re photographing.
You could also use a small or shallow bowl and place it upside down in the prop bowl to add that same height element.
No matter what you choose, though, adding height helps to avoid the problem of having too much liquid quite literally drowning your ingredients. The shallowness will allow you both to see and rearrange ingredients with ease.
Bottom To Top
Start with your boosters, then add your liquid (aka the base). Afterwards, add the key ingredients, then lastly, garnish.
If you’re styling a clear broth soup, you’ll want to add the broth LAST! Let the produce speak for itself, since you can’t exactly distract with things that are transparent (like clear broth)!
Also, when it comes to weight – think heavy to light. This will make things much more simple to navigate, especially if you have to slightly shift things around later on.
PRO TIP: if you end up adding too much liquid, a turkey baster works wonders. It sucks up liquids nicely with the least amount of mess. (Just don’t tilt the baster sideways…trust me.)
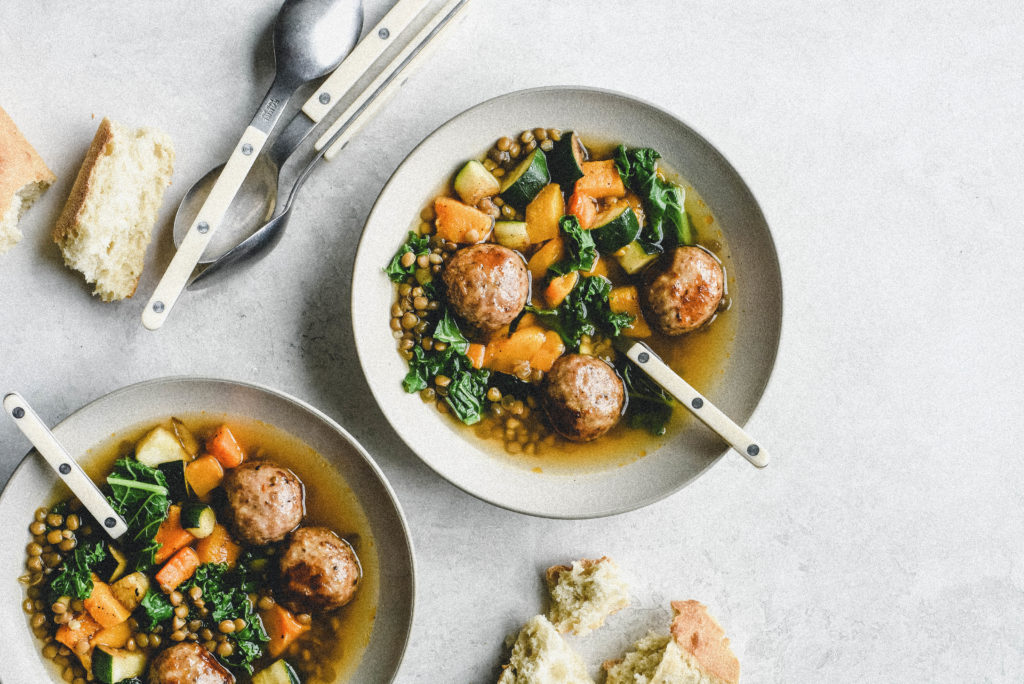
Get Chunky
Think of each element or ingredient as a block of color. Train your eye to detach from how you think it should be presented versus how you are going about it now. Viewers prefer “recognizable” objects. So, don’t be afraid to go a little larger in this department.
Let the veggies speak! The produce is what will add the color and texture, whereas a meaty soup is most likely brown. Let the veggies take center stage (and let any dull colored ingredient take a back seat).
Shock ‘Em!
Because “wow” factors apply even when we’re talkin’ soup. Produce and herbs will be your best friend when it comes time to add a little somethin’ somethin’.
When soup simmers, things turn brown and soft. No, thank you. We want the opposite.
We want bright and vibrant and beaming with colors!
So, take your herbs, give them a nice trim, and dunk them in ice cold water. Steam your greens (like spinach and kale), but immediately shock them by blanching in an ice bath. This helps to keep colors and produce spunky instead of mushy and bland looking!
PRO TIP: Cook everything separately. This helps give control over how every single element looks! Place each ingredient in its own separate container to make it easier to pick from when styling it.
Give ‘Em The Old Razzle-Dazzle
Is your soup looking a little less than ideal? Divide it into multiple bowls! Distract—or razzle-dazzle—them with other things!
You can also garnish a little heavier to distract as well. Let the more appetizing aspects be the key focal points.
Another way to distract from a ‘blah’ soup is to keep things glossy.
Soup is the opposite of dry (duh) so you want to ensure your ingredients are glistening. Use a paint brush to transfer liquid or even a bit of vegetable glycerine if needed. Whatever you do, just keep things sparkling—metaphorically and physically!
Layers also add that razzle-dazzle effect.
Don’t be afraid to add another layer or two of particular ingredients, especially pretty ones that are bright and shapely. Use styling tongs or your clean, bare fingertips to poke and move, and shift pieces around.
Pull some soup pieces higher or push them below. Simply, think in layers to add depth to an otherwise flat soup!
Get Steamy
There’s nothing more appetizing than a sexy, steamy soup shot.
While there are a handful of steam tricks, one of them in particular that one of my coworkers loves sharing about (cough James Dowd cough) is taking a tampon and dipping it in boiling water.
Place the steamy tampon (I never thought I’d put those two words together…I’m laughing but I’m also kinda grossed out LOL) close behind the bowl and photograph at an angle that disguises the tampon but gives a gorgeous “freshly made” look!
Soaked cotton balls are another alternative, but let’s be real, it is far more memorable and laughable if you use a tampon.
Another option is to hold a hand steamer instead. Just find a place where no-one can see your hand!
If you don’t have a hand steamer, use a tea kettle or any other device that gives off steam.
Lastly, a tea light candle (or two) can register as steam as well. It may be smoke, but as far as the lens goes, any airy white-ish effect can register as “steam.”
Don’t Forget A Spoon!
This one may or may not be obvious… but I’m telling you anyway: add a spoon or two! Bonus, adding flatware is another opportunity to showcase styling – it’s a win-win.
Oh, and by the way—while we’re talking styling—these soup styling tips aren’t only for photos. They help with every-day leveling up food presentation! So, whether you’re a food stylist or not, you can join in on the fun of glamorizing your meals. And whether said meal is for yourself or others, putting in a little extra attention into our meals might translate to more love, or more appreciation, or more attention.
It shows that we care. So why not put in a little extra effort to make someone’s day? Or to make your own day? Bee The Love! (See what I did there? Haha.)

I hope you found these soup styling tips helpful! If you find yourself styling soup sometime in the near future—tag me in the final product on Instagram so I can see what you came up with!
Click here to save this post for later on Pinterest, or here to browse my favorite (edible) food recipes!
")


")

