

")
How To Commercially Style Sandwiches
As a commercial food stylist, I picked up a lot of tips from my various clients—one of the most useful, interestingly enough, is how to commercially style sandwiches.
Before I move on and share those tips with you, though, let’s address the potential elephant in the room: what makes a sandwich a sub? And why do we call it that?
According to Bon Appetit, a sub, or long sandwich, is simply called that because it looks like a submarine. It can also be called a hoagie, grinder, hero, or spukie…but for the purpose of this post, we’re goin’ with sub.
Now, I can’t share exactly why or who I learned these tips from—half to keep the mystery alive and half because I’m quite literally legally bound not to—but let’s just say the source of these tips is a universally worthy one for all things sandwiches.
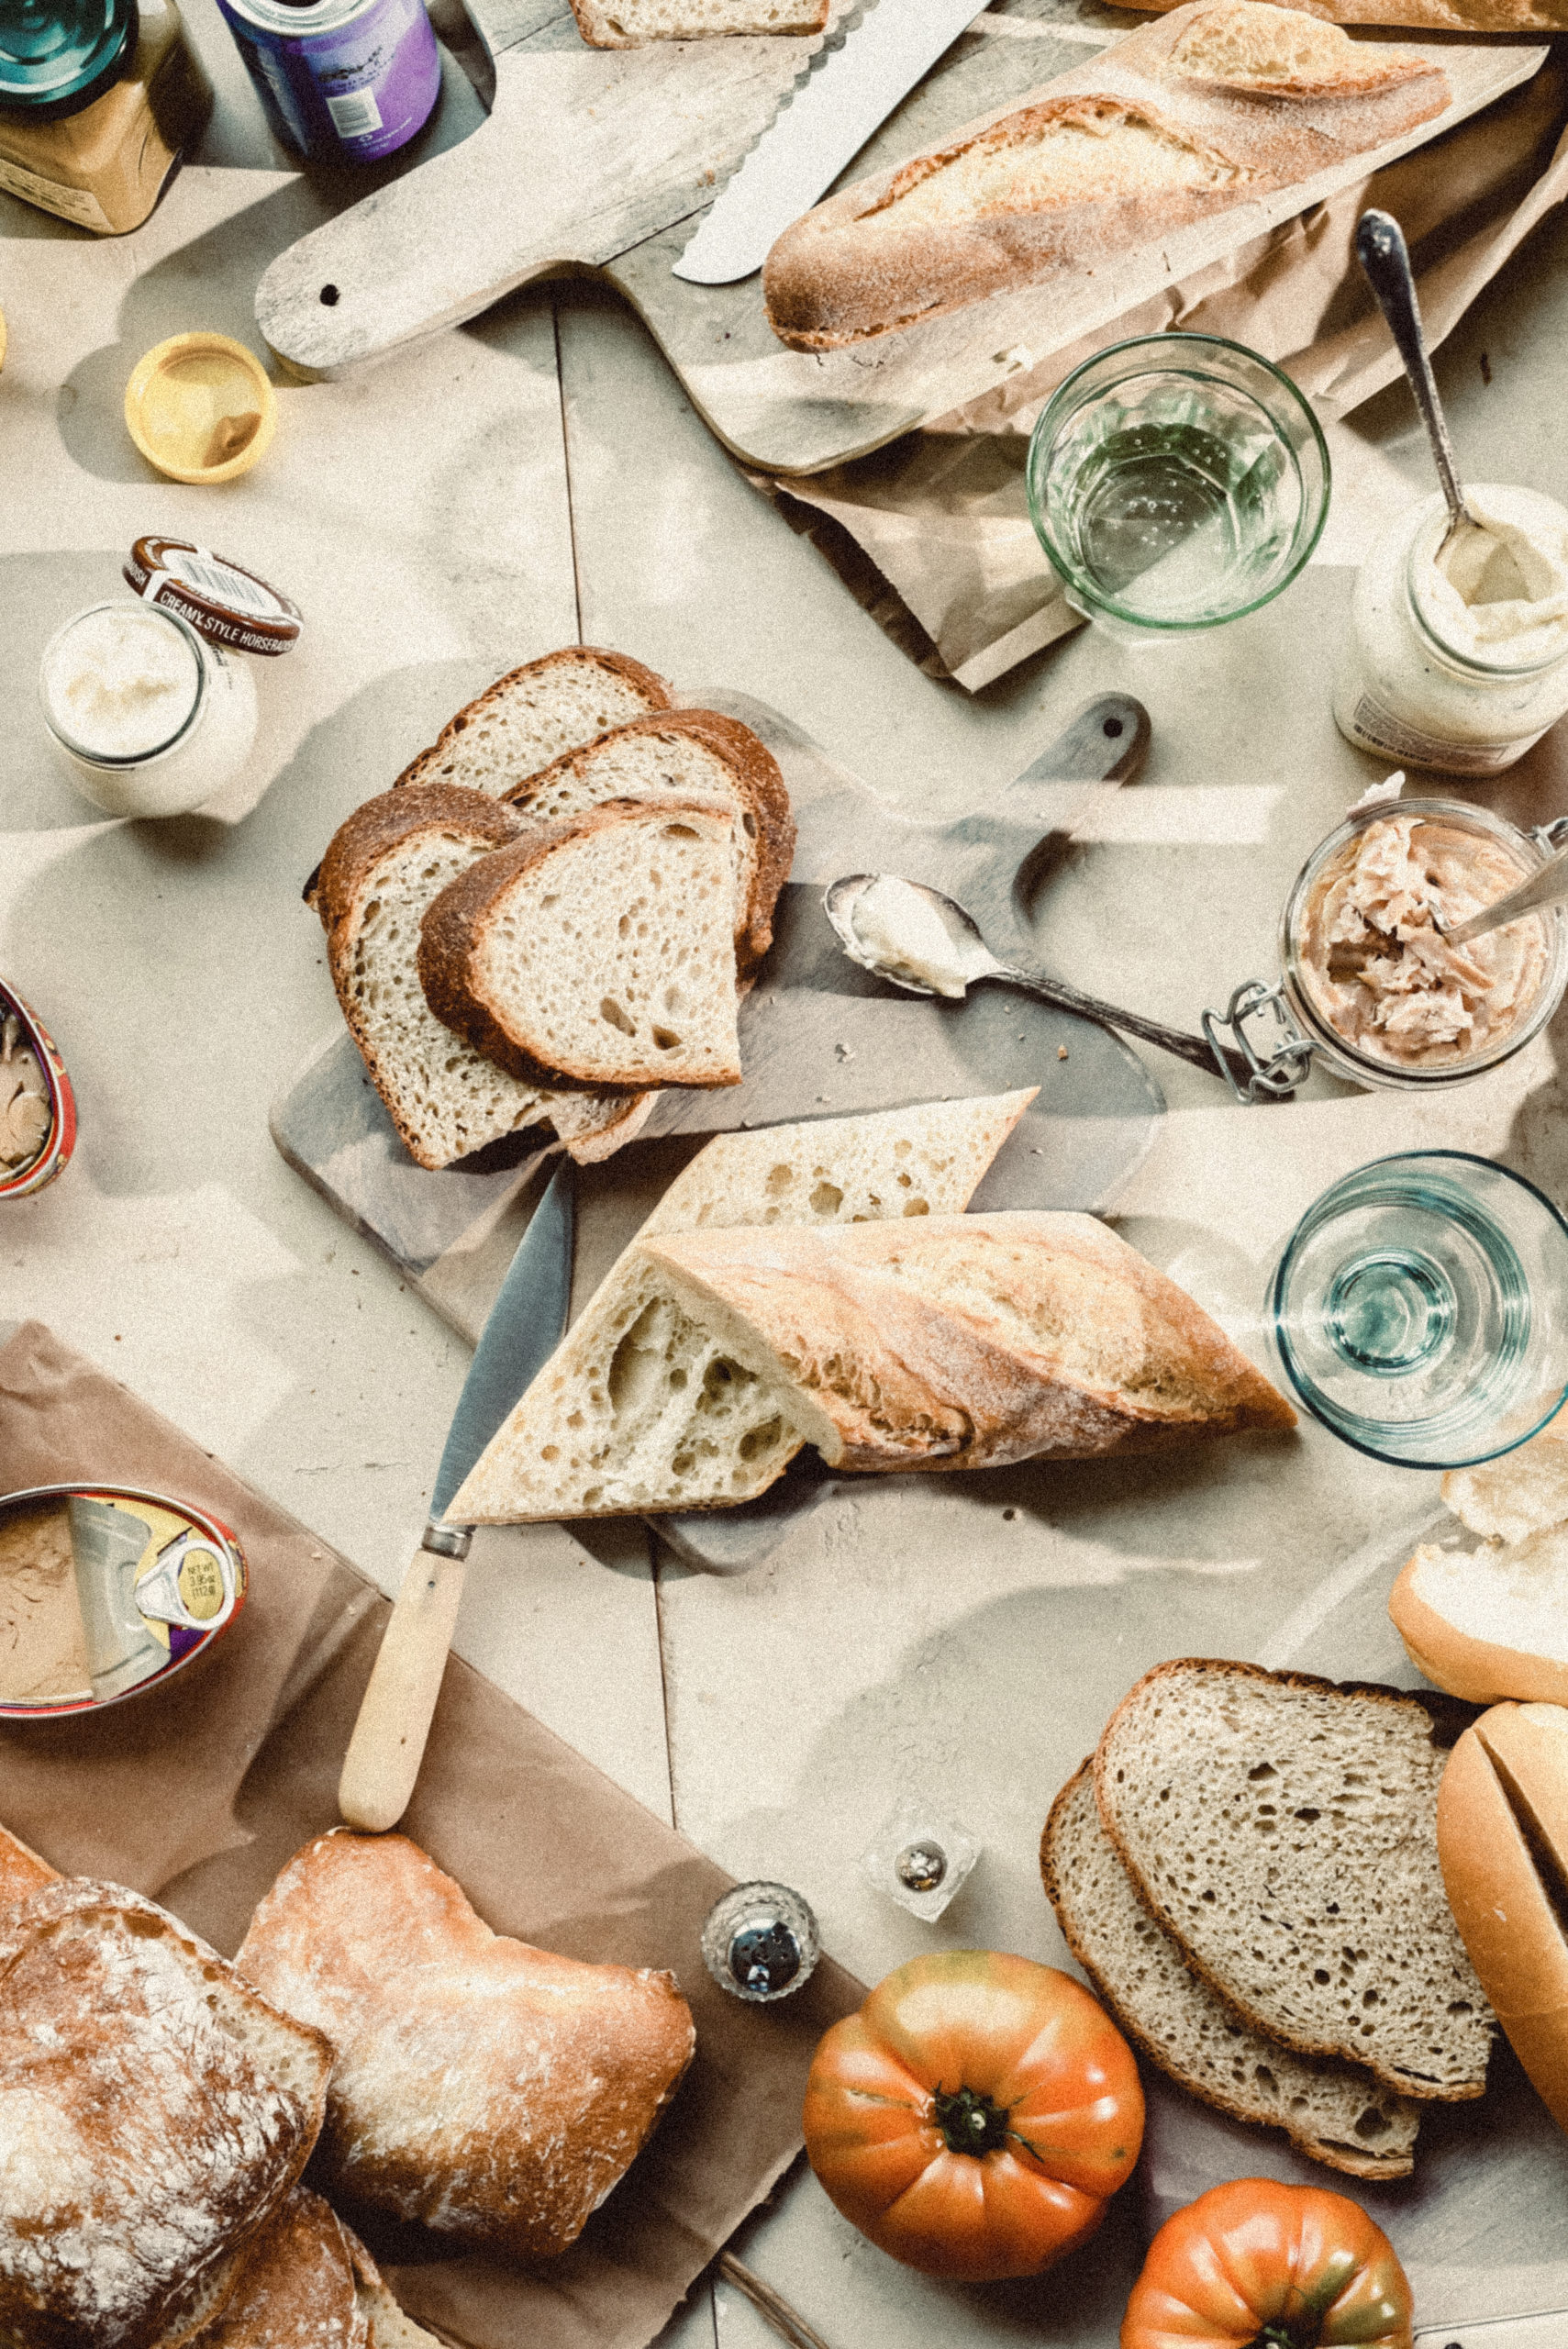
Fresh is best.
When I think of beautiful, appetizing foods, I think of fresh, just-prepared edible goodness. Though, truth be told, not all imagery of food is as fresh and wholesome as it appears…
You know the age-old cliche ‘never judge a book by its cover?’ Well, apply that to the advertising industry, and it’s just as accurate—especially when it comes to commercial food styling. The goal is to make the food look as appetizing as possible, which oftentimes includes a bit of illusion.
That said, I do whatever it takes to make my food subjects look fresh, even if in reality they’ve been sitting under artificial lighting for 3+ hours.
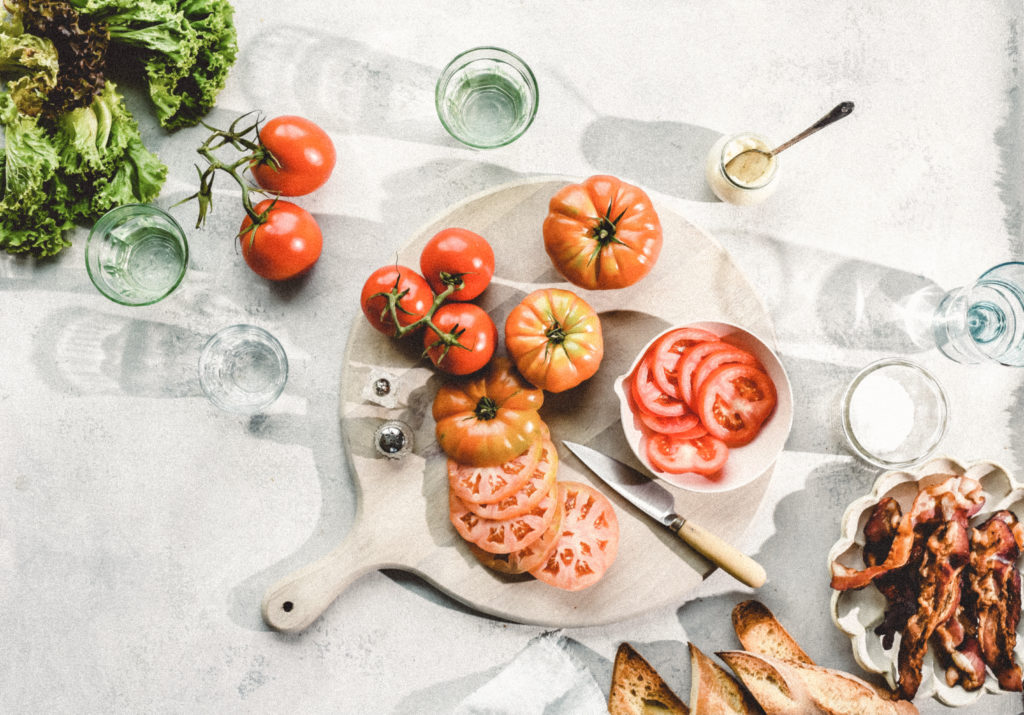
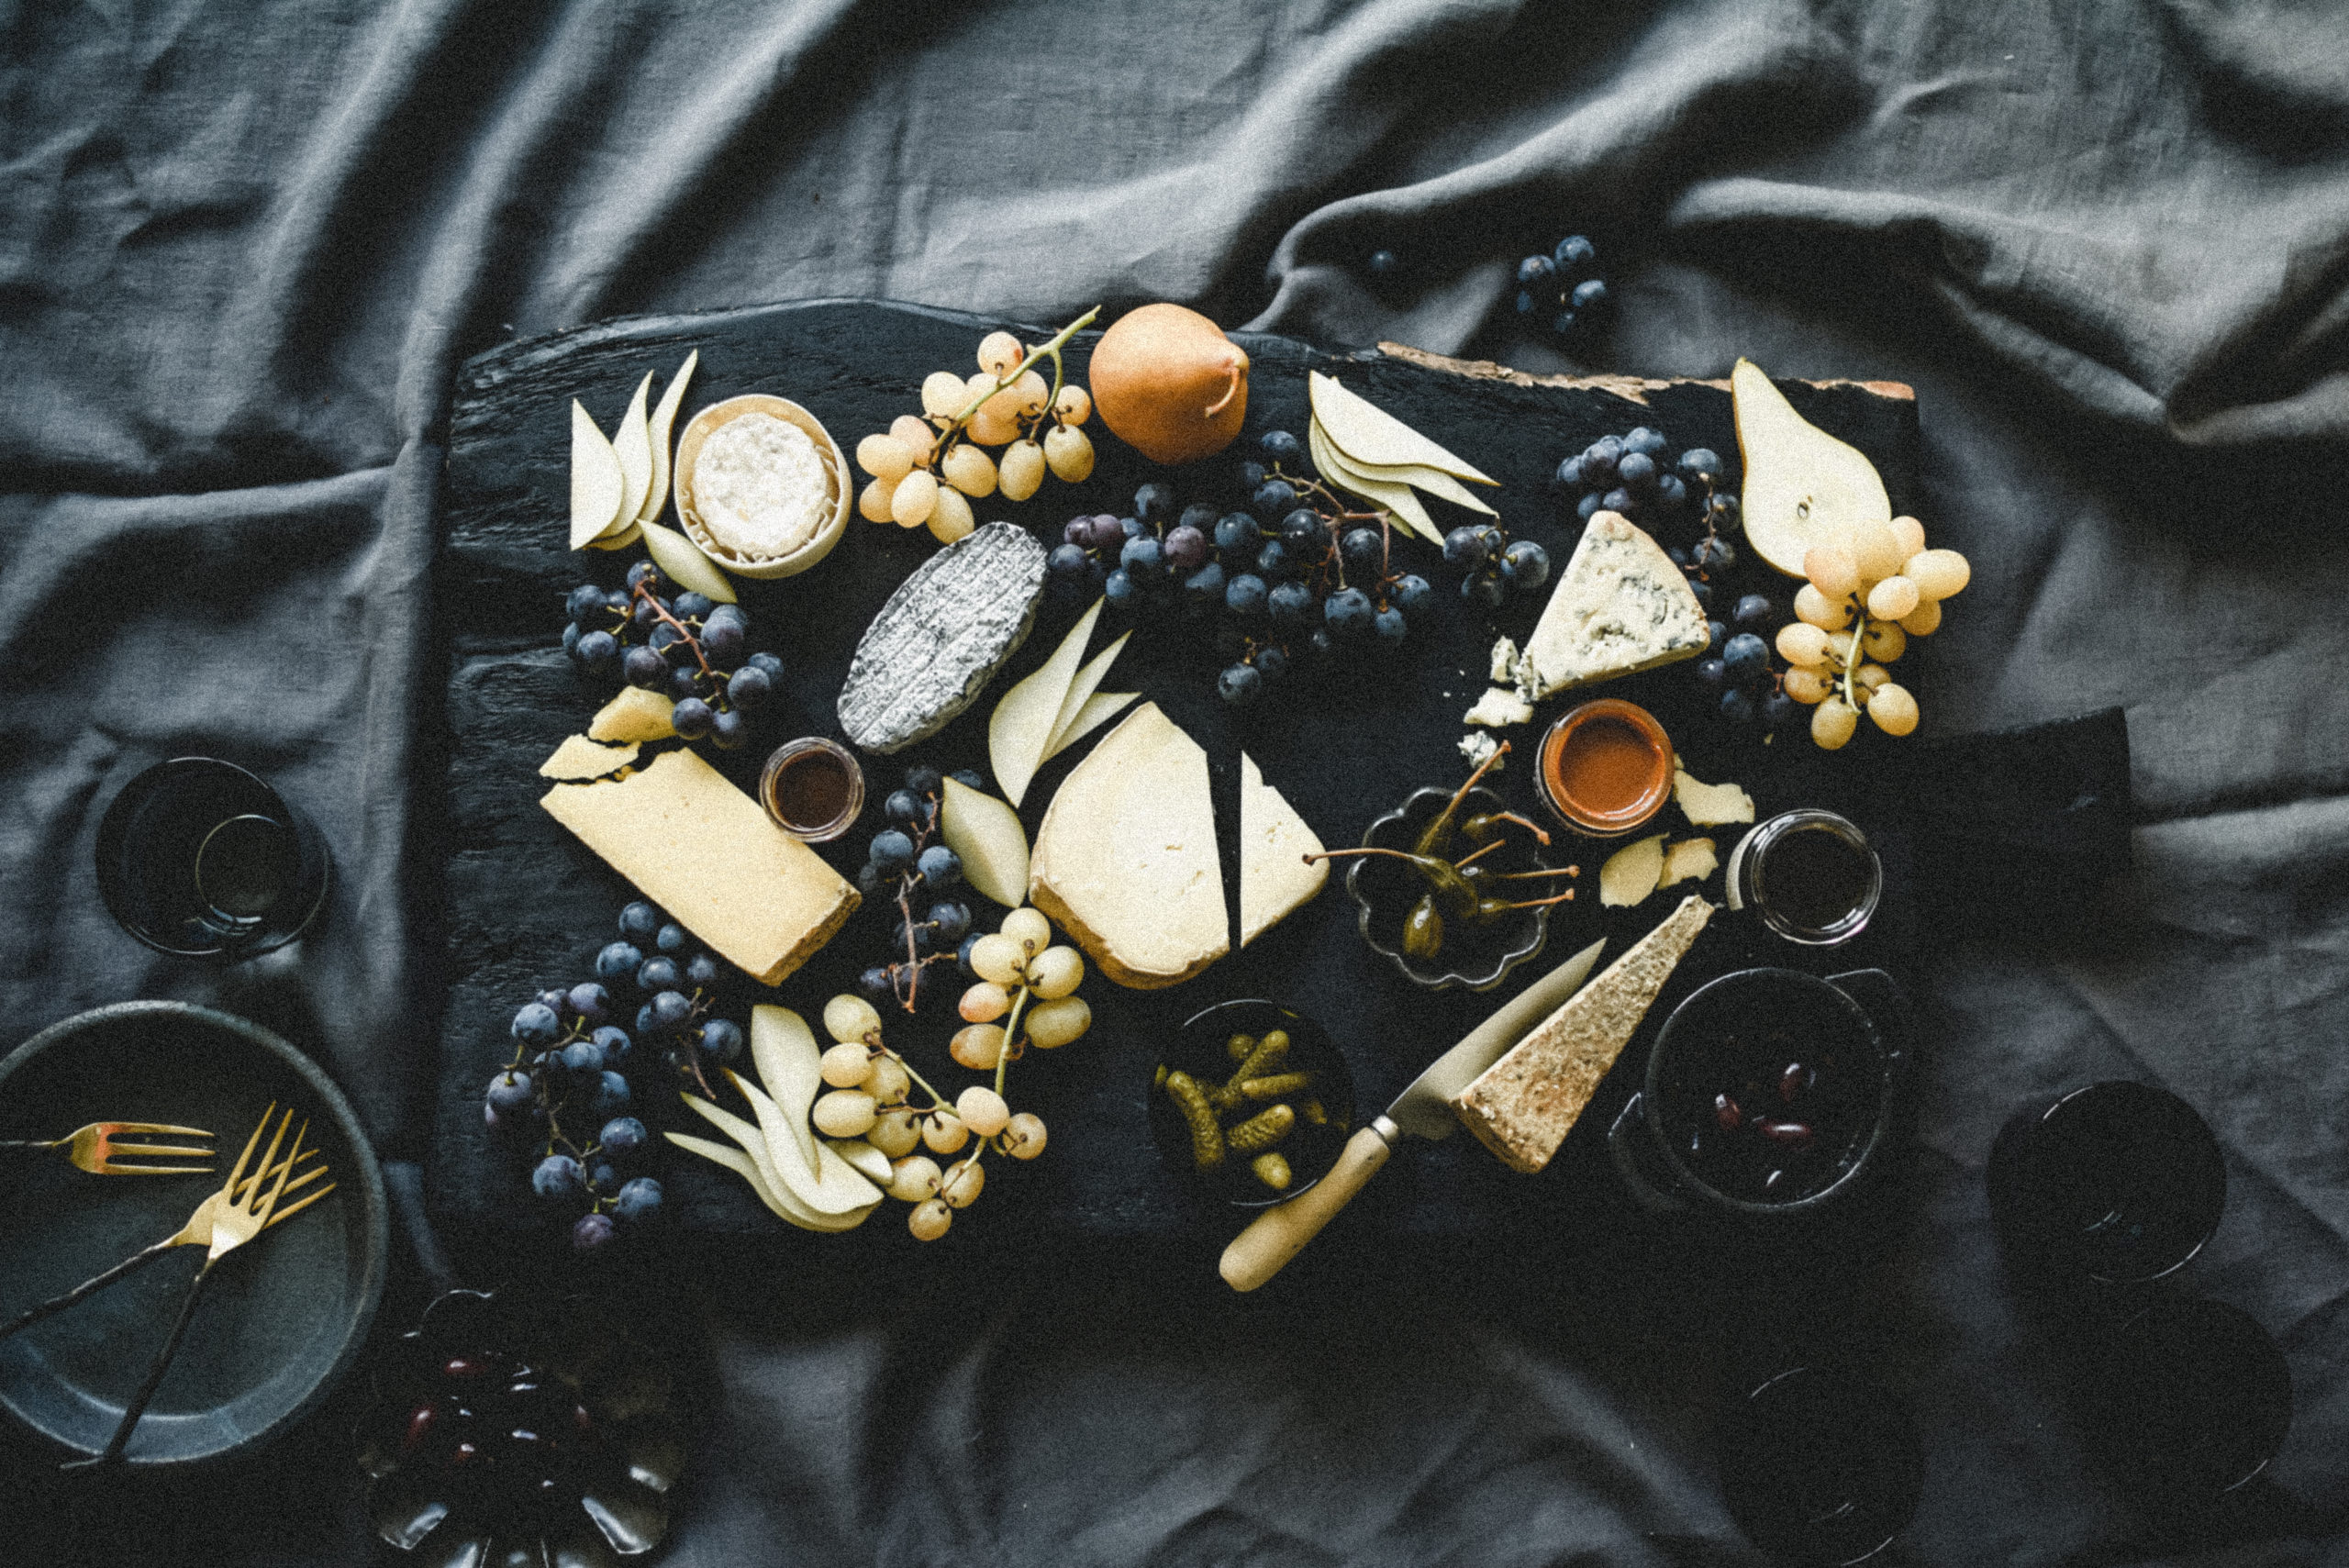
Shop wholesale to style sandwiches.
As far as sourcing produce for a commercial shoot goes, you will often need a lot of an item that looks exactly the same. Queue in the wholesale clubs of food.
There, you will not only have access to larger portions of foods (that are also optimized for consistent color, and for cheaper costs than your local grocery store) but because businesses rely on them to stock for the week for their shops and restaurants, these wholesale clubs are typically the best places to find long-lasting produce as well.
So, I’d recommend shopping wholesale—unless of course you have a great relationship with your local farmer who doesn’t mind you annoyingly picking out the most symmetrical produce… but I’d suggest not doing that to your lovely neighborhood farmer and find different ways to support them.
Don’t eat the styled heroes!
A hero in product photography terms translates to the star of the show. It is as perfect (within the current circumstances) as it can be. It is to be protected, and it is to maintain as ‘beautiful’ as possible. Because, superficially, beautiful things are easier on the eyes, which means it is simpler to photograph.
This hero may be the most gorgeous and appetizing subject on the set… but if you knew what went into it, you wouldn’t want to taste it. (Click here for my guide of commercial styling essentials, and you may find out!) However, even if no special effects were added at all, think about how many people have touched it. Plus, it goes against food safety ServSafe standards.
Heroes are too pretty to eat, anyway. So, please, for the love of sandwiches, do not eat them.
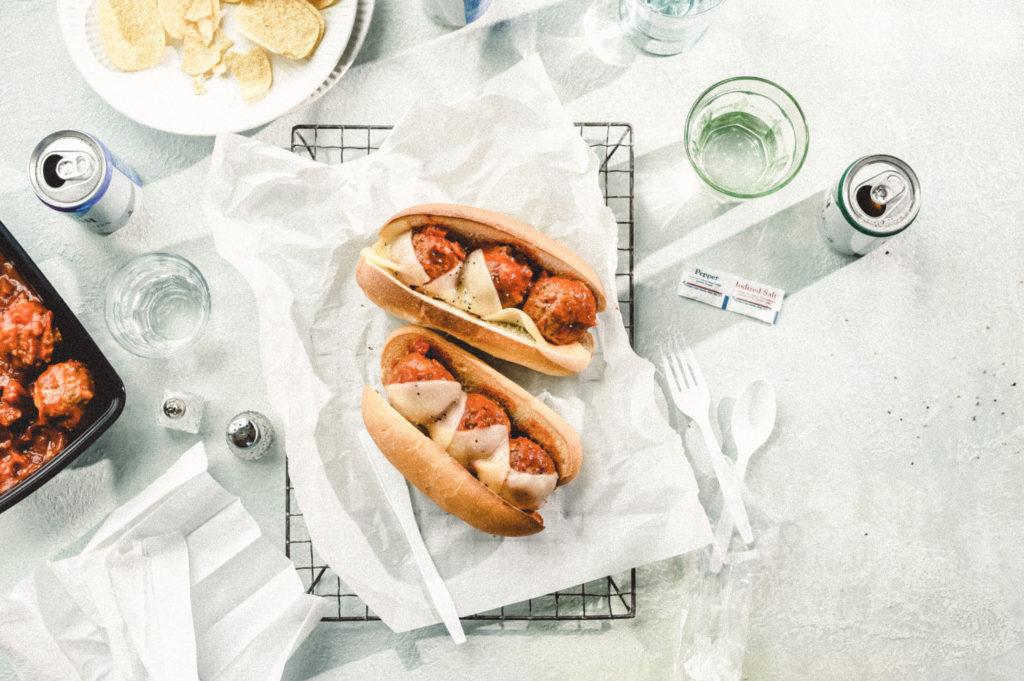
Layers, people, LAYERS!
You can add all the ingredients in the world to a sandwich, but if you can’t see what is in it, then what are you even trying to communicate? That said, work in layers.
Use styling tongs to help pull ingredients to the front, and think about the height and depth of the sandwich. Your goal is to make it look as tasty as possible; so delicious that the only thing stopping you from taking a big bite is remembering what I told you in tip #3.

Keep in mind what you are aiming to promote.
Is your focus on the freshness of the produce? The heartiness of the meat? The juiciness of the barbecue or the mouthwatering flavors of a sauce? Ask yourself, and the client, what can you do to help make the message clear. Communicate as much as possible! Your clients will thank you for being so engaged—hands-on is the best way to go as a commercial food stylist.
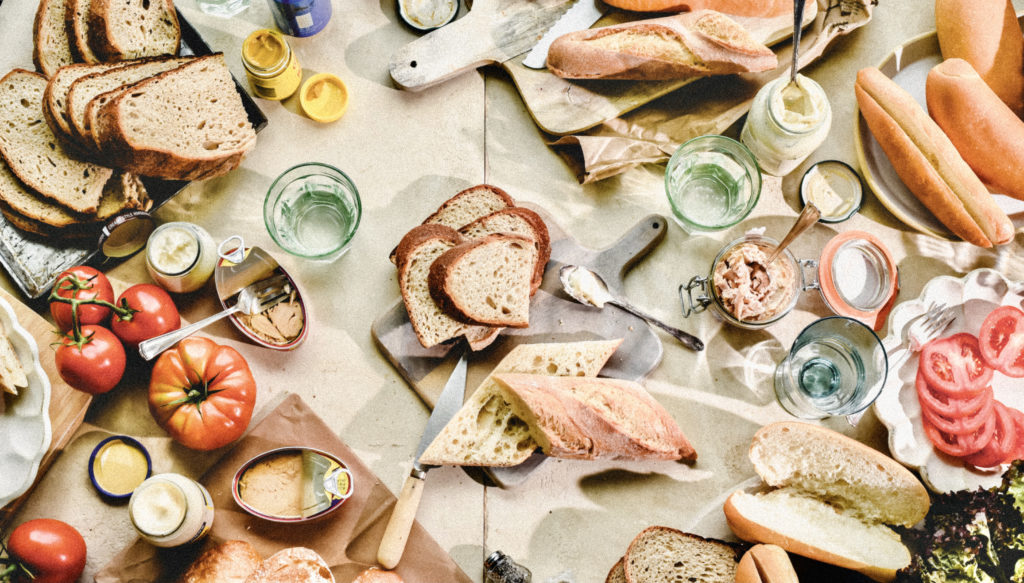
To style sandwiches Mise en place is a MUST.
Preparation is necessary—no excuses allowed! Mise en place is French for everything in its place, and it’s the key ingredient to a successful day of photographing food, no matter what the subject is.
Simplify your life by preparing what you can! Trust me, you will not regret it. Keeping everything clean and orderly so you know where to locate things when you need it is invaluable. Adjust as you go and restock accordingly.
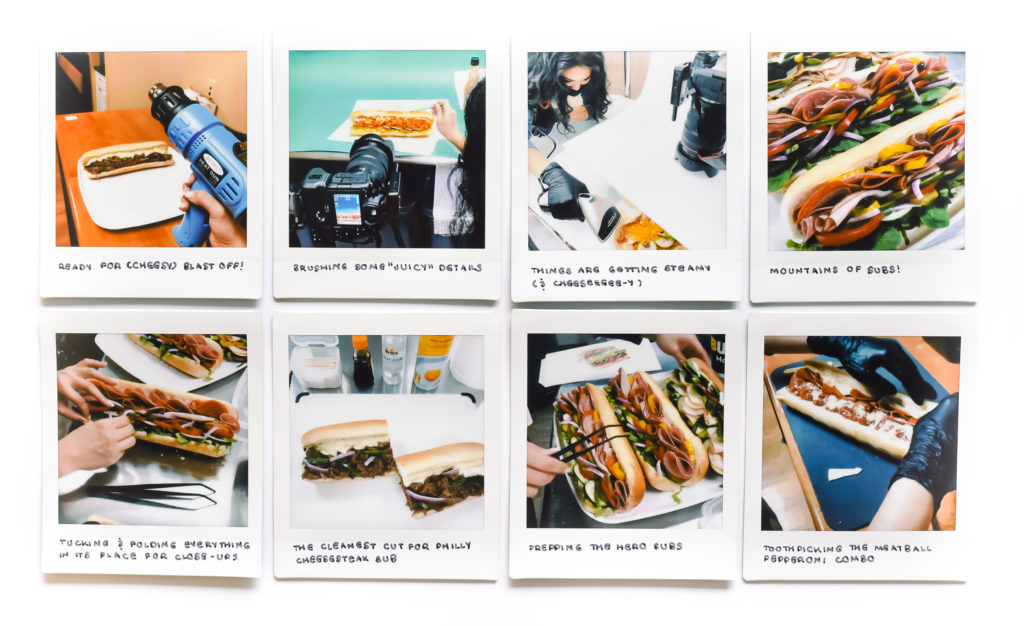
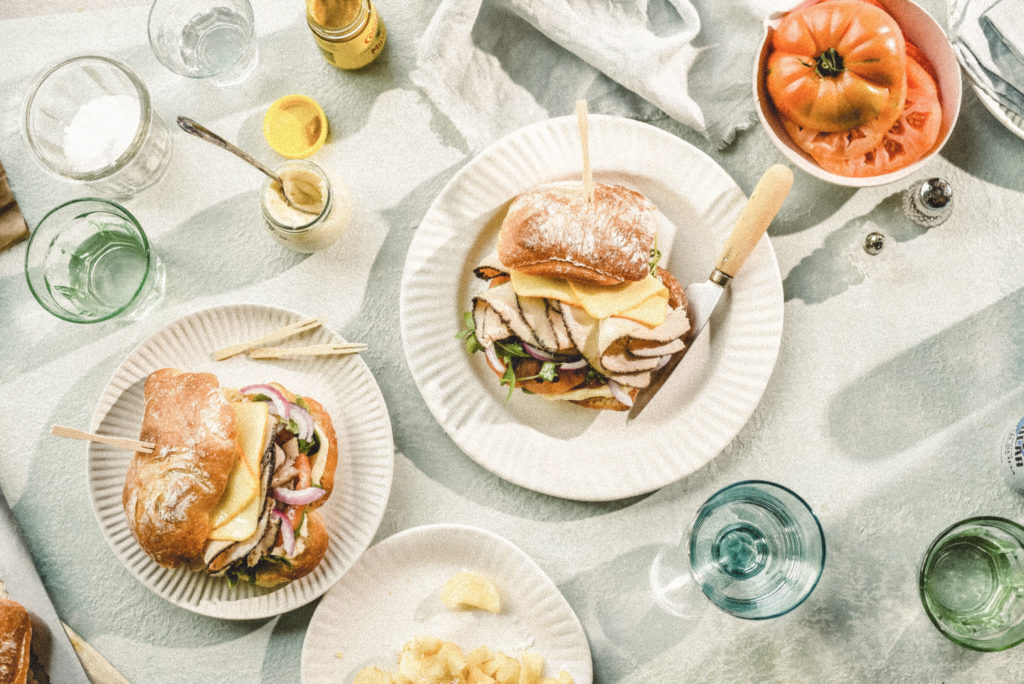
Toothpicks are your best friend.
They help pin things down, prop things up, can be snapped in half for smaller areas, and can prevent the subject from flattening out and turning soggy. I like to aim my toothpicks at an angle, towards the backside, opposite from where the camera is directed towards. Food styling is a lot of smoke and mirrors, as I’m sure you’re coming to realize.
(In the image below, the subs are actually unhinged!)
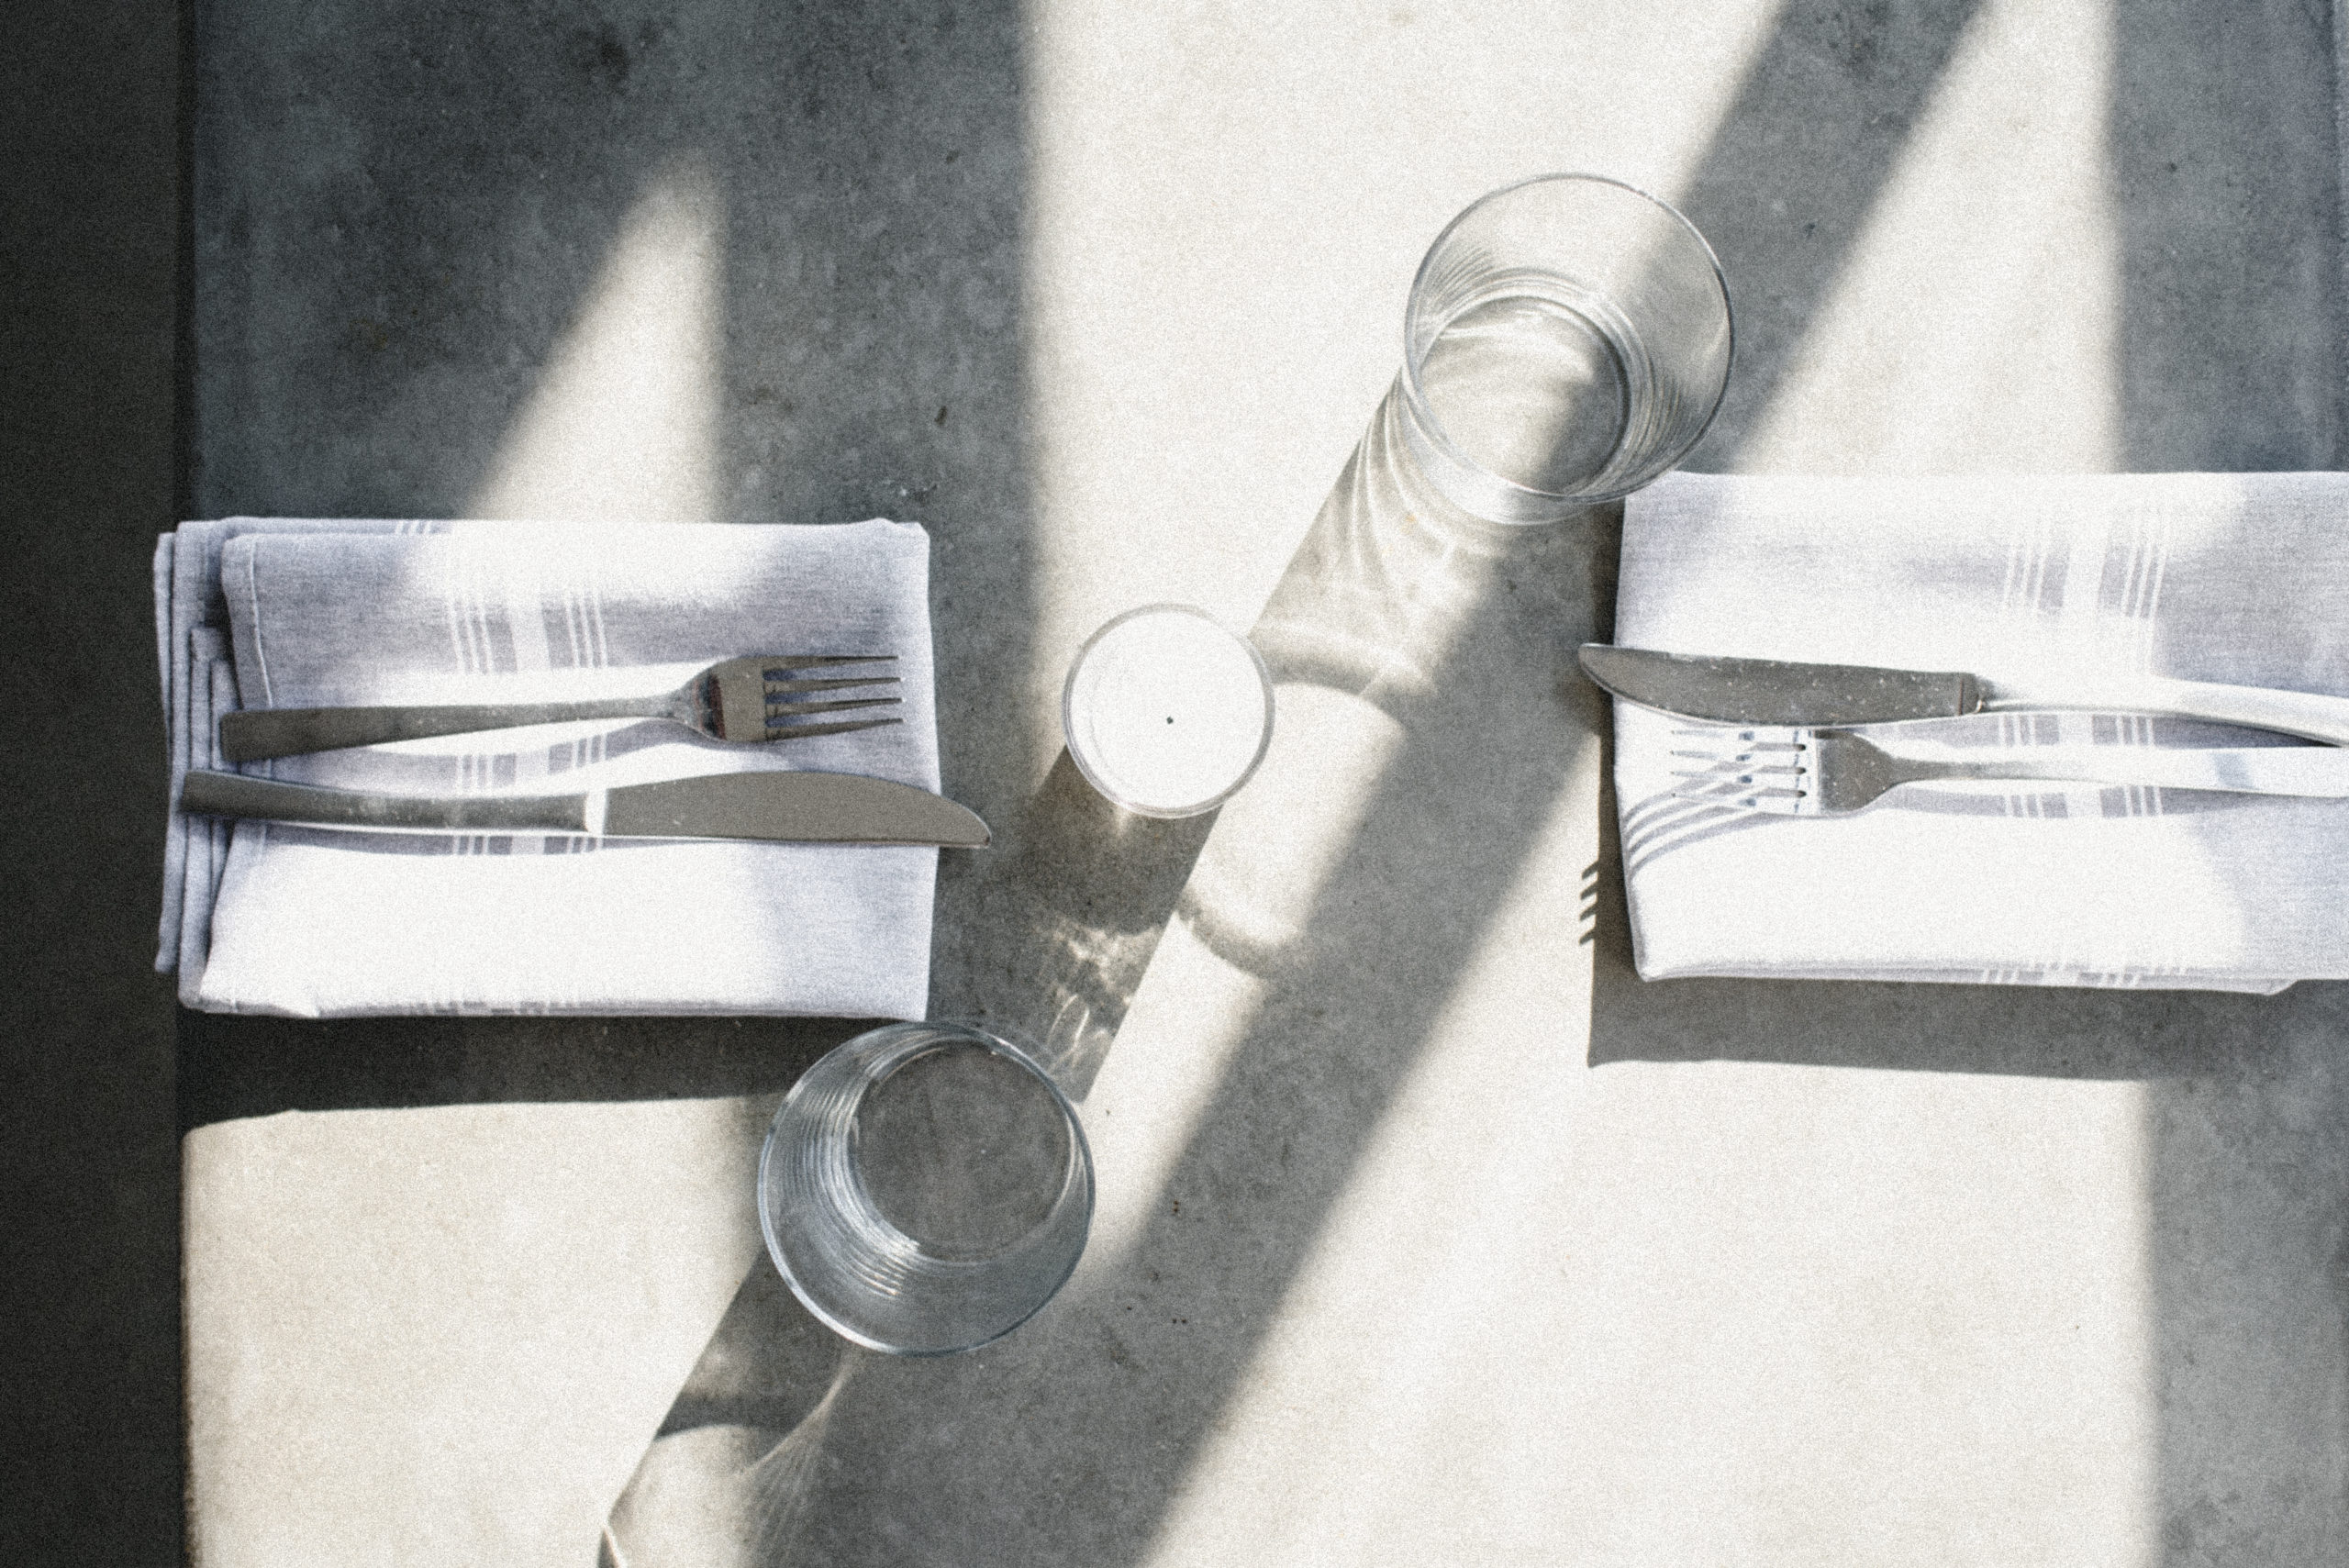
Always consider camera angles to style sandwiches.
Focus on what is in focus. Sometimes you will have to level an item by sticking a folded up paper towel behind the subject so it can face the camera straight on. Use what’s available—and have some good laughs bouncing ideas for what to use. Sometimes a trinket will prop something up and the ridiculousness of it all becomes a little inside joke. Life is about making the most of every moment, even the moments you spend styling sandwiches, so live it and laugh often!
Vegetable glycerine. Period.
This ingredient is your new go-to. Mix it with equal amounts of water in a small spray bottle, shake that thing up, and get misting! Beware, though: you don’t want to spray too much, because you just want to suggest it’s fresh, not drench it in a full on morning dew! Olive oil is a great substitute for keeping things from drying out too quickly as well. The down side, however, is it has a tint of yellow, which is something to keep in mind.
(Otherwise, like me, you will learn the hard way and have to make an entirely new sandwich or brush each crevice off with a paintbrush.)
Help them eat with their eyes.
Sometimes subjects aren’t the most appetizing, and they require a little bit of help to get the point across. People eat with their eyes first, so when something looks like it’s been well-prepared with heart and intention, they’ll opt for that item over anything else.
A heat gun and a steamer are also beneficial. Sometimes a grill starter too!
When it comes to being on set, things get cold, things get stale, or they are just not very ‘cooked-looking.’ Grab your heat gun, your steamer, and maybe even a grill starter to spruce your subjects up.
For toastier bread, you can direct some heat along the edges to help brown something that is supposed to look freshly toasted.
The steamer is great for rehydrating meat and glistening cheese.
The grill starter can help define marks when one side of food looks more proportionate than the other but just needs a little color boost. It’s all in the details!
Do not underestimate a solid bread knife.
Get a good one; not one of those tiny paring knives that happen to be serrated. You want optimal control, and you want the sharpest of sharp. (But be careful handling!)
Instead of zig-zagging and waggling around trying to slice, you can get a larger, longer bread knife that can half with a swift swoop of the wrist. I opt for working smarter, not harder. I also prefer to have quality tools versus finagling with less-than-ideal ones.
Here is a link to a solid bread knife worth investing in: Right hereee.
It’s okay if you have to style new sandwiches.
Sometimes there is only so much you can do to preserve food to make it look appetizing; sometimes you just have to throw in the towel and start anew.
The benefit the next time around, though? You have more experience. You will probably make the newer version faster AND more beautiful! So instead of considering it a loss, take the ‘I’m so experienced now’ win!
I hope you found these tips helpful! If you find yourself styling a sub sometime in the near future—tag me in the final product on Instagram so I can see what you came up with!
Click here to save this post for later on Pinterest, or here to browse my favorite (edible) food recipes!
")


")

